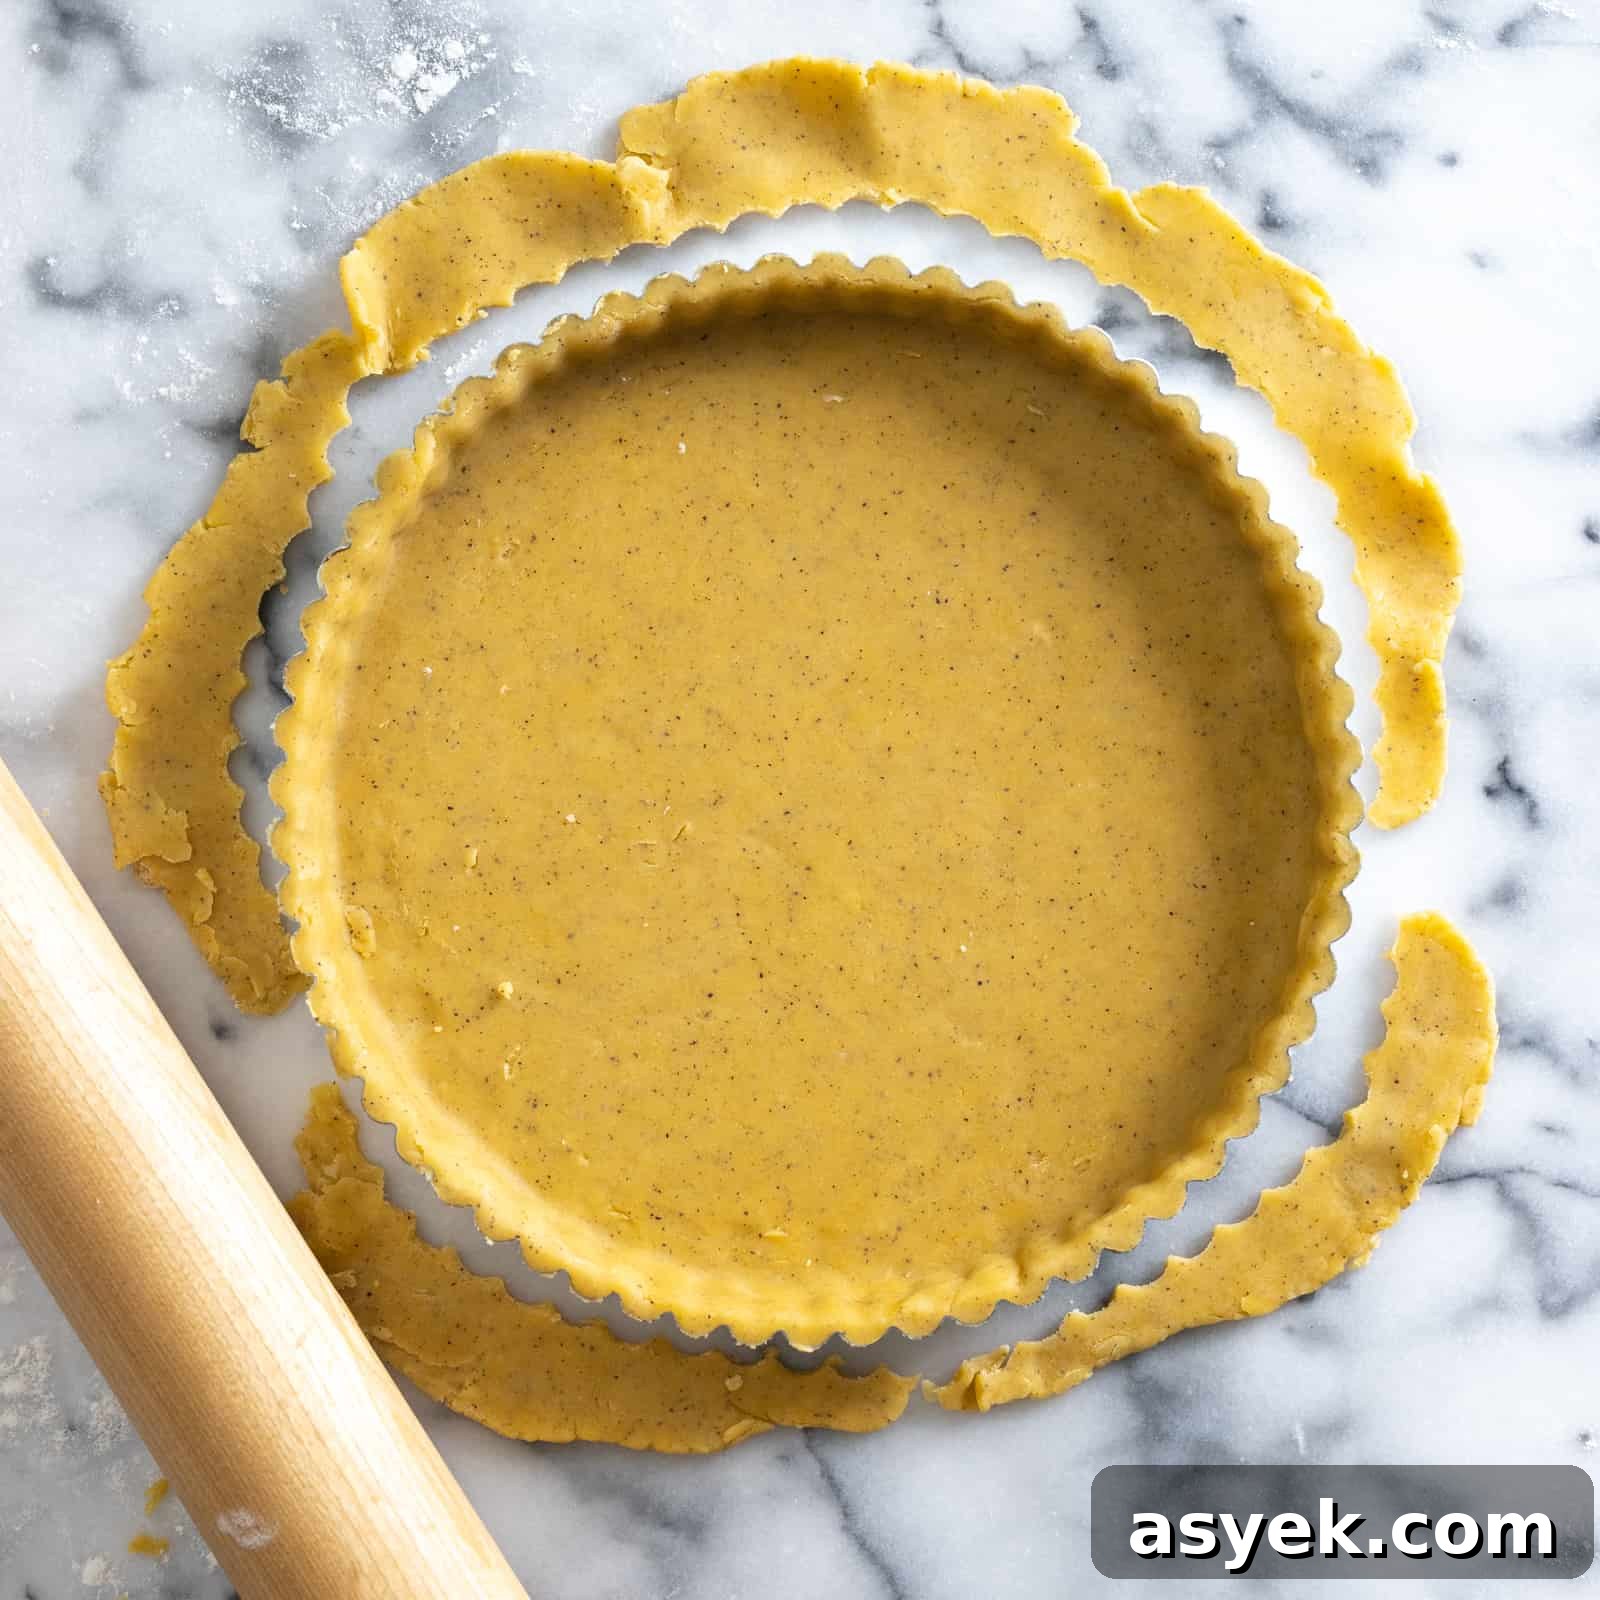
This Savory Tart Dough yields a flaky, crisp crust with a restrained touch of sweetness, extra salt for savory depth, and a hint of freshly ground pepper for warming complexity. It’s a versatile base that works beautifully for a single 9–9½” tart, multiple mini tartlets, rectangular or square pans, and as a quiche crust.
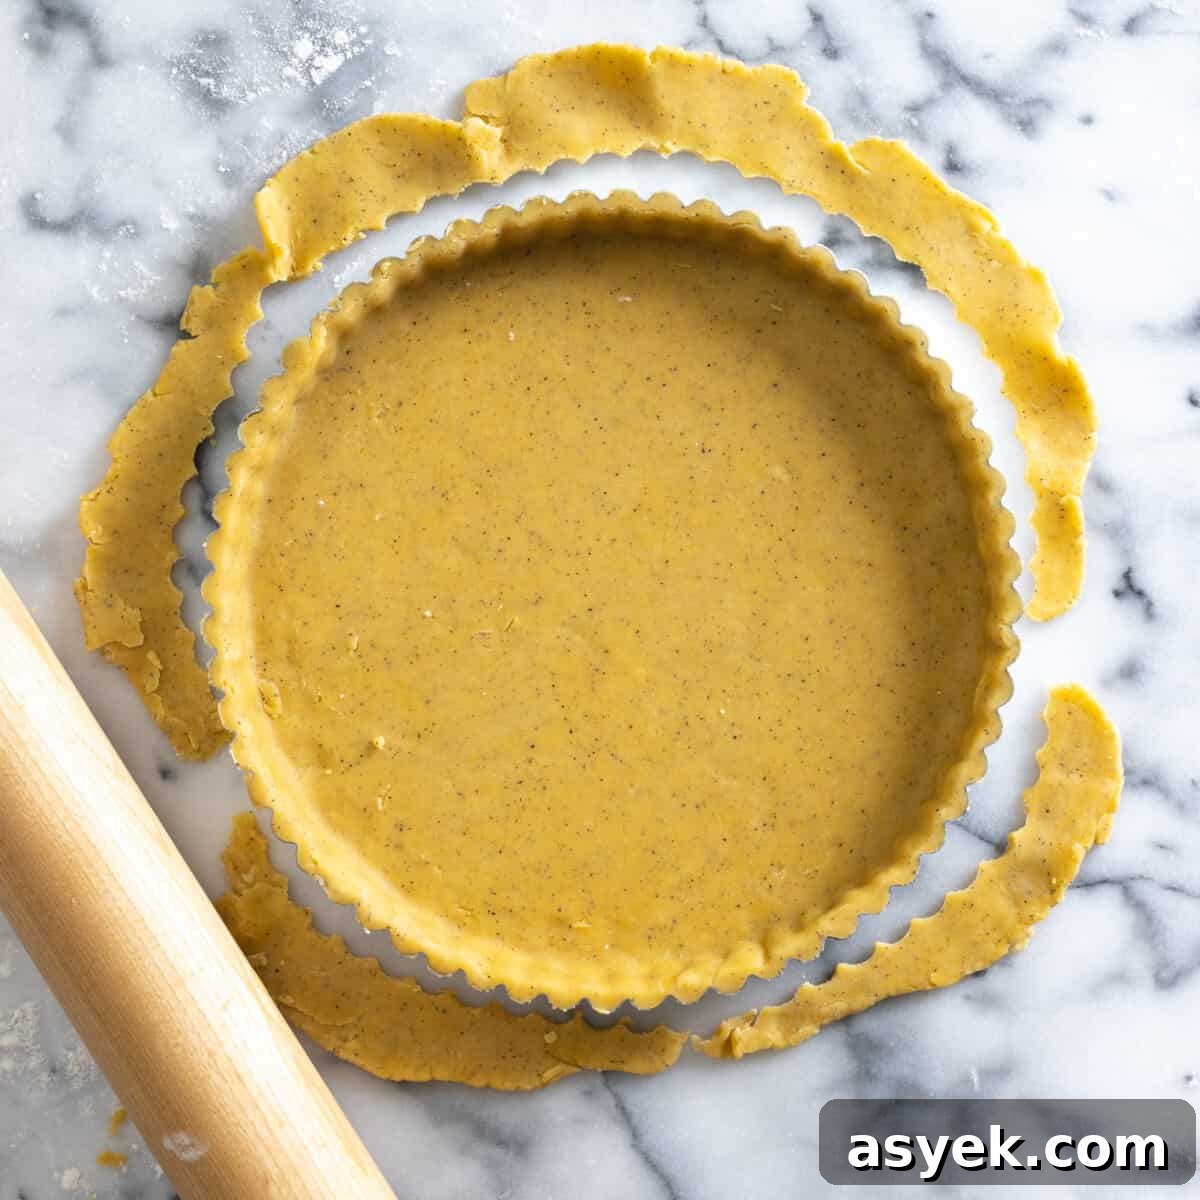
I adapted my Basic Tart Dough to create a version that leans decidedly savory. I reduced the sugar to a single teaspoon for subtle balance, increased the salt slightly for savory satisfaction, and added freshly ground pepper to introduce a gentle warmth. If you prefer no pepper, omit it—this dough is forgiving and flexible.
For sweet tarts, use Basic Tart Dough
If you want a tart dough that tilts sweet—excellent for fruit tarts, cream tarts, or chocolate tarts—stick with a traditional Basic Tart Dough. This Savory Tart Dough, however, is specifically formulated for savory fillings and quiches where a salt-forward, flaky crust complements the filling.
- Basic Tart Dough
- Ruby Cacao Ganache Tart
- Heirloom Tomato Pimento Cheese Tart
- Apricot Plumcot Goat Cheese Tart
Savory Tart Dough is perfect for salty and savory tart recipes
The small amount of sugar in this recipe keeps the crust from tasting flat while remaining essentially savory. A slightly higher salt level gives the crust a satisfying savory backbone, and the freshly ground pepper provides an optional hint of warmth that can accentuate fillings like roasted vegetables, cheeses, herbs, or cured meats.
A simple base for versatility
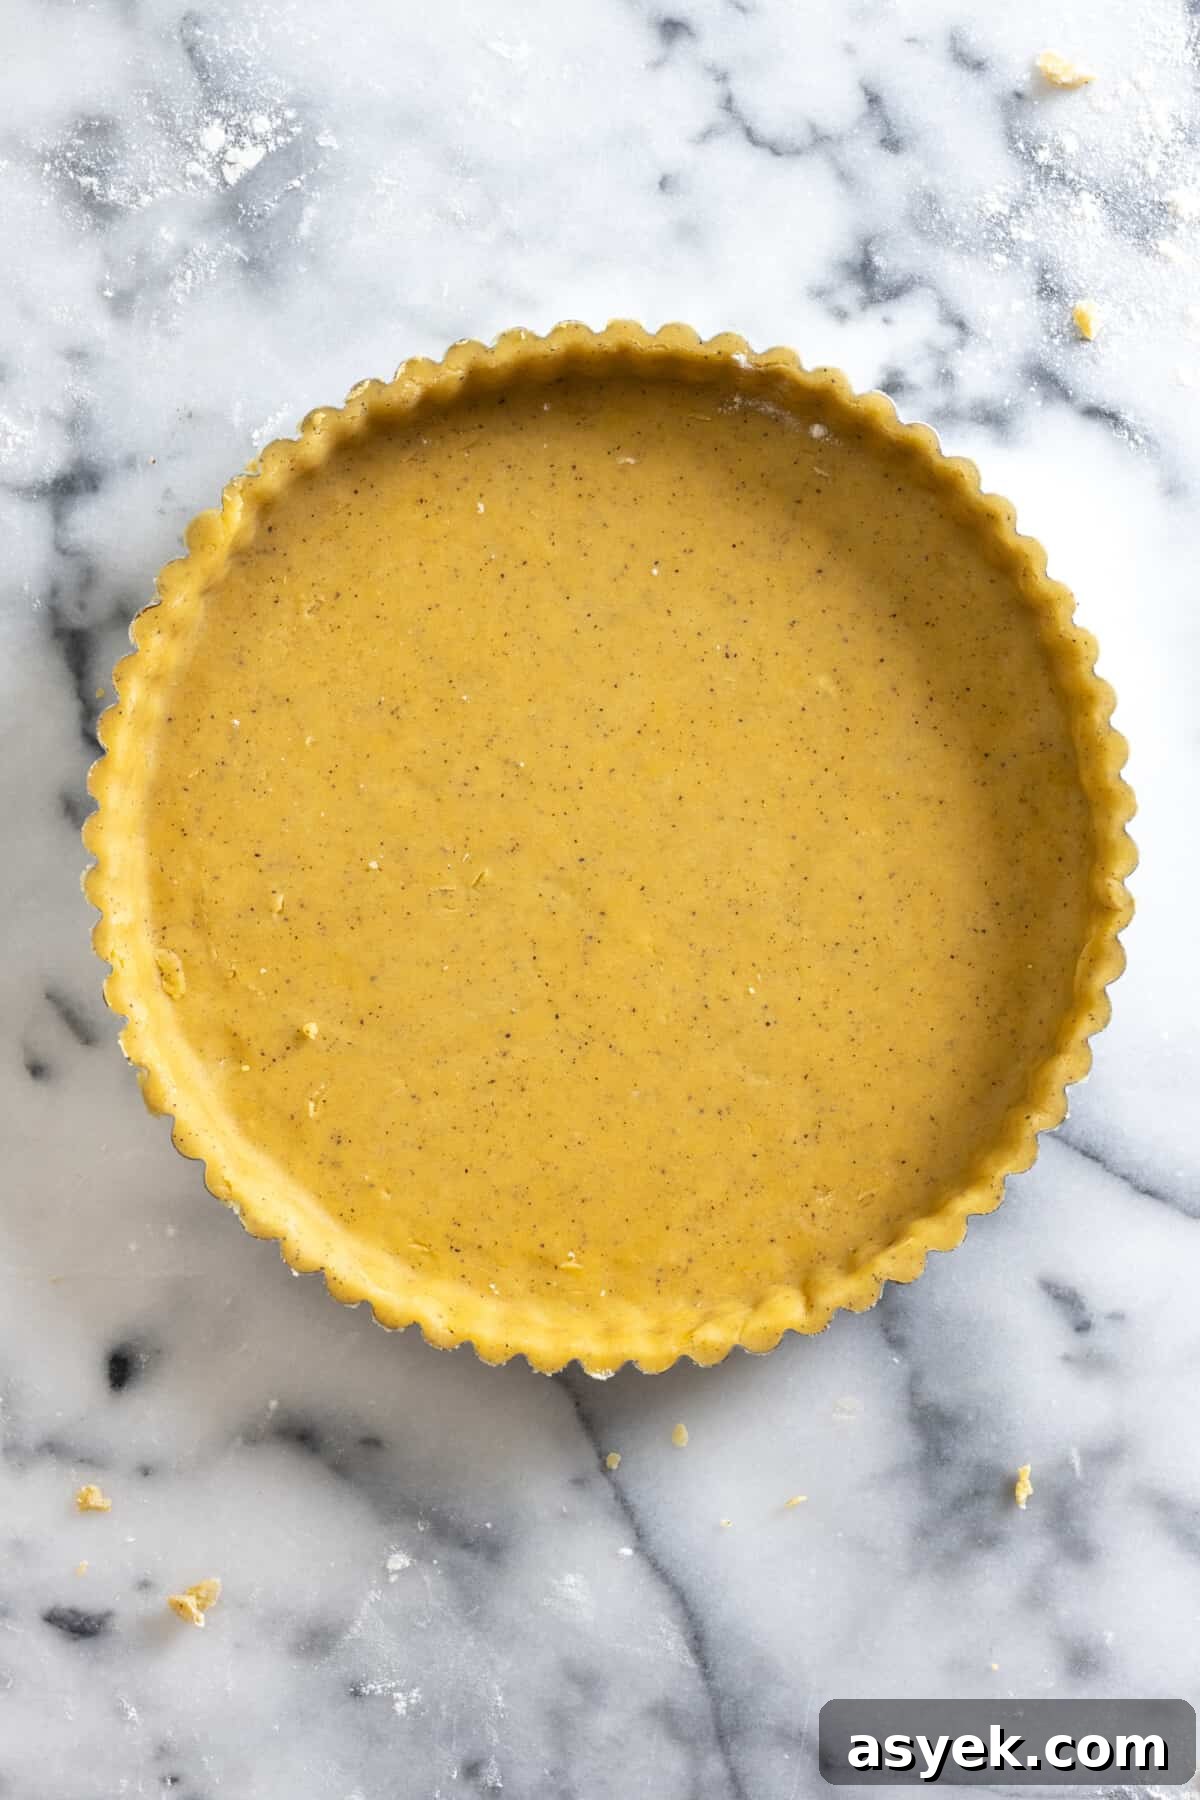
This dough can be used for one full-size tart, divided between smaller tart pans, formed into 12 mini tartlets in a standard muffin pan, or pressed into square and rectangular pans. For full-sized tarts, a removable-bottom tart pan keeps the fluted edge crisp and makes unmolding easier. Whether you roll the dough or press it directly into the pan, you’ll end up with a reliable, flaky shell.
Tips for mixing tart dough
Keep your cool
Cold ingredients are essential for a flaky crust. Work with cold, cubed butter and keep the dough chilled. The remaining bits of butter create steam in the oven, producing that desirable flakiness and a crisp, shattering texture.
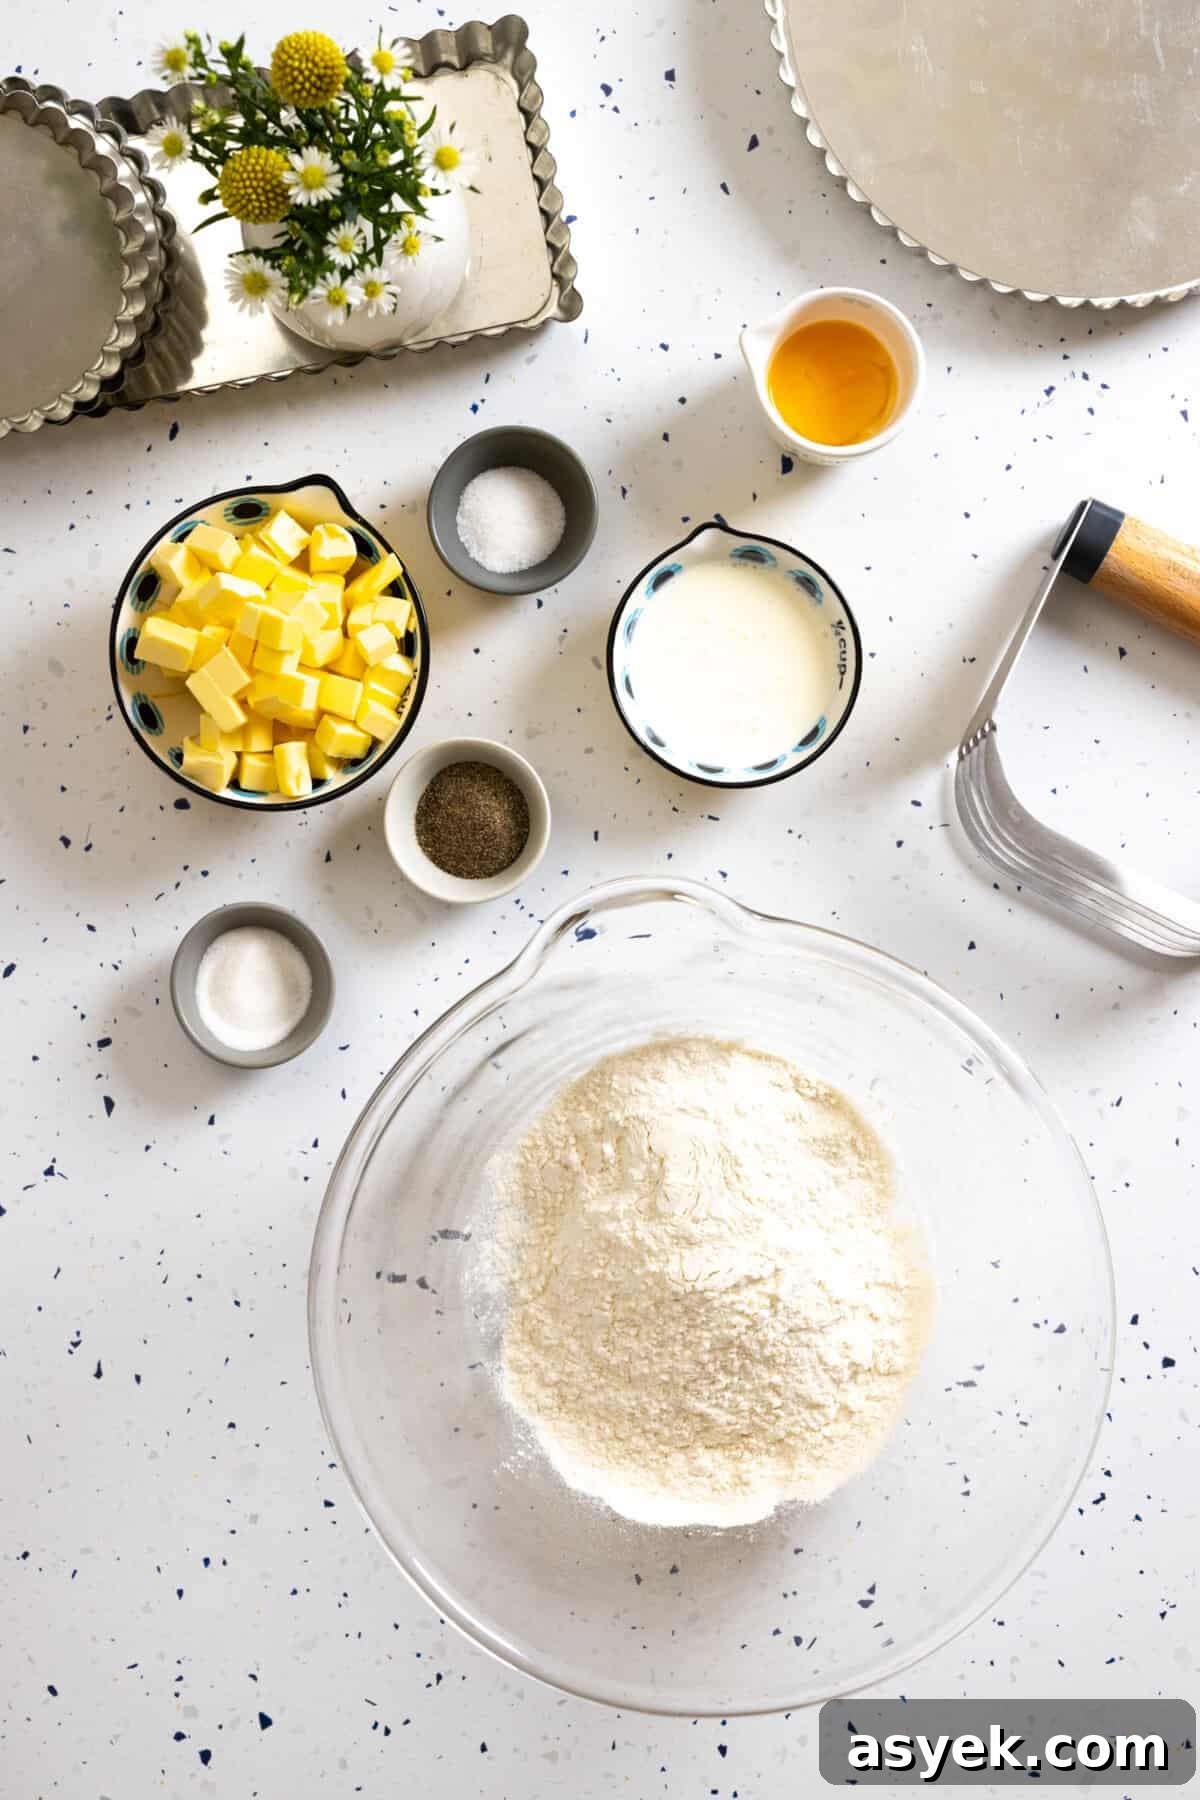
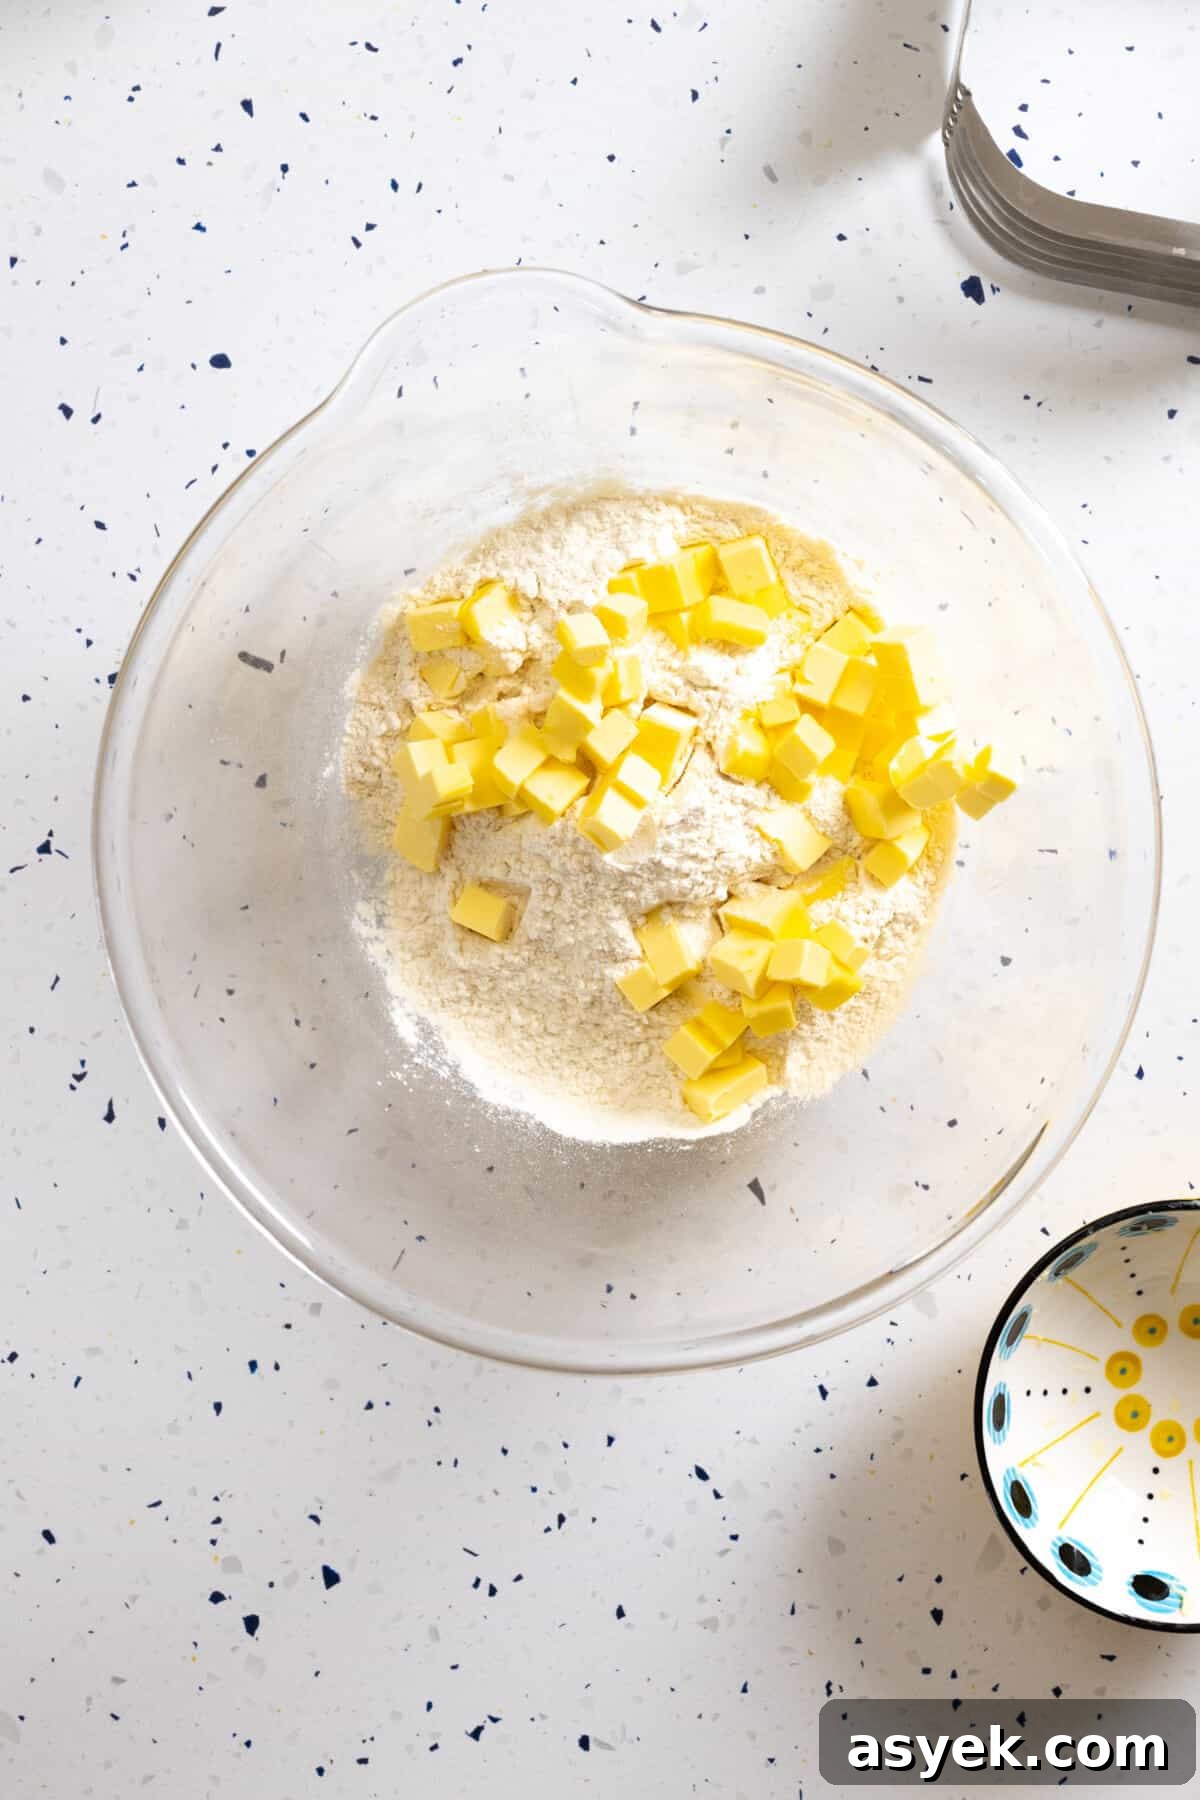
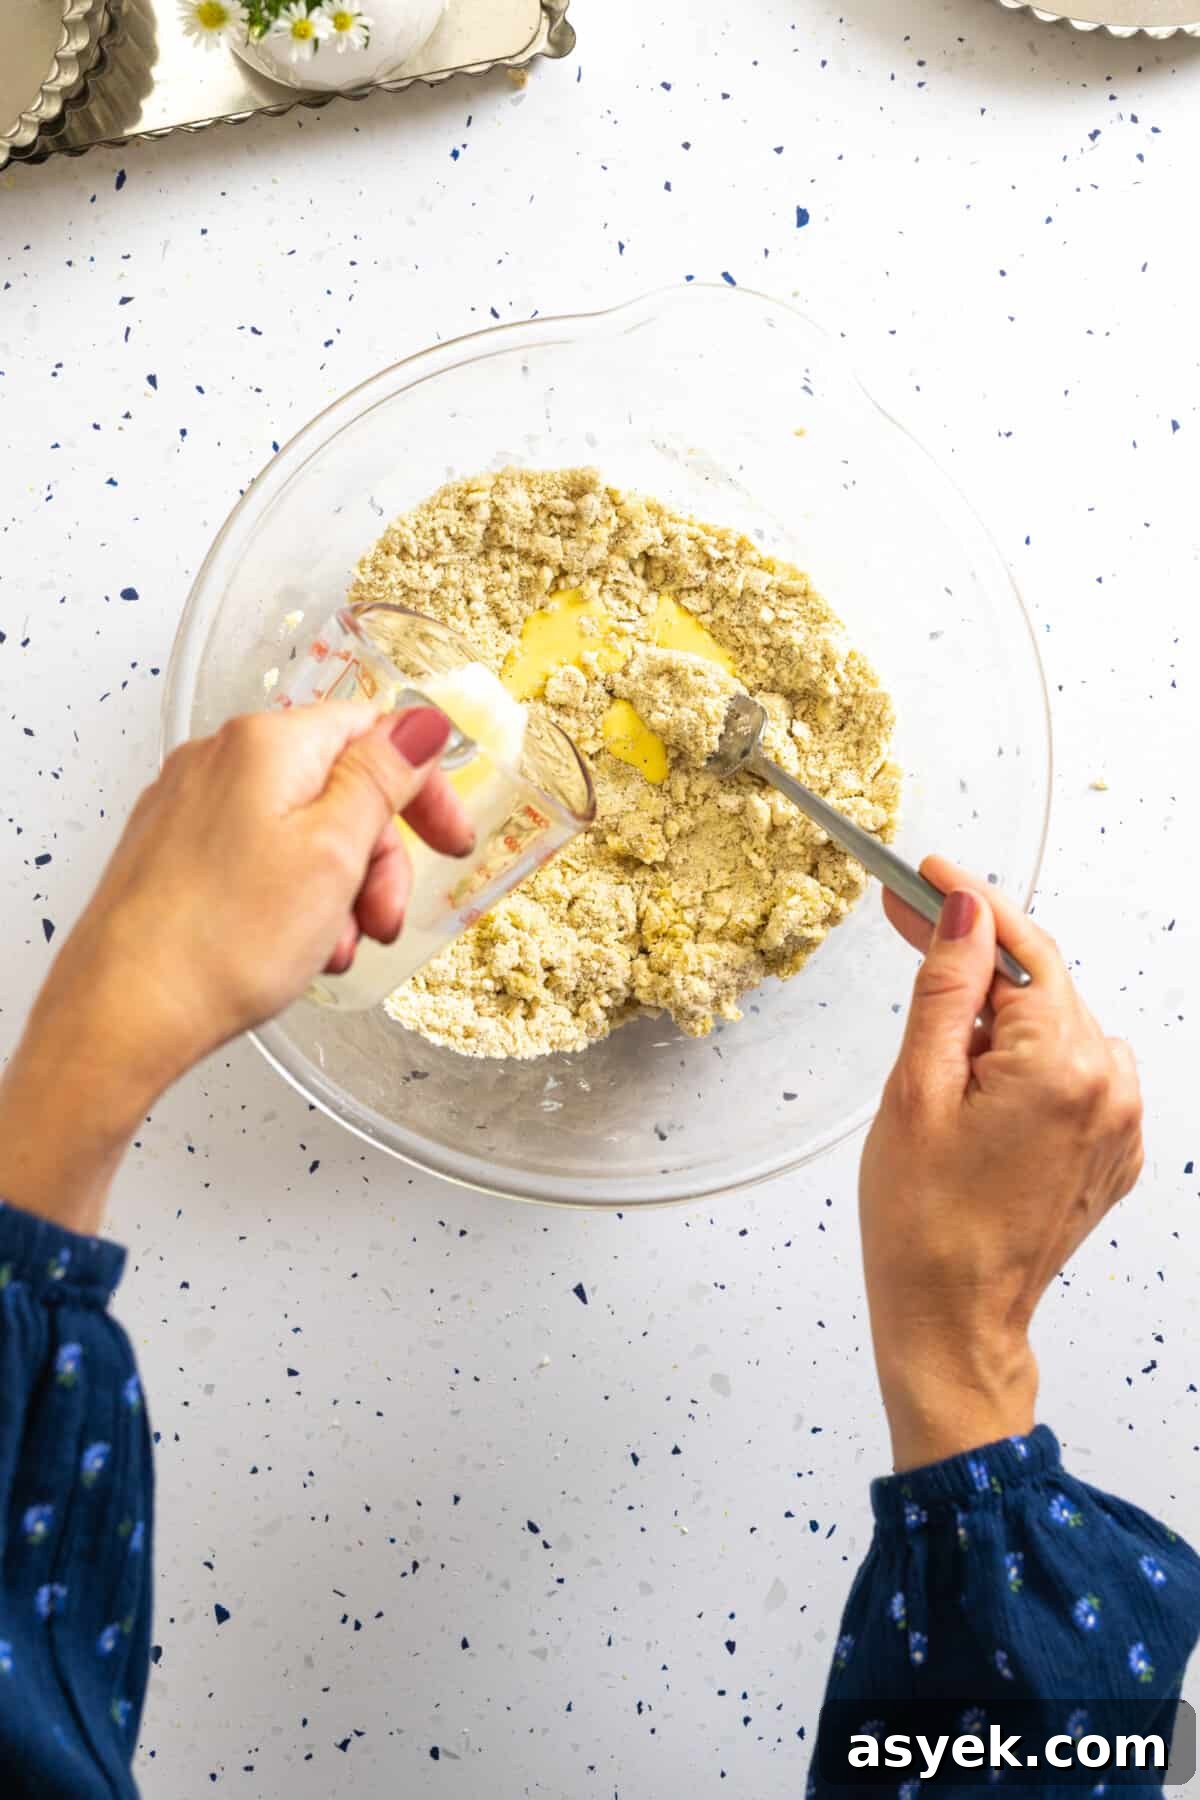
4 mixing methods for making tart doughs
There are several effective ways to cut butter into flour. Choose what works for your tools and comfort level.
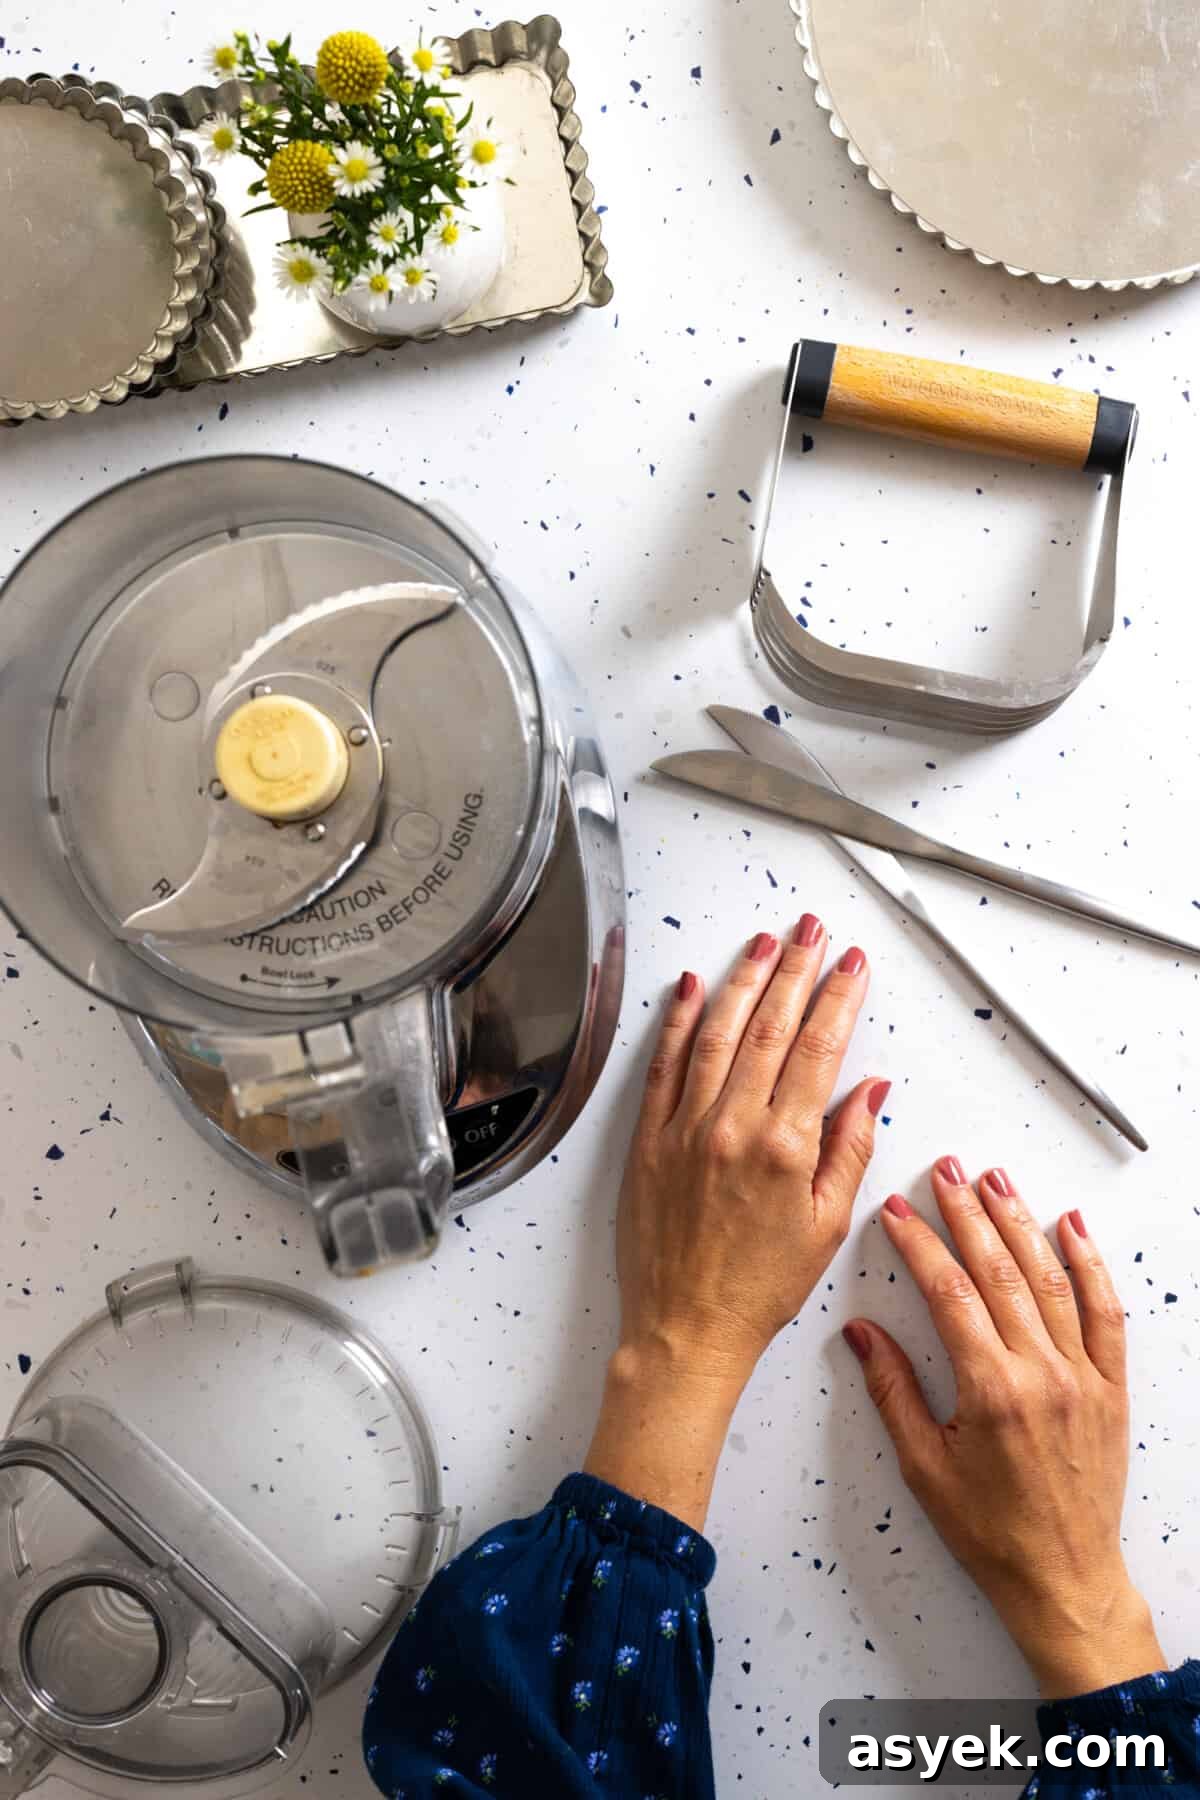
Method 1: Pastry Blender
A pastry blender gives control and a tactile feel as you work the butter into the flour. It’s a classic, reliable tool for tart dough, pie dough, biscuits, and scones.
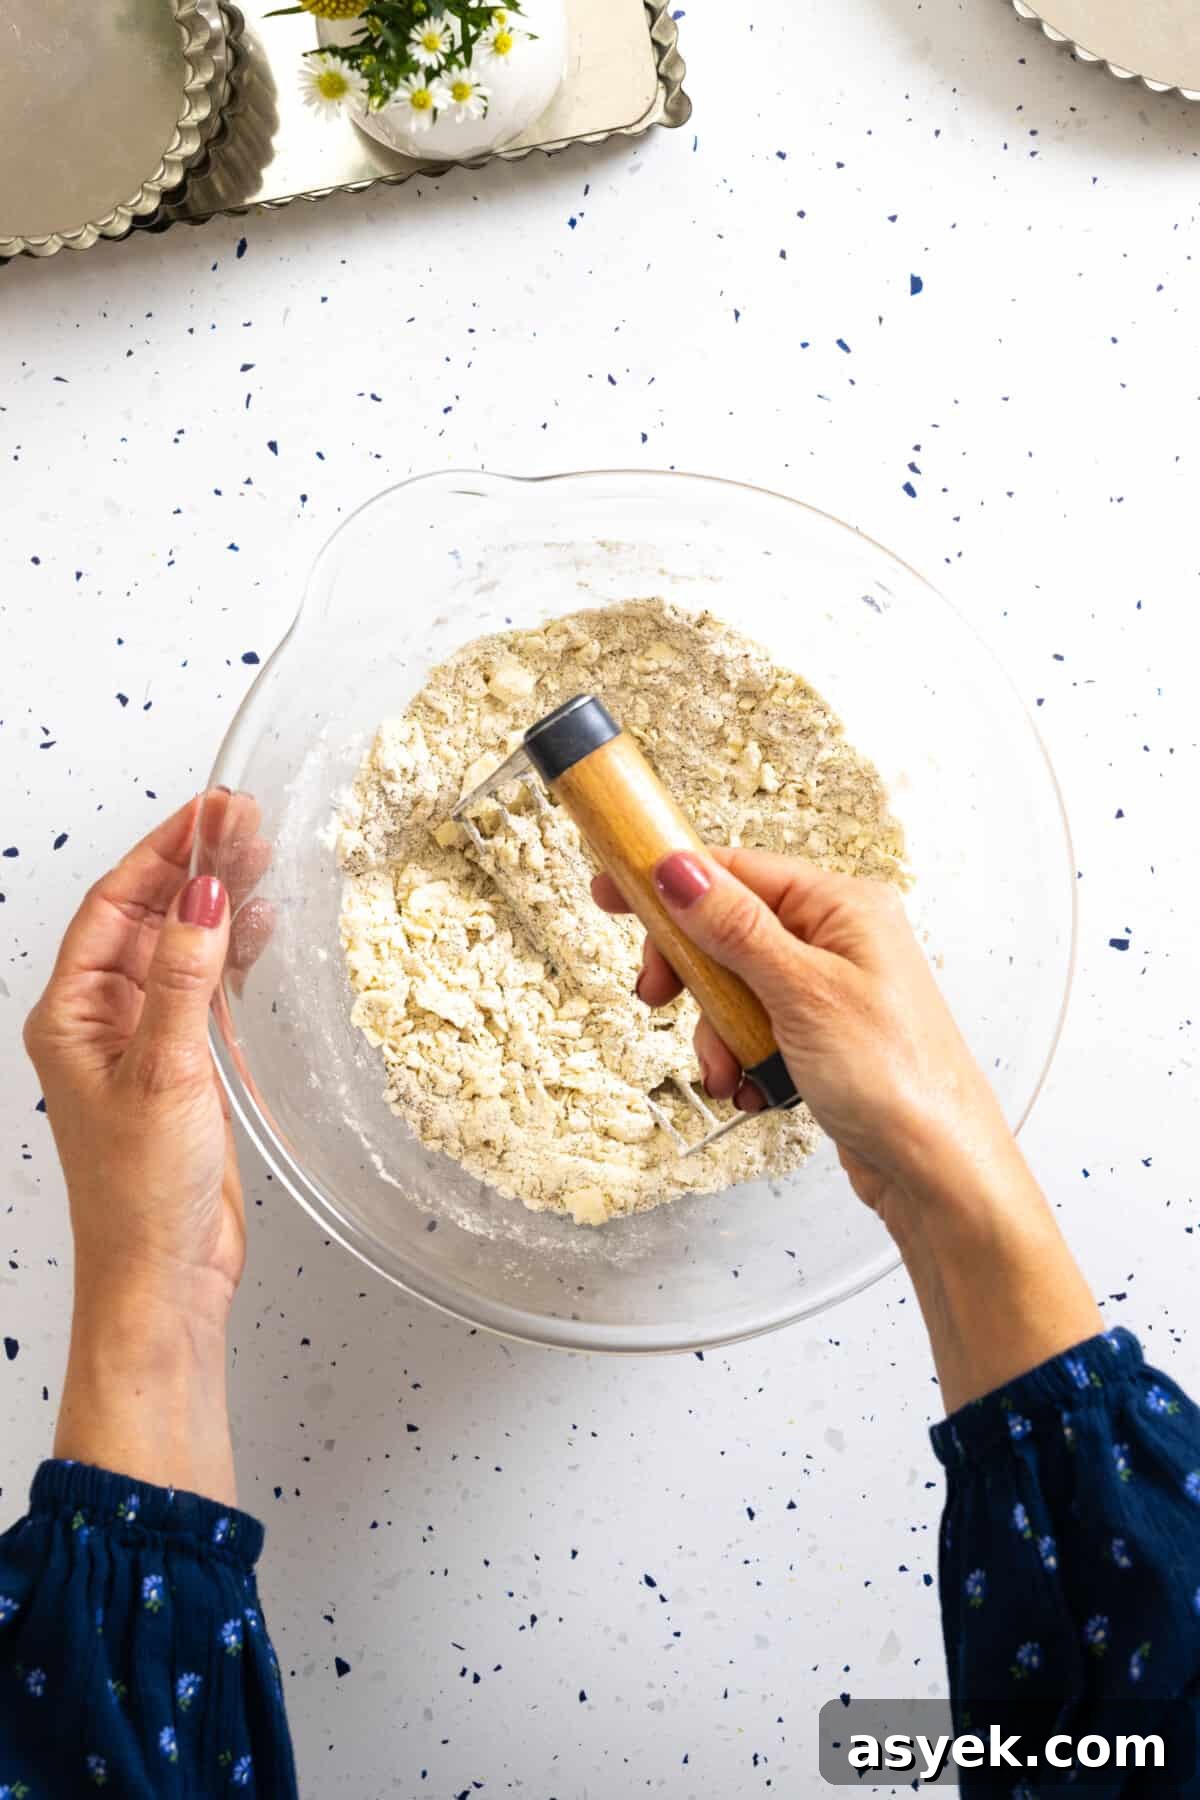
Method 2: Butter Knives
Cross two butter knives and scissor-cut the butter into the flour until the mixture is mealy. It takes a bit longer but works well in a pinch.
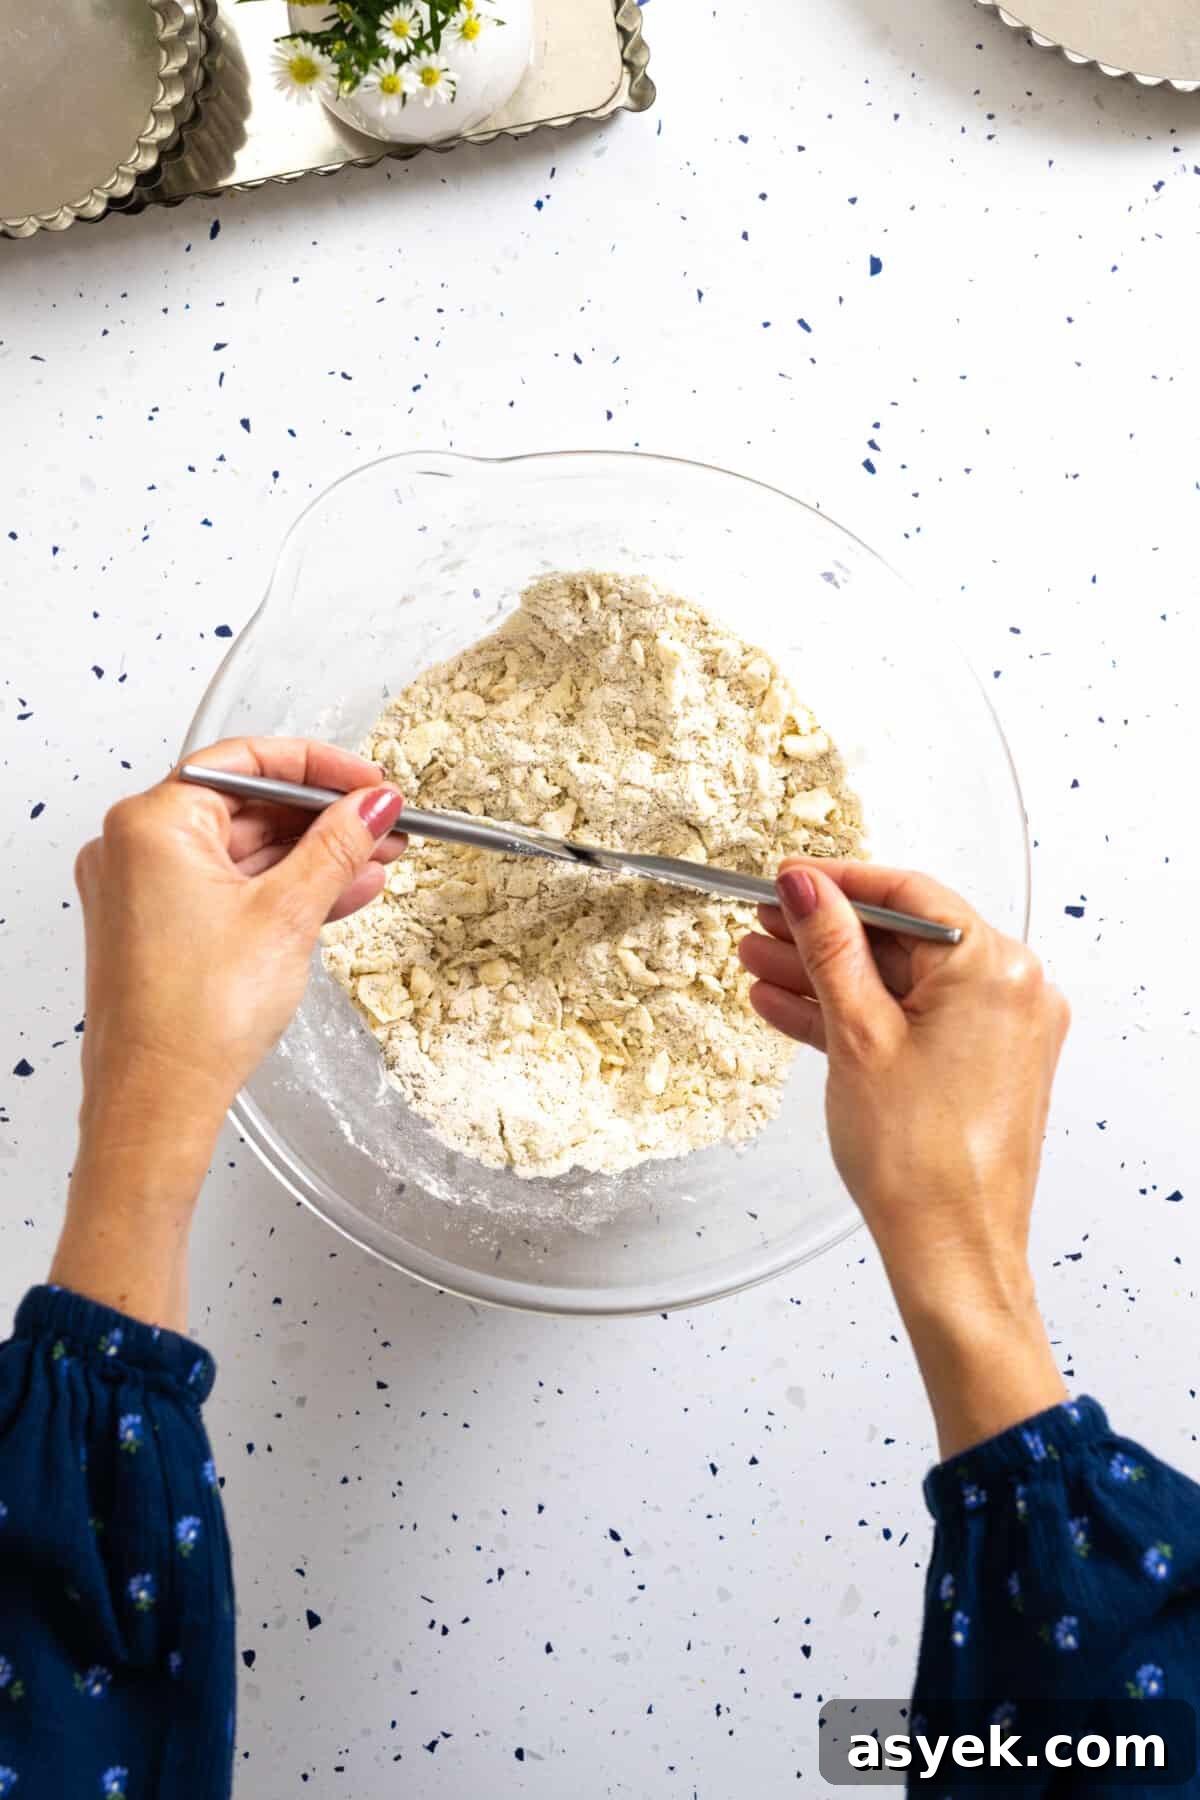
Method 3: Food Processor
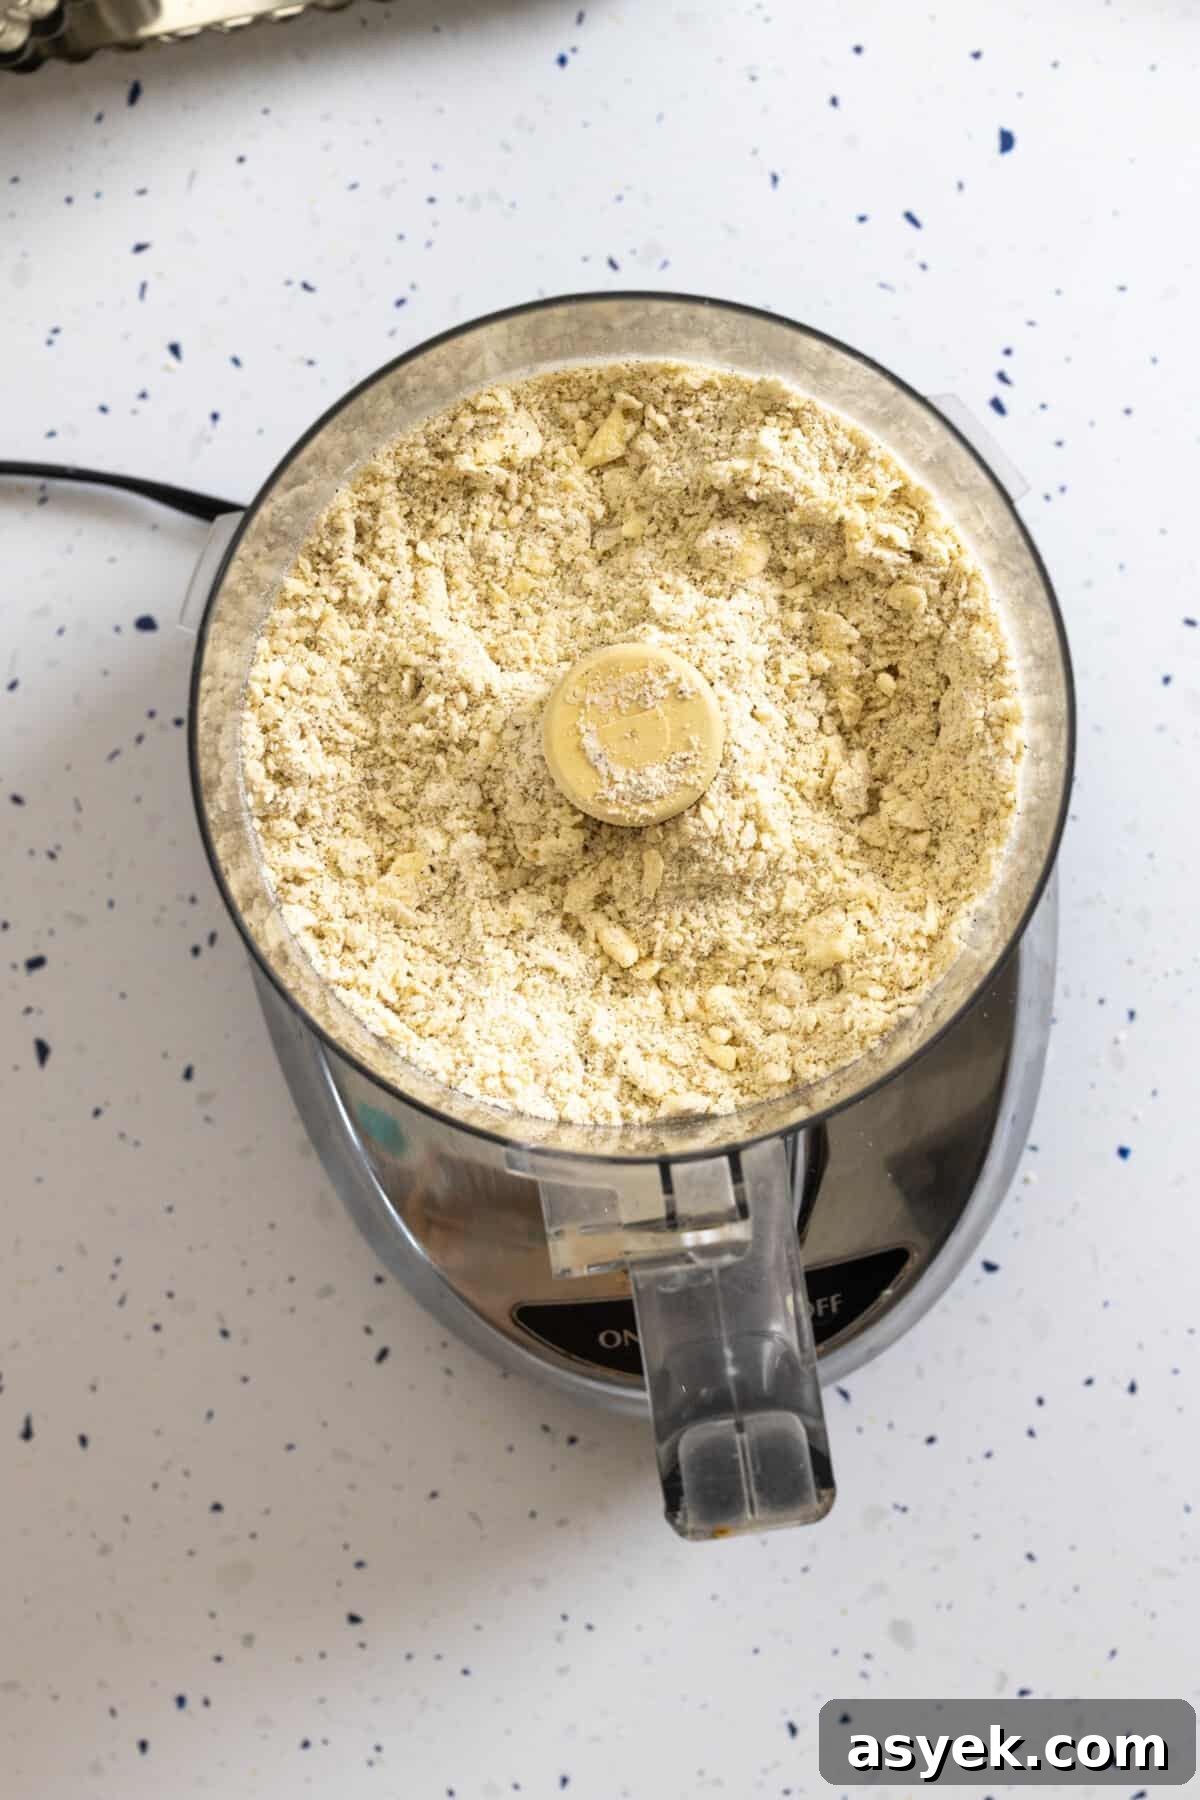
A food processor is the fastest option—use the pulse setting to avoid overworking the dough. When the mixture looks like coarse crumbs, transfer to a bowl and finish hydrating with a fork to minimize risk of overmixing. A food processor is especially useful when making multiple batches.
Method 4: Hands on
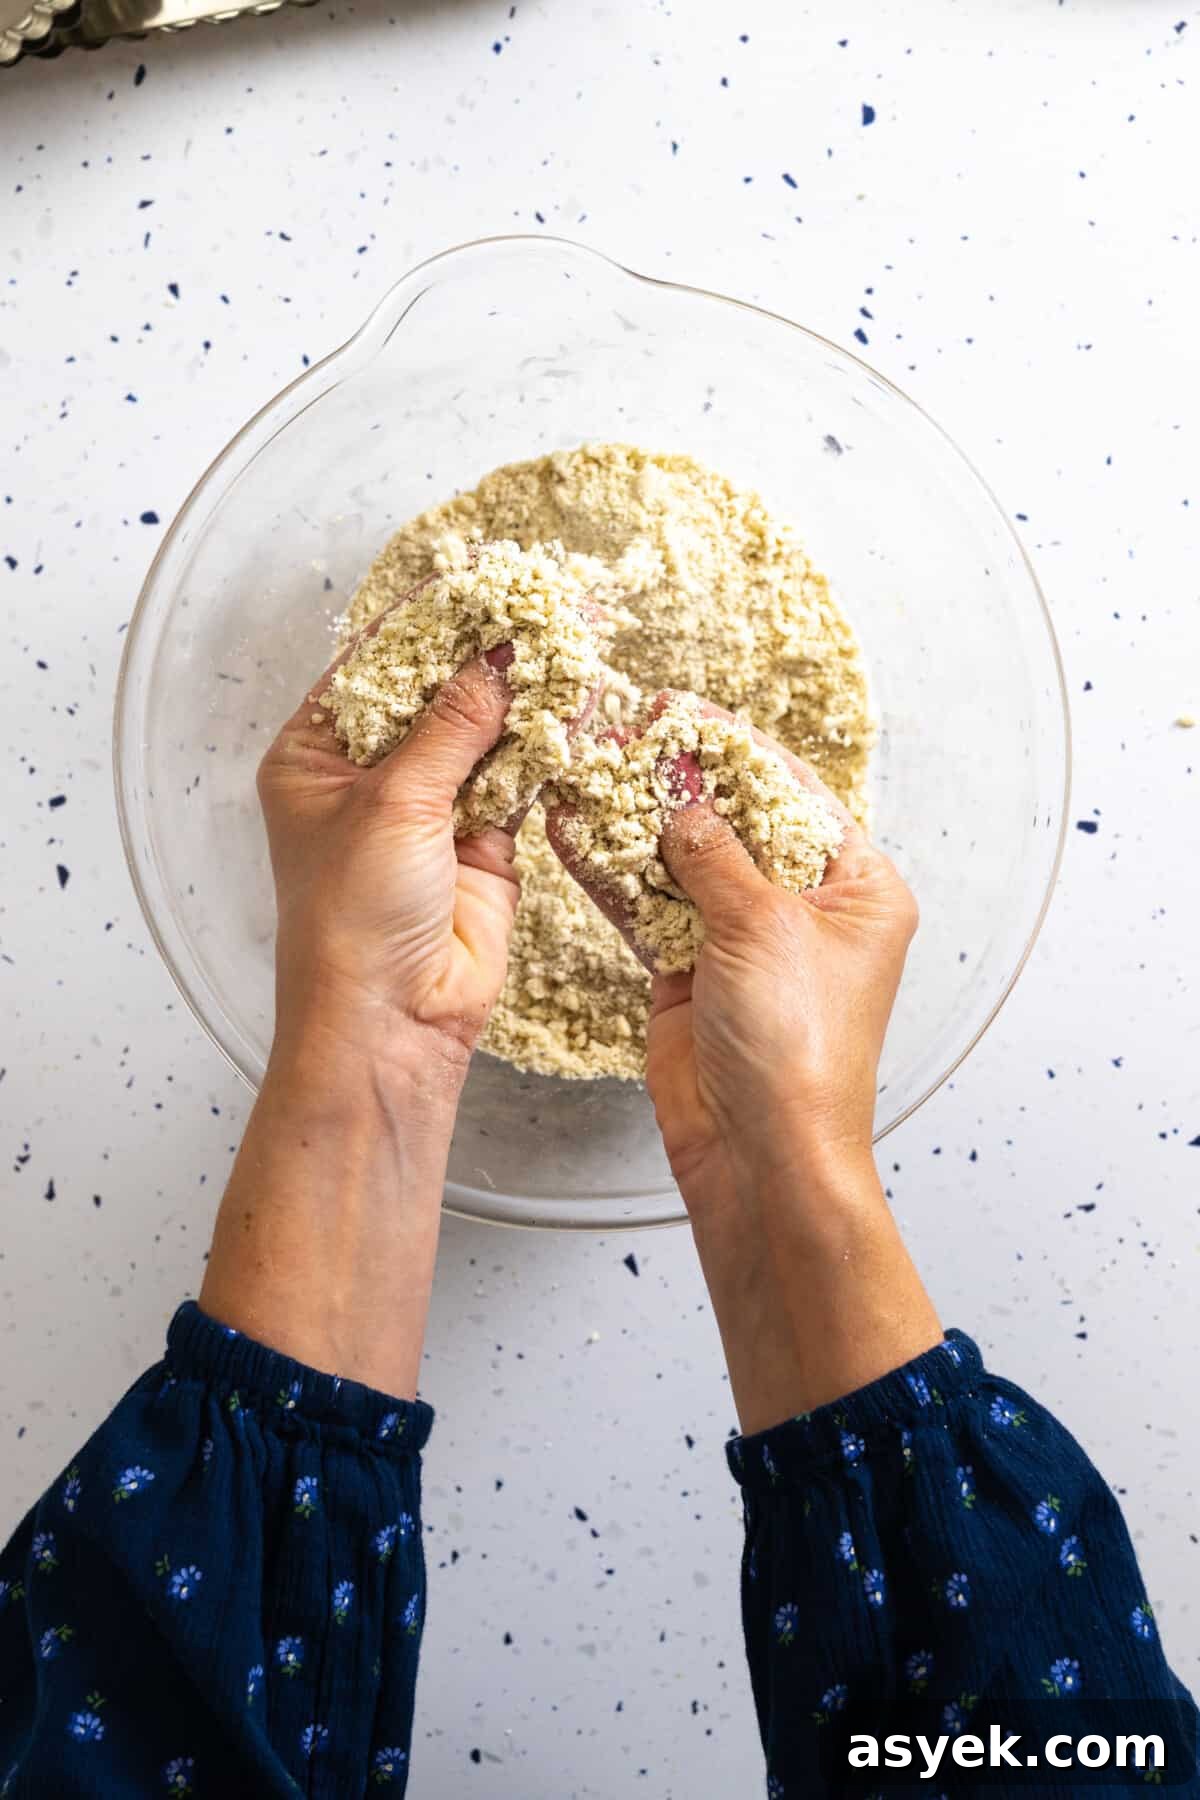
Use your fingers to squish butter into the flour until the mixture is coarse and mealy. Work quickly to keep the butter cold; if it starts to soften, chill the bowl briefly before proceeding.
A simple hydration test
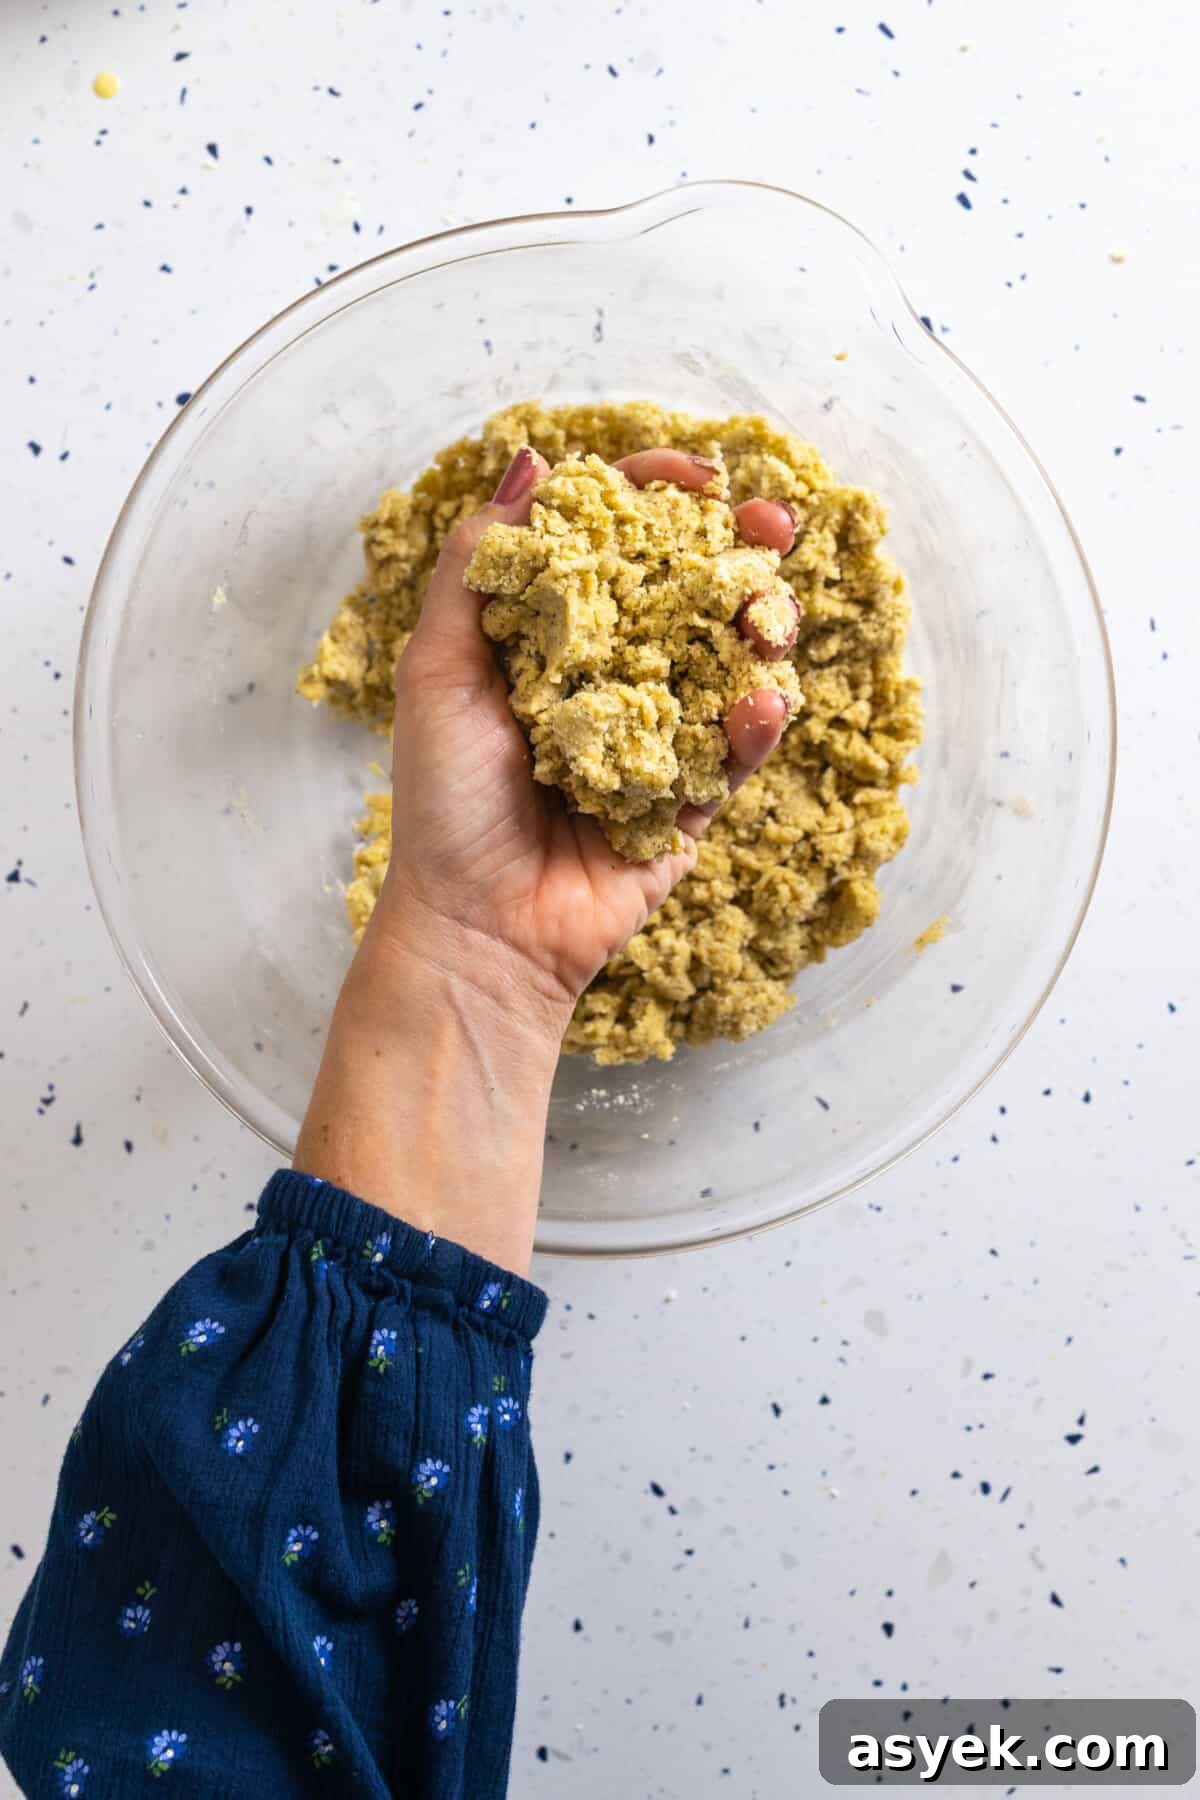
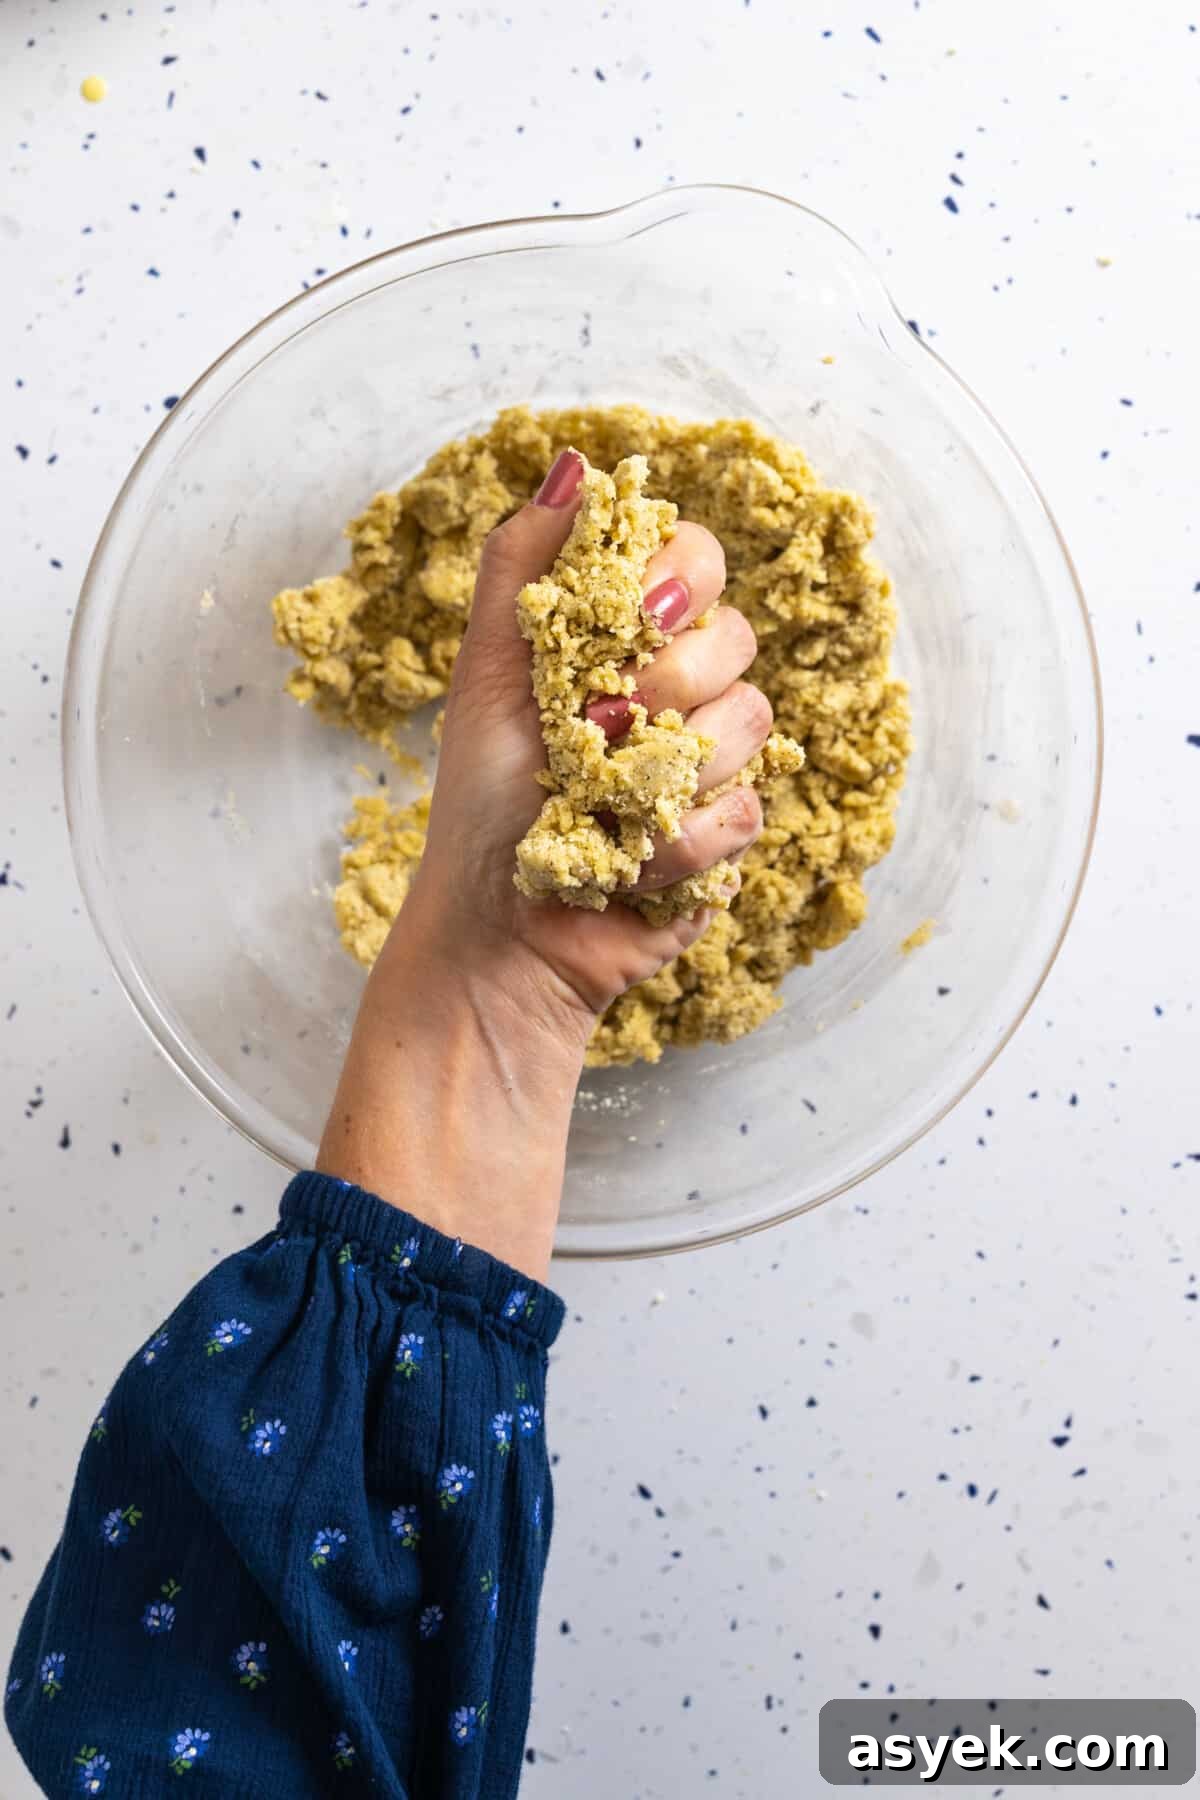
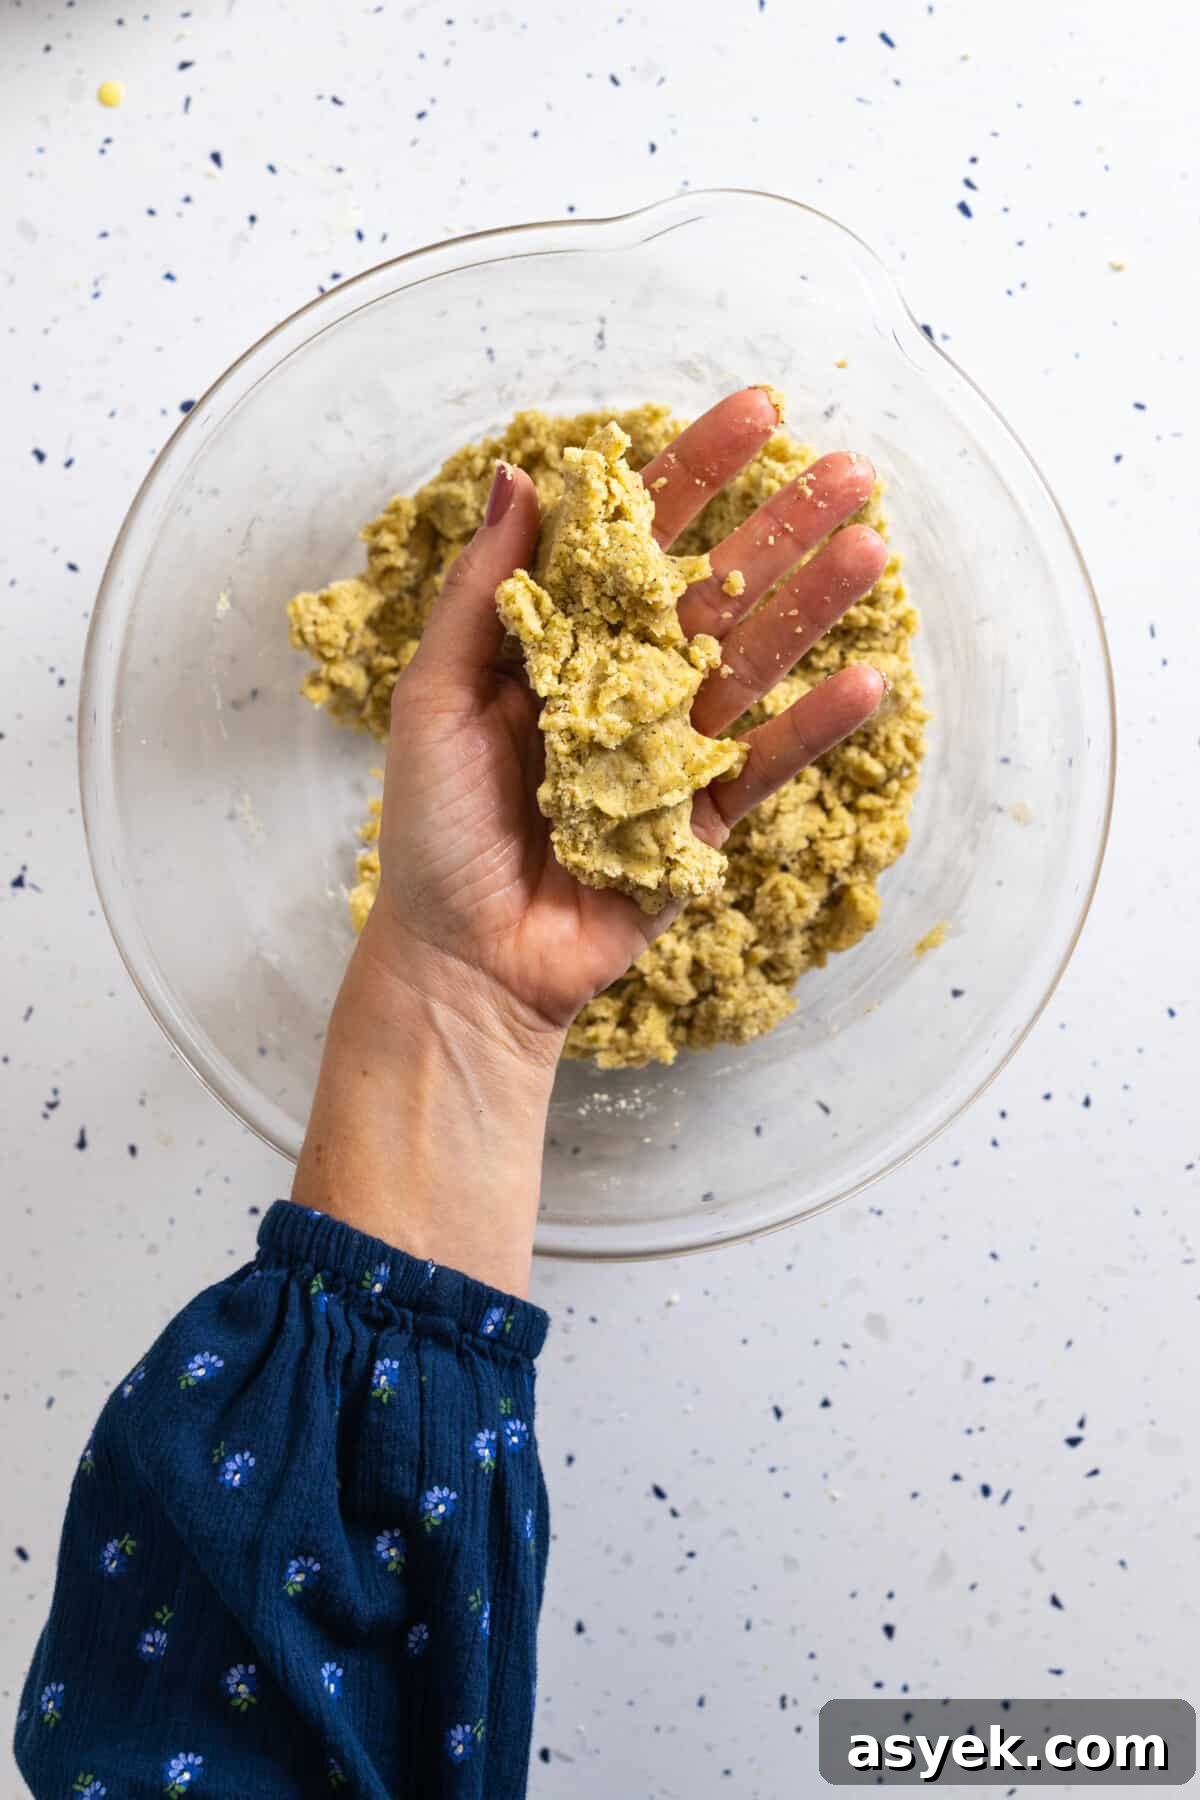
Getting moisture right is essential: too dry and the dough won’t hold, too wet and the crust will be heavy. Take a handful of crumbly dough and gently squeeze—if it holds together without feeling sticky, the hydration is correct.
Roll-out or press-in shaping methods
You can roll the chilled dough for a neat, even crust, or use the press-in method for a rustic approach. Rolling yields a professional-looking edge and allows you to trim cleanly; pressing is faster and works well for tartlets and less formal shapes.
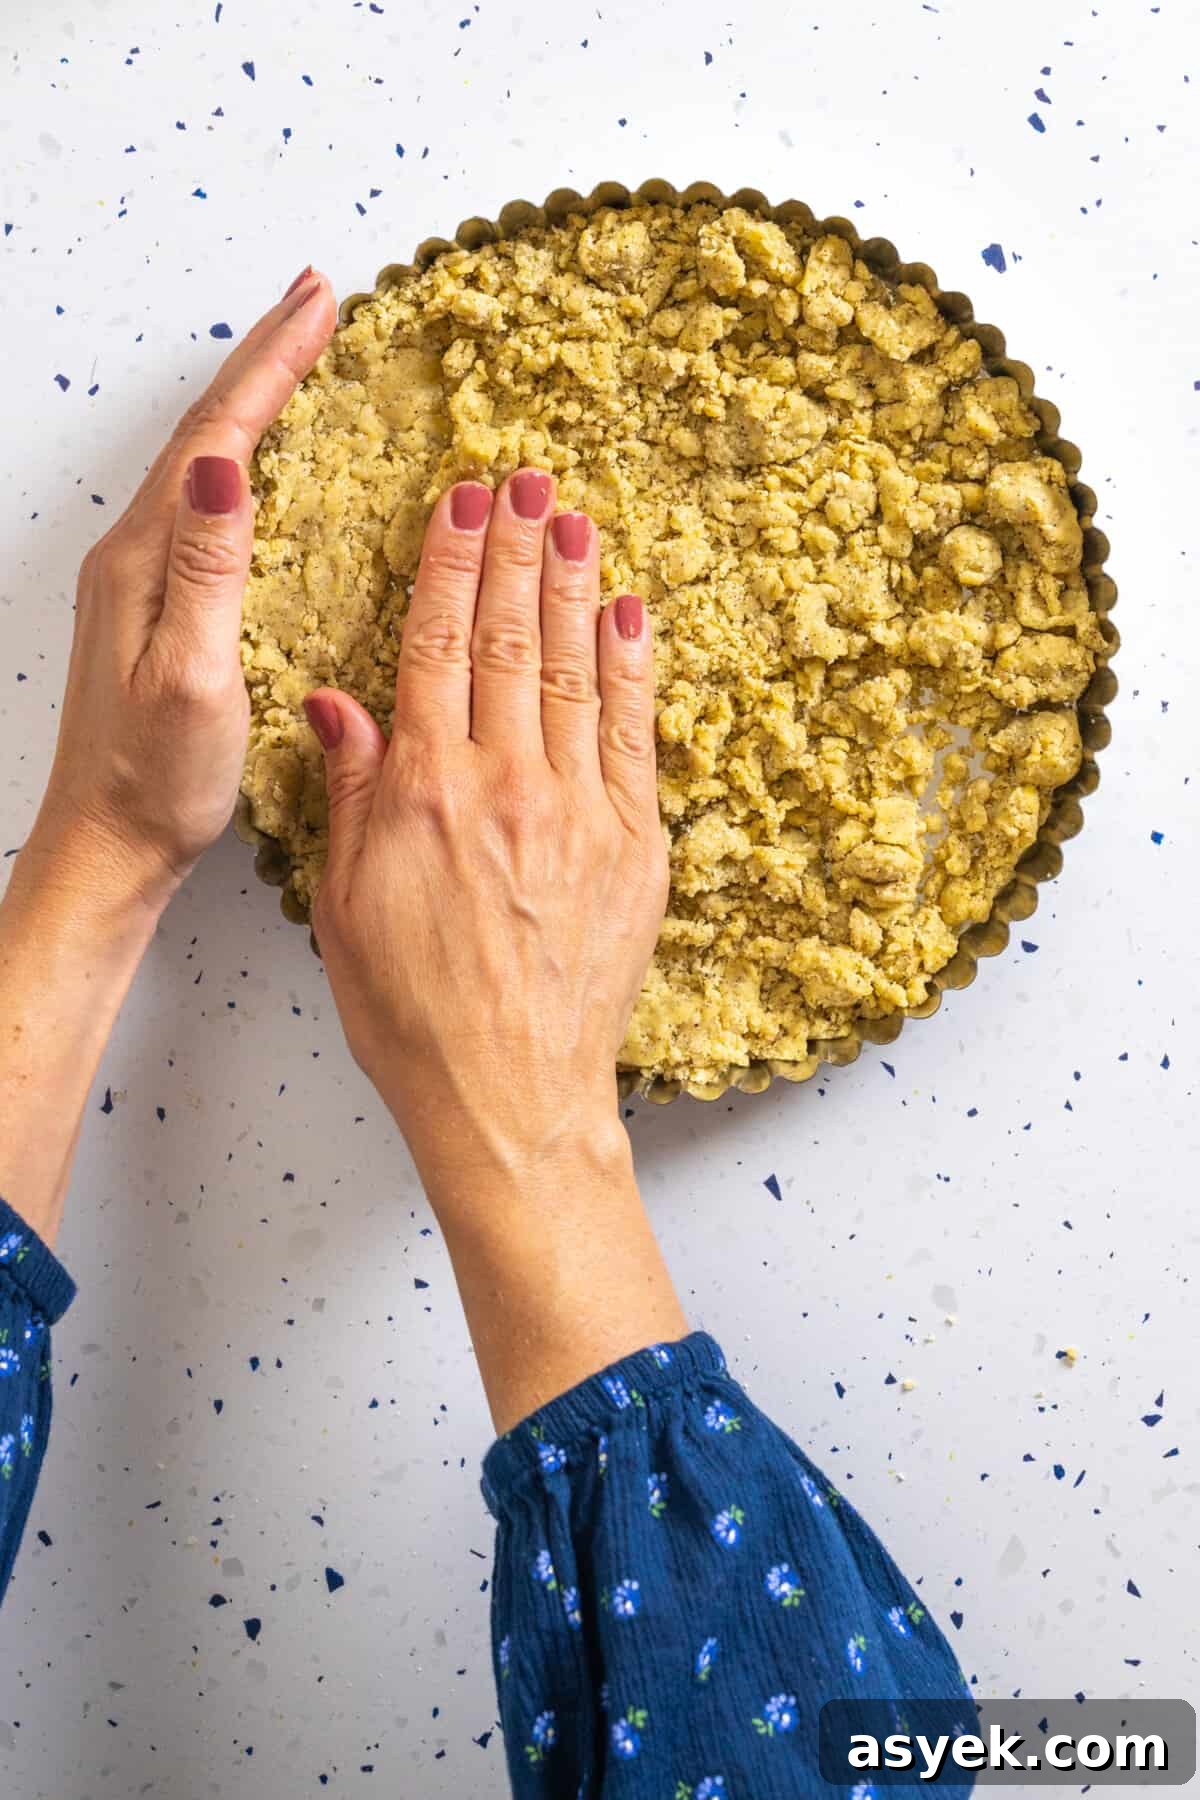
Press-in
For the press-in method, sprinkle the crumbly dough into the pan and press it evenly across the bottom and up the sides. Chill the pressed shell before baking. The result is rustic but delicious.
How to blind bake tart dough
Blind baking (pre-baking) prevents a soggy bottom and is essential for many tarts and quiches. After shaping, dock the dough with a fork, line it with parchment or foil, and fill with pie weights, dried beans, or uncooked rice. Bake once with weights to set the shape, then remove the weights and finish baking to the desired doneness.
- Line the shell with parchment or foil, crinkled to fit snugly, then add weights so the shell is fully supported.
- Bake until the liner no longer sticks and the edges begin to brown (about 15–20 minutes for many pans).
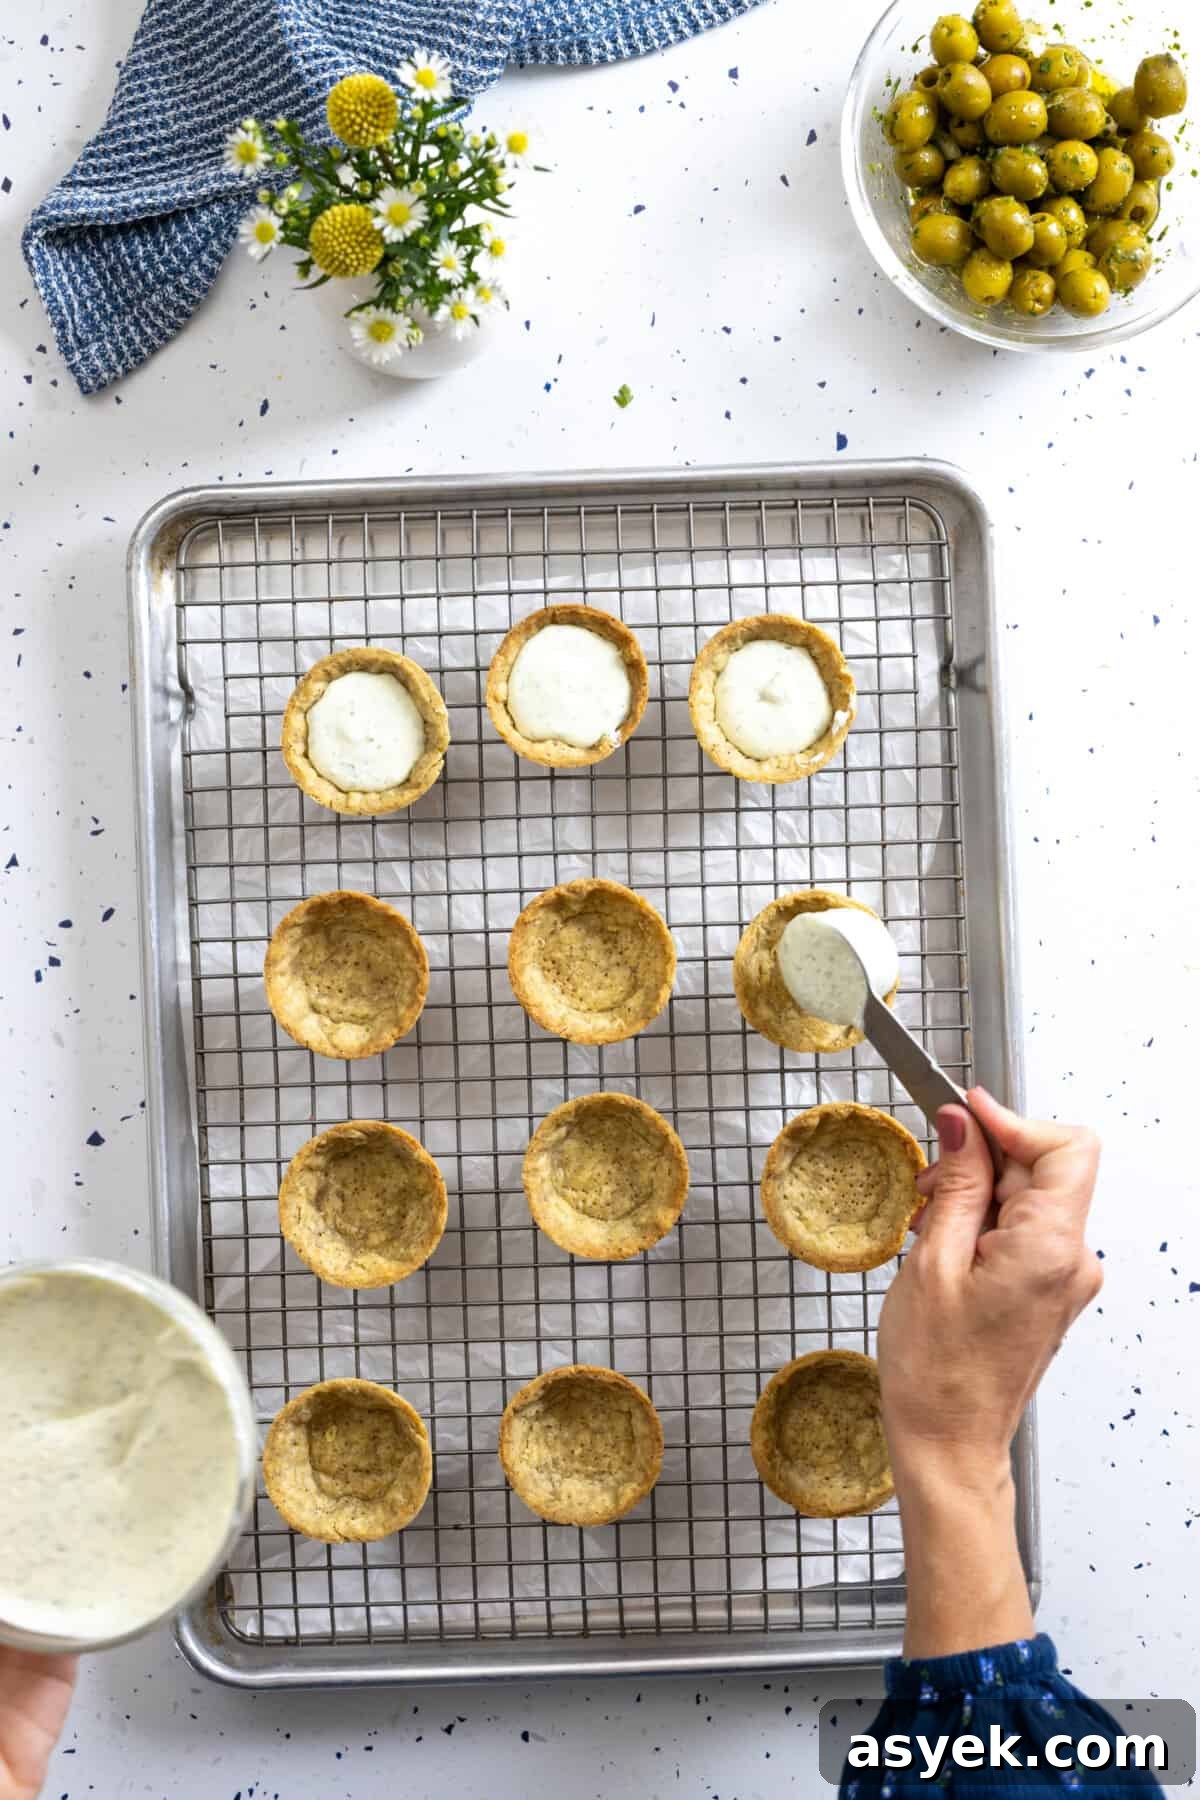
- Remove the weights and bake a few minutes more to set the top layer. For fully baked crusts for no-bake fillings, continue until golden and dry.
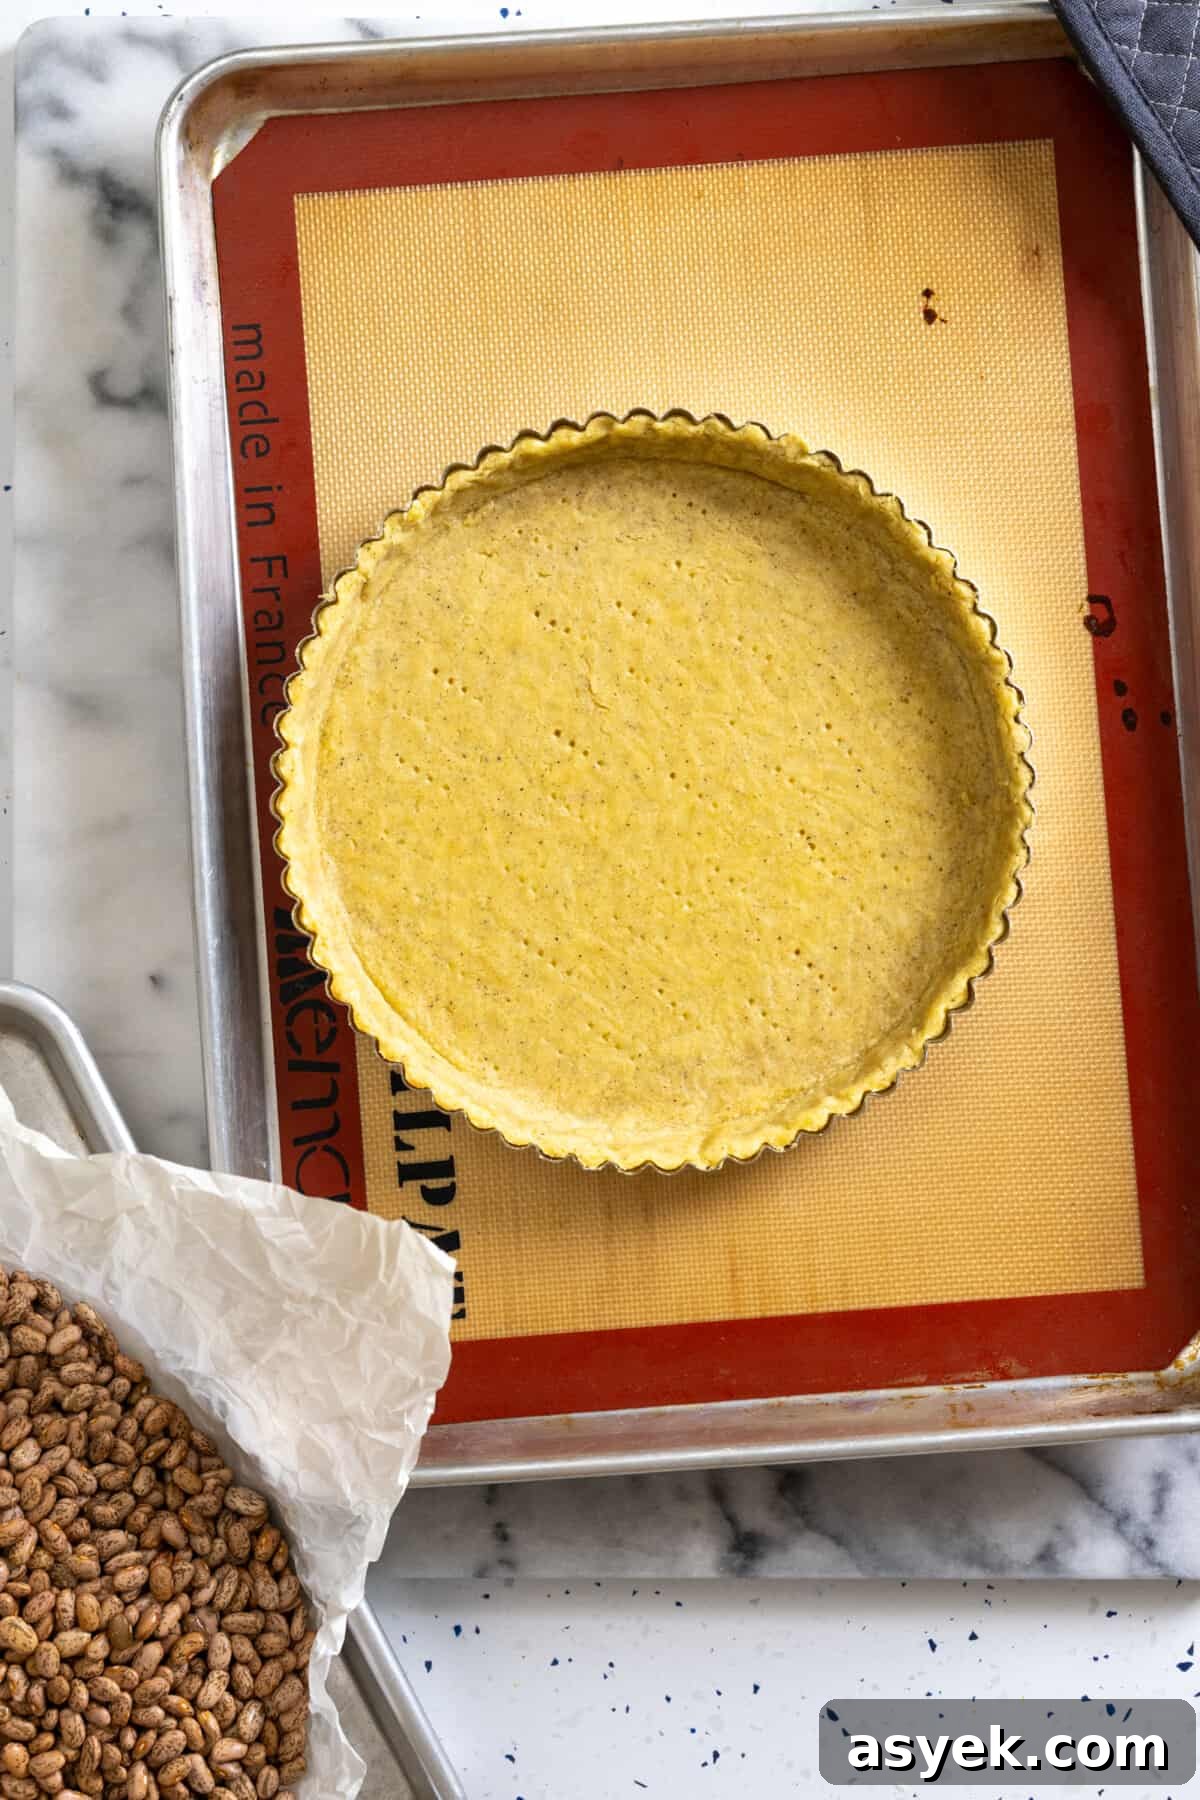
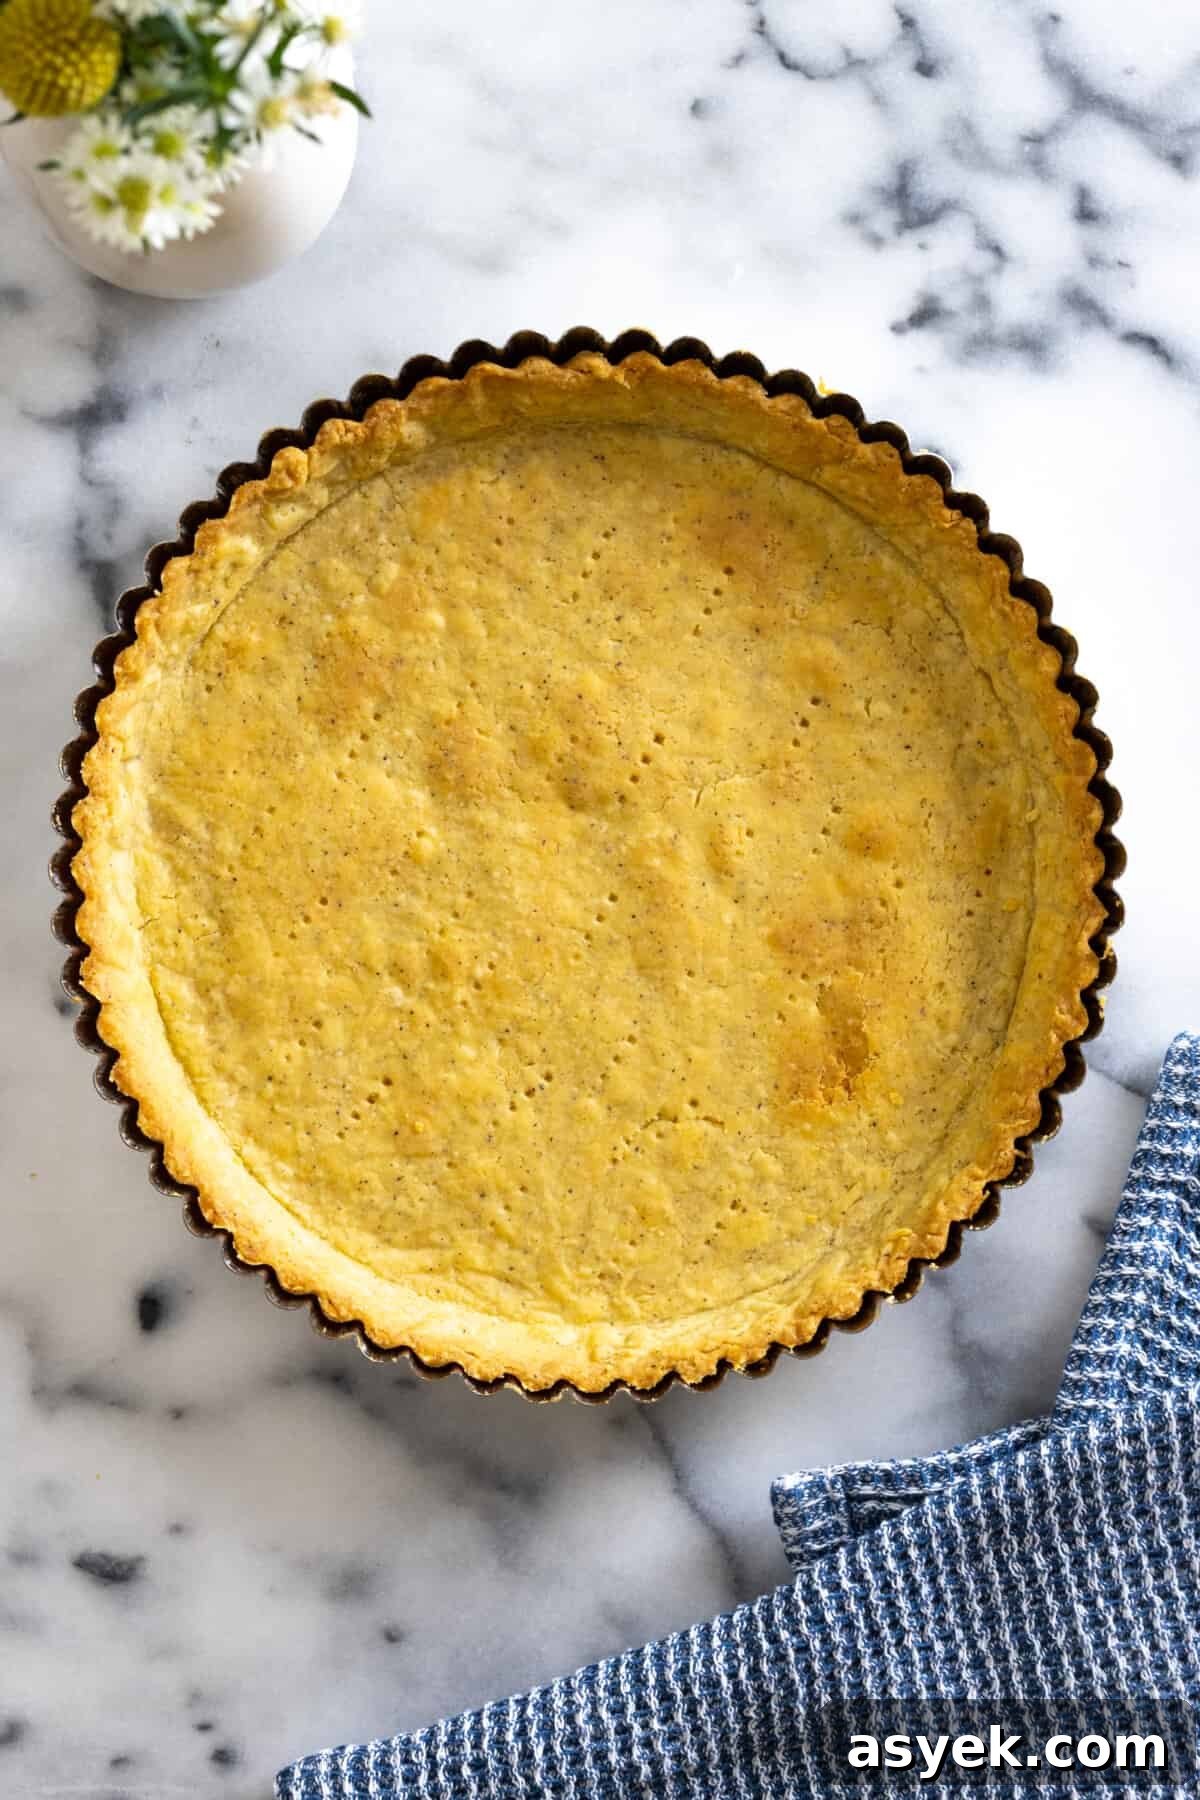
Mini tartlets are blind-baked the same way: line and weight each muffin cup individually. This dough performs consistently whether you’re making individual appetizers or an elegant dinner-quiche.
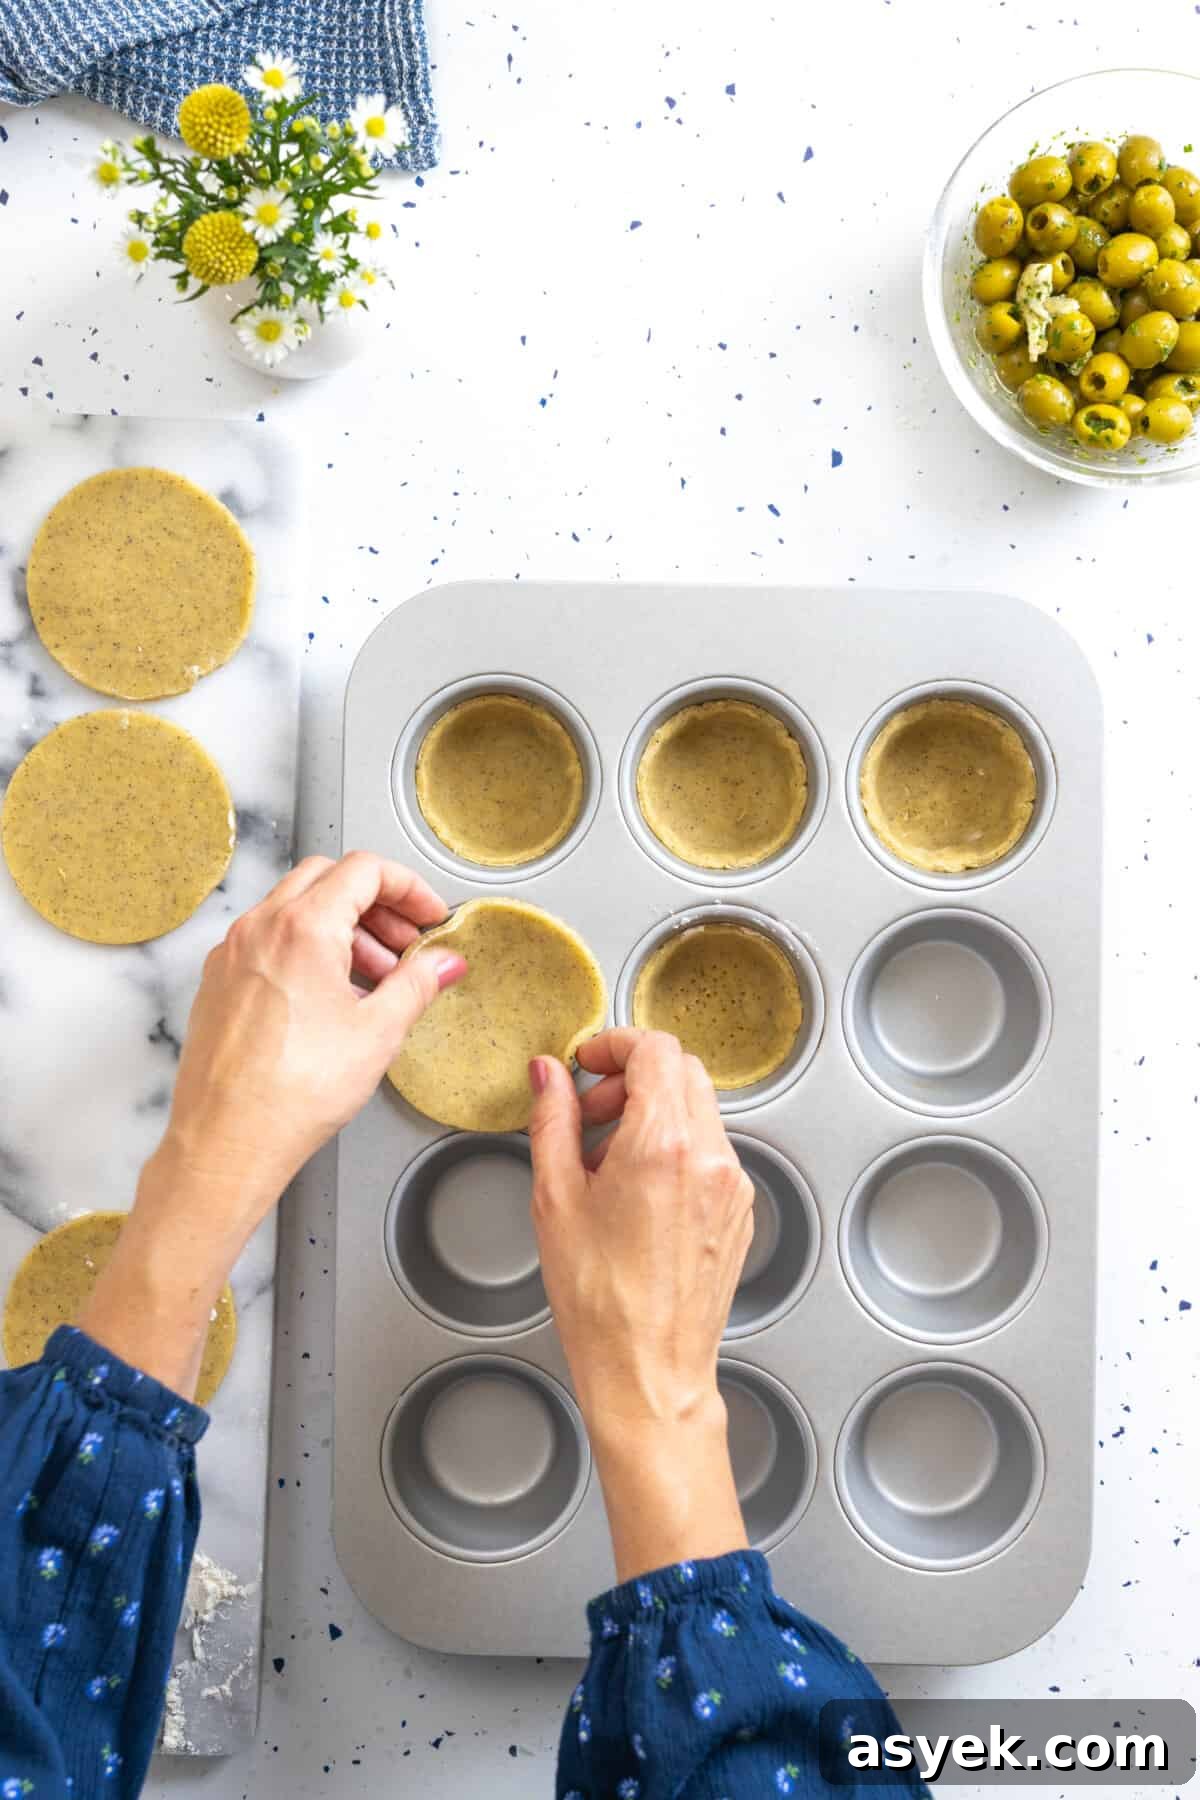
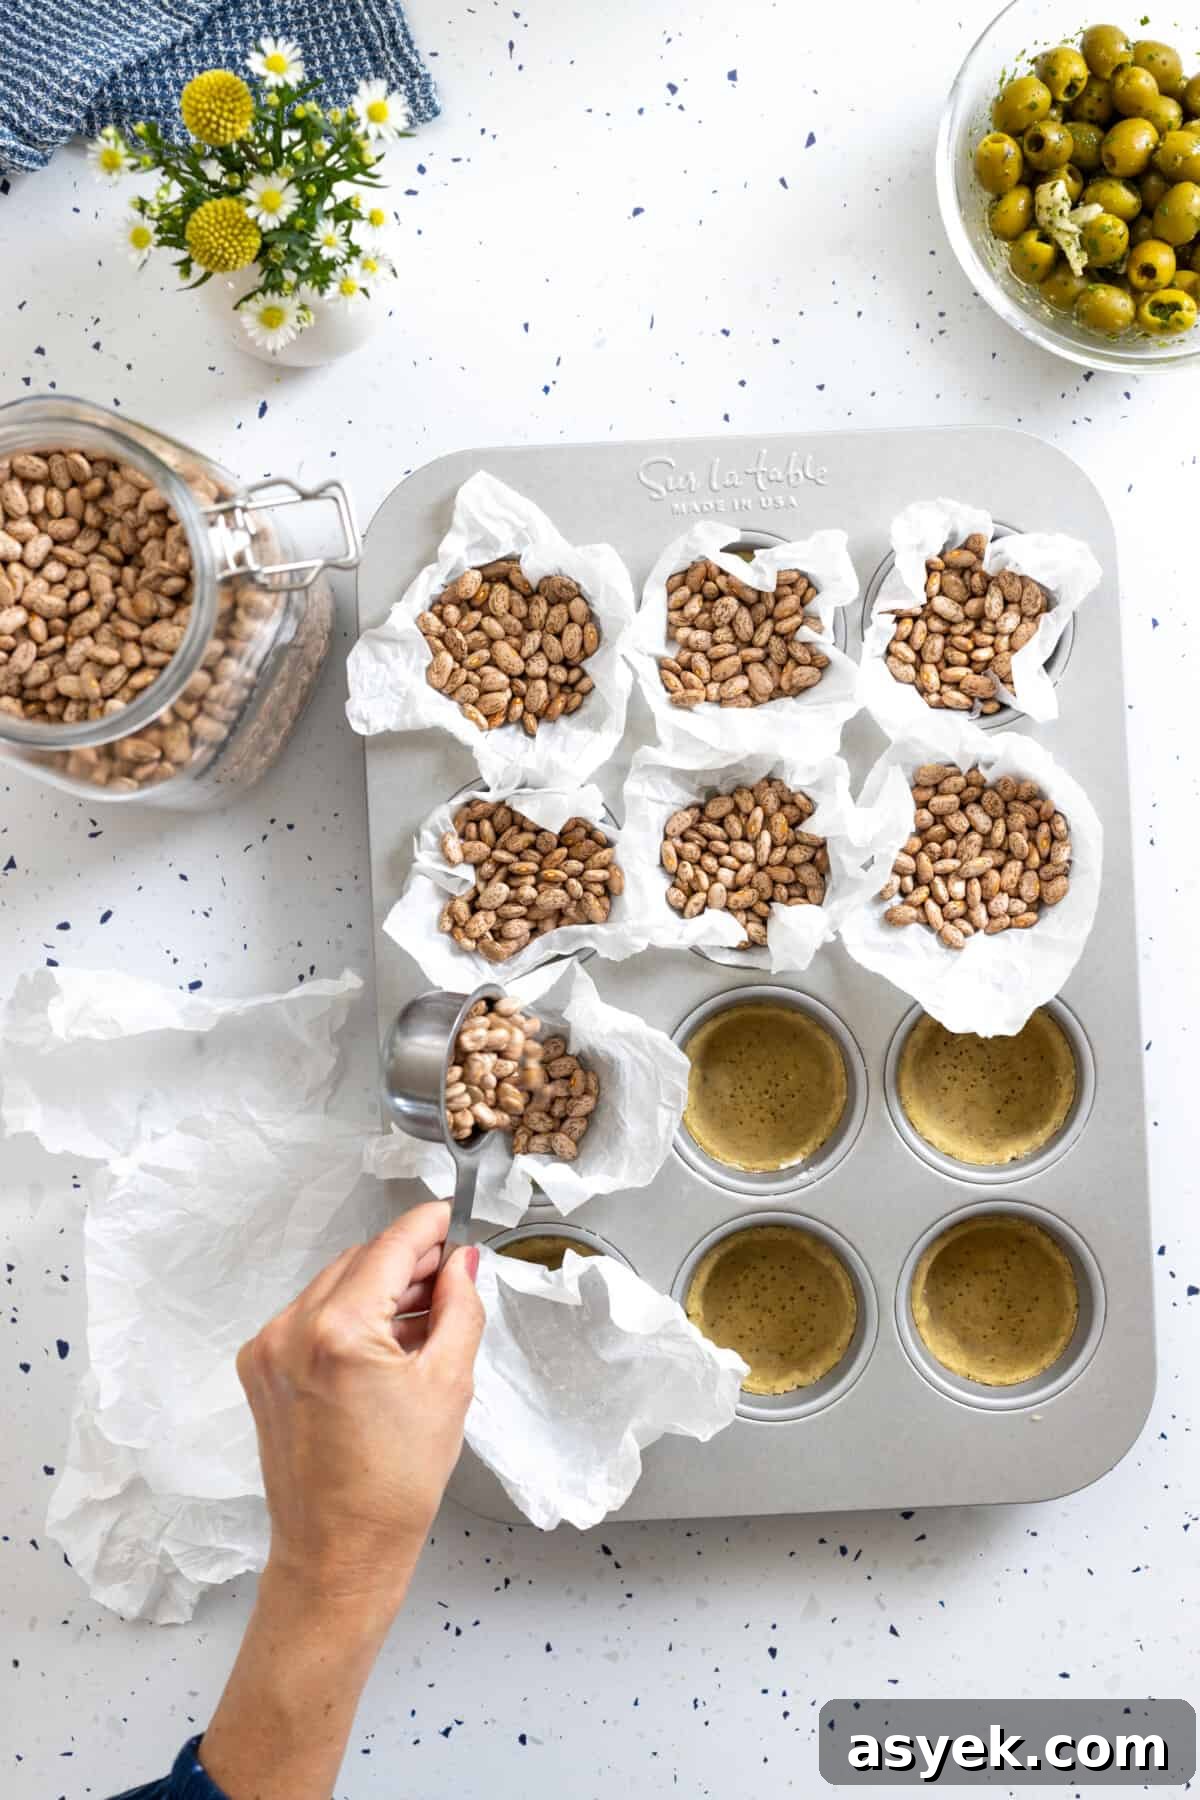
This guide covers each step so you can confidently produce crisp, flaky tart shells ready to be filled with your favorite savory ingredients.
Recipe
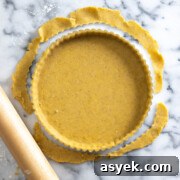
Savory Tart Dough
Yield: One 9–9½” round tart shell
Total time: About 1 hour 30 minutes (includes chilling)
Description
A flaky, crisp savory tart dough with balanced salt and a hint of pepper. Ideal for quiches, vegetable tarts, cheese tarts, and mini tartlets.
Ingredients
- 1 egg yolk
- 2 tablespoons heavy cream or whole milk
- 1 ¼ cup all-purpose flour
- 1 teaspoon granulated sugar
- 1 teaspoon fine sea salt
- ¾ teaspoon freshly ground pepper (optional)
- ½ cup unsalted butter, cold and cut into ½” cubes
Instructions
Mixing the dough
- Whisk the egg yolk and cream together in a small bowl and set aside.
- In a large bowl, whisk the flour, sugar, salt, and pepper.
- Cut the cold butter into the flour mixture using a pastry blender, two knives, a food processor (pulse), or your hands until it resembles coarse cornmeal with pea-sized butter pieces remaining.
- Add the egg mixture and mix with a fork until the dough just holds together and is shaggy. Test hydration by squeezing a small handful; it should cling without being sticky.
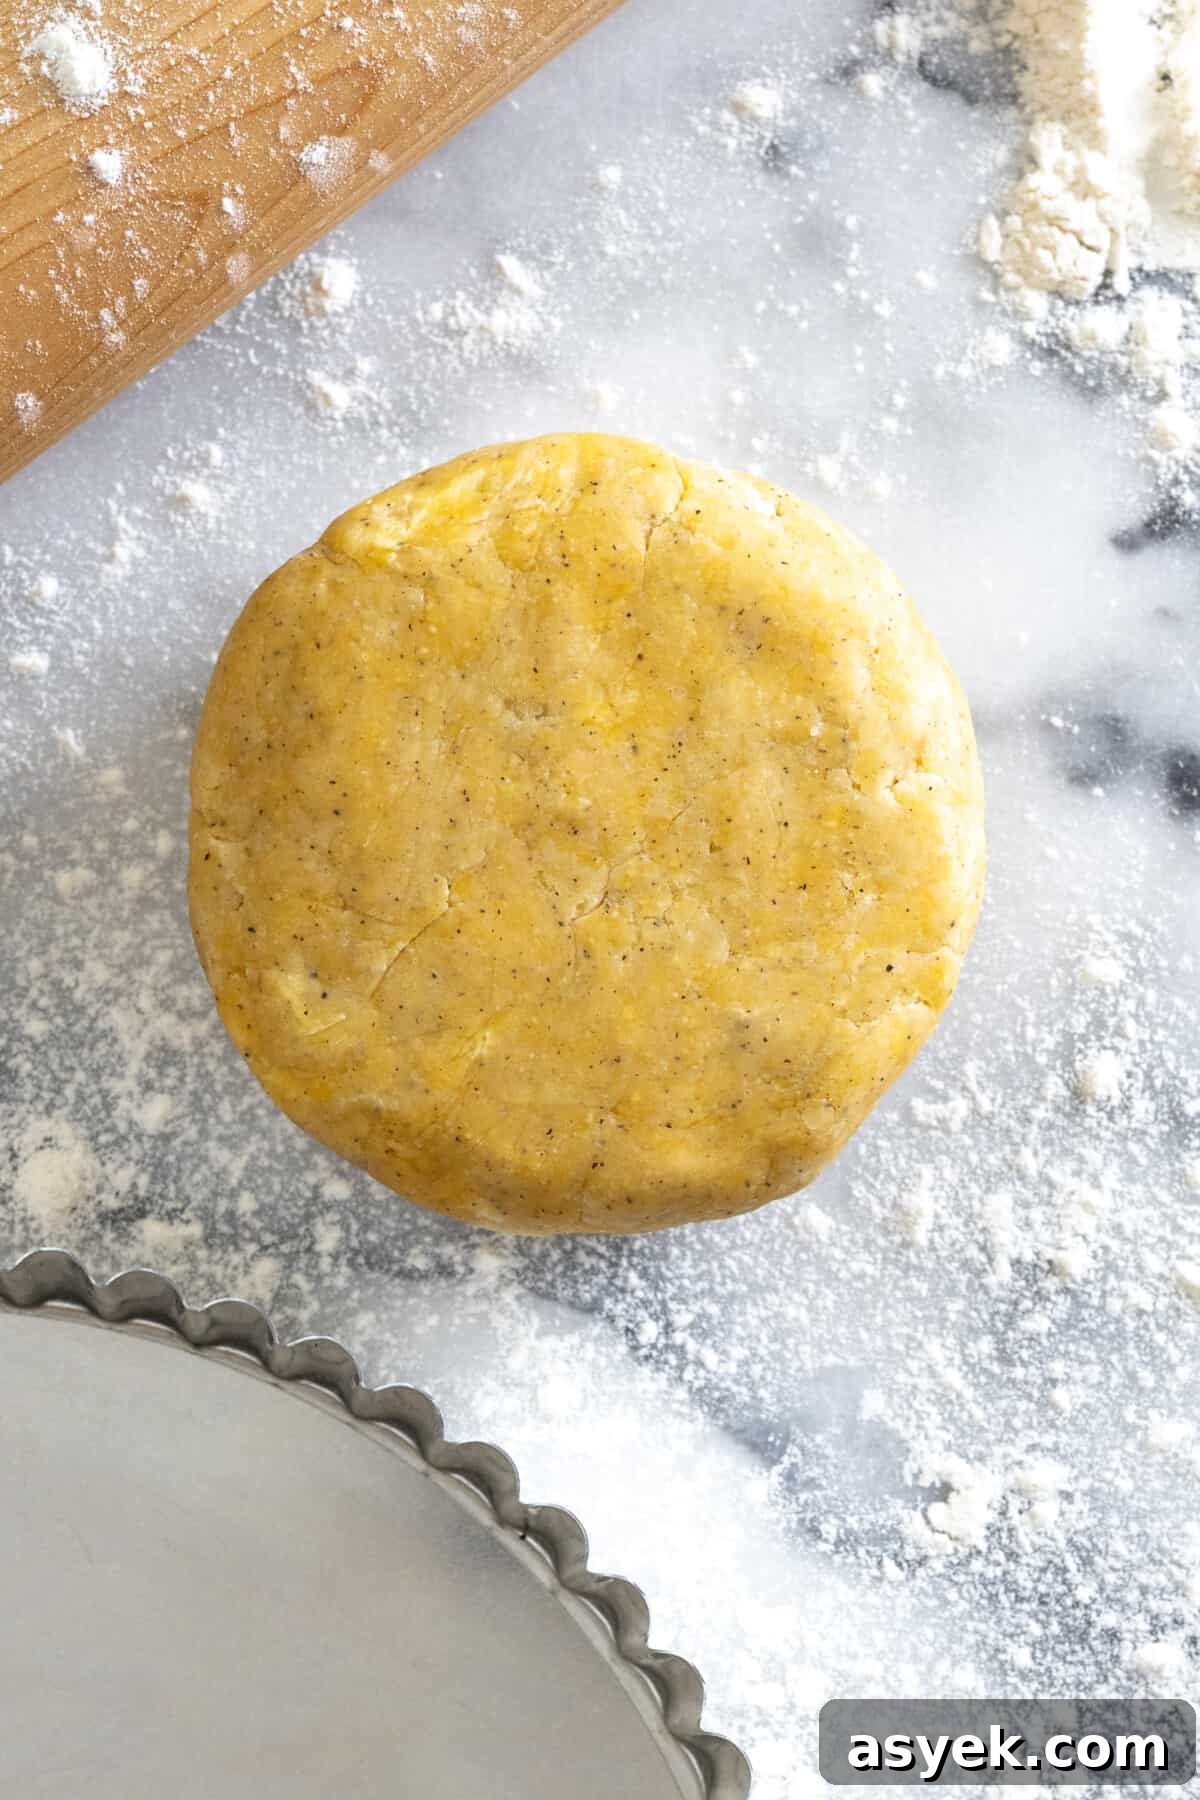
- Gather the dough on a lightly floured surface, form into a disk, wrap tightly, and chill for at least 30 minutes (preferably an hour). The dough can be frozen up to 3 months if well sealed.
Shaping the tart shell
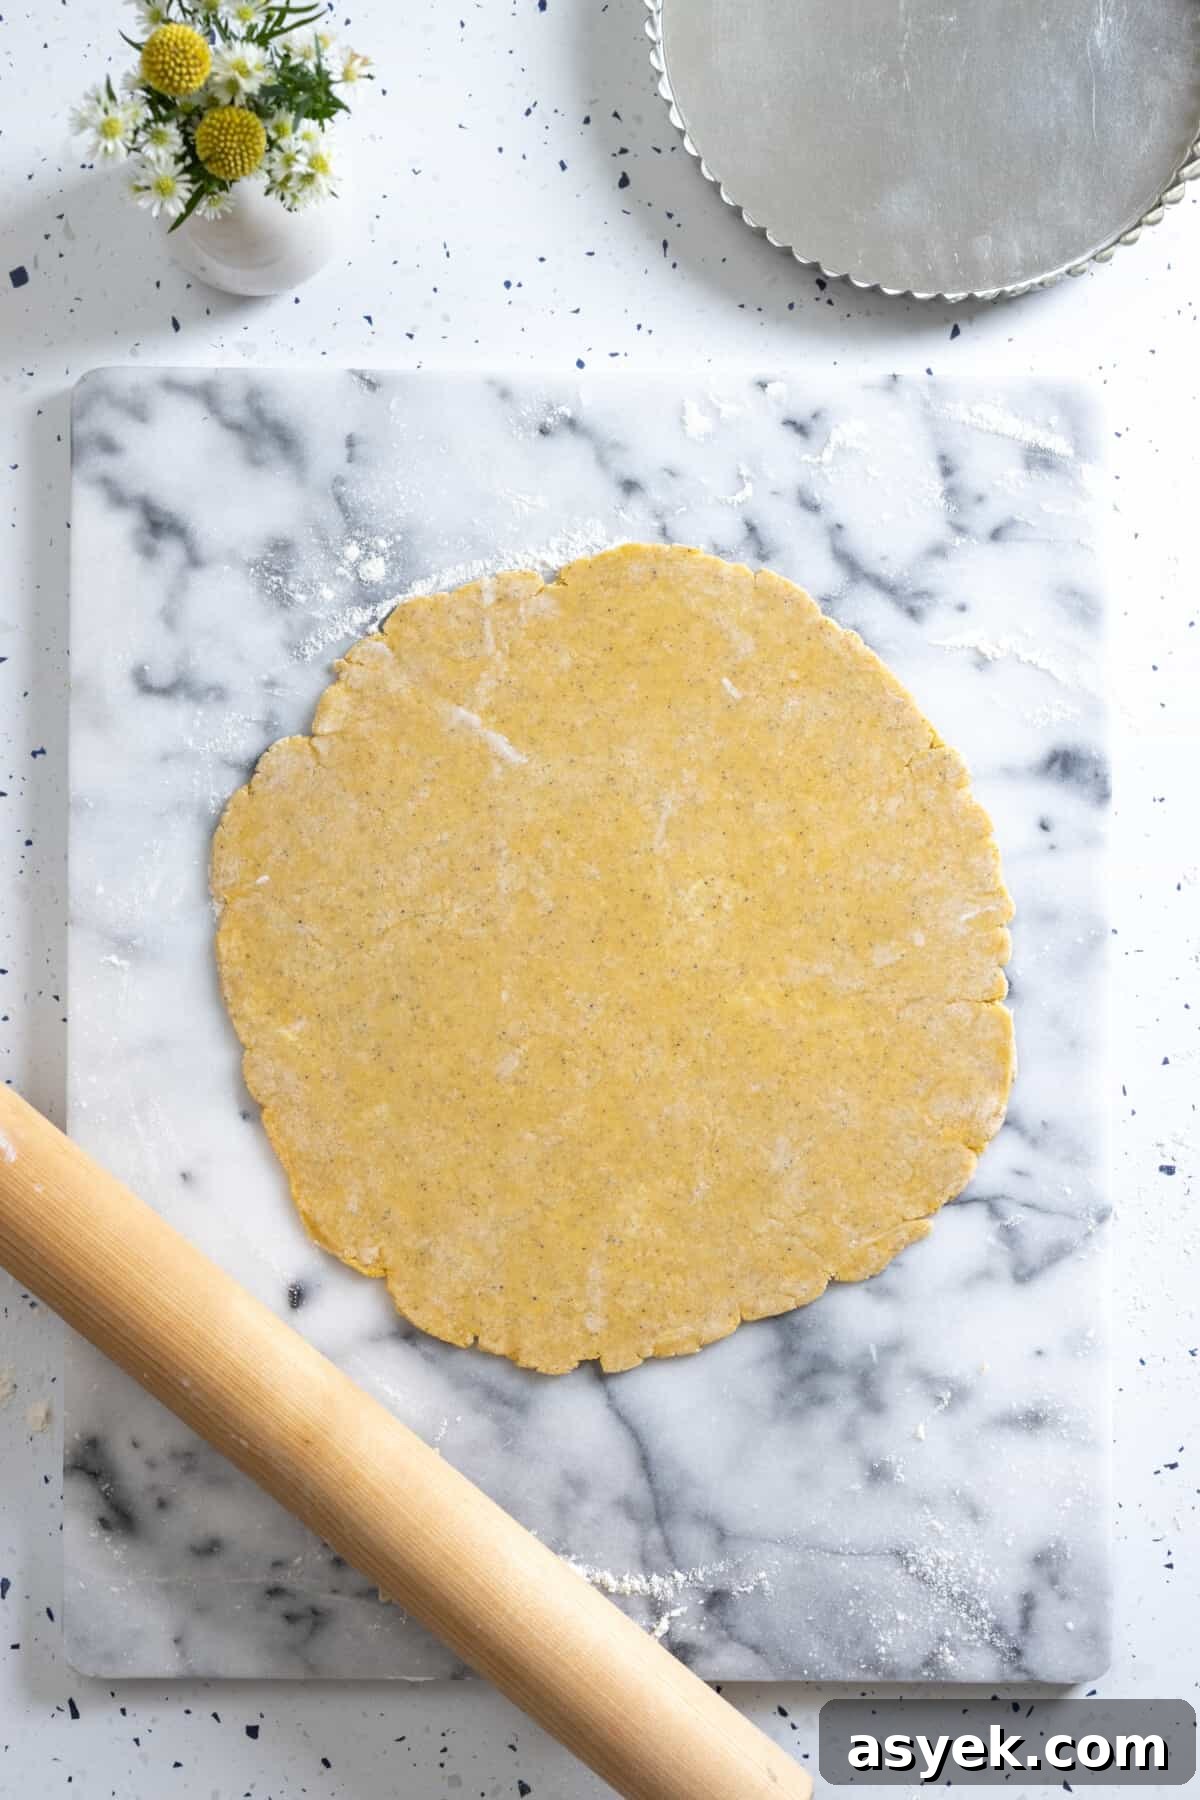
- To roll out: on a lightly floured surface, roll the chilled disk from the center outward, rotating frequently. Roll until the dough is 1–2″ larger than the pan and about 1/8″–1/4″ thick.
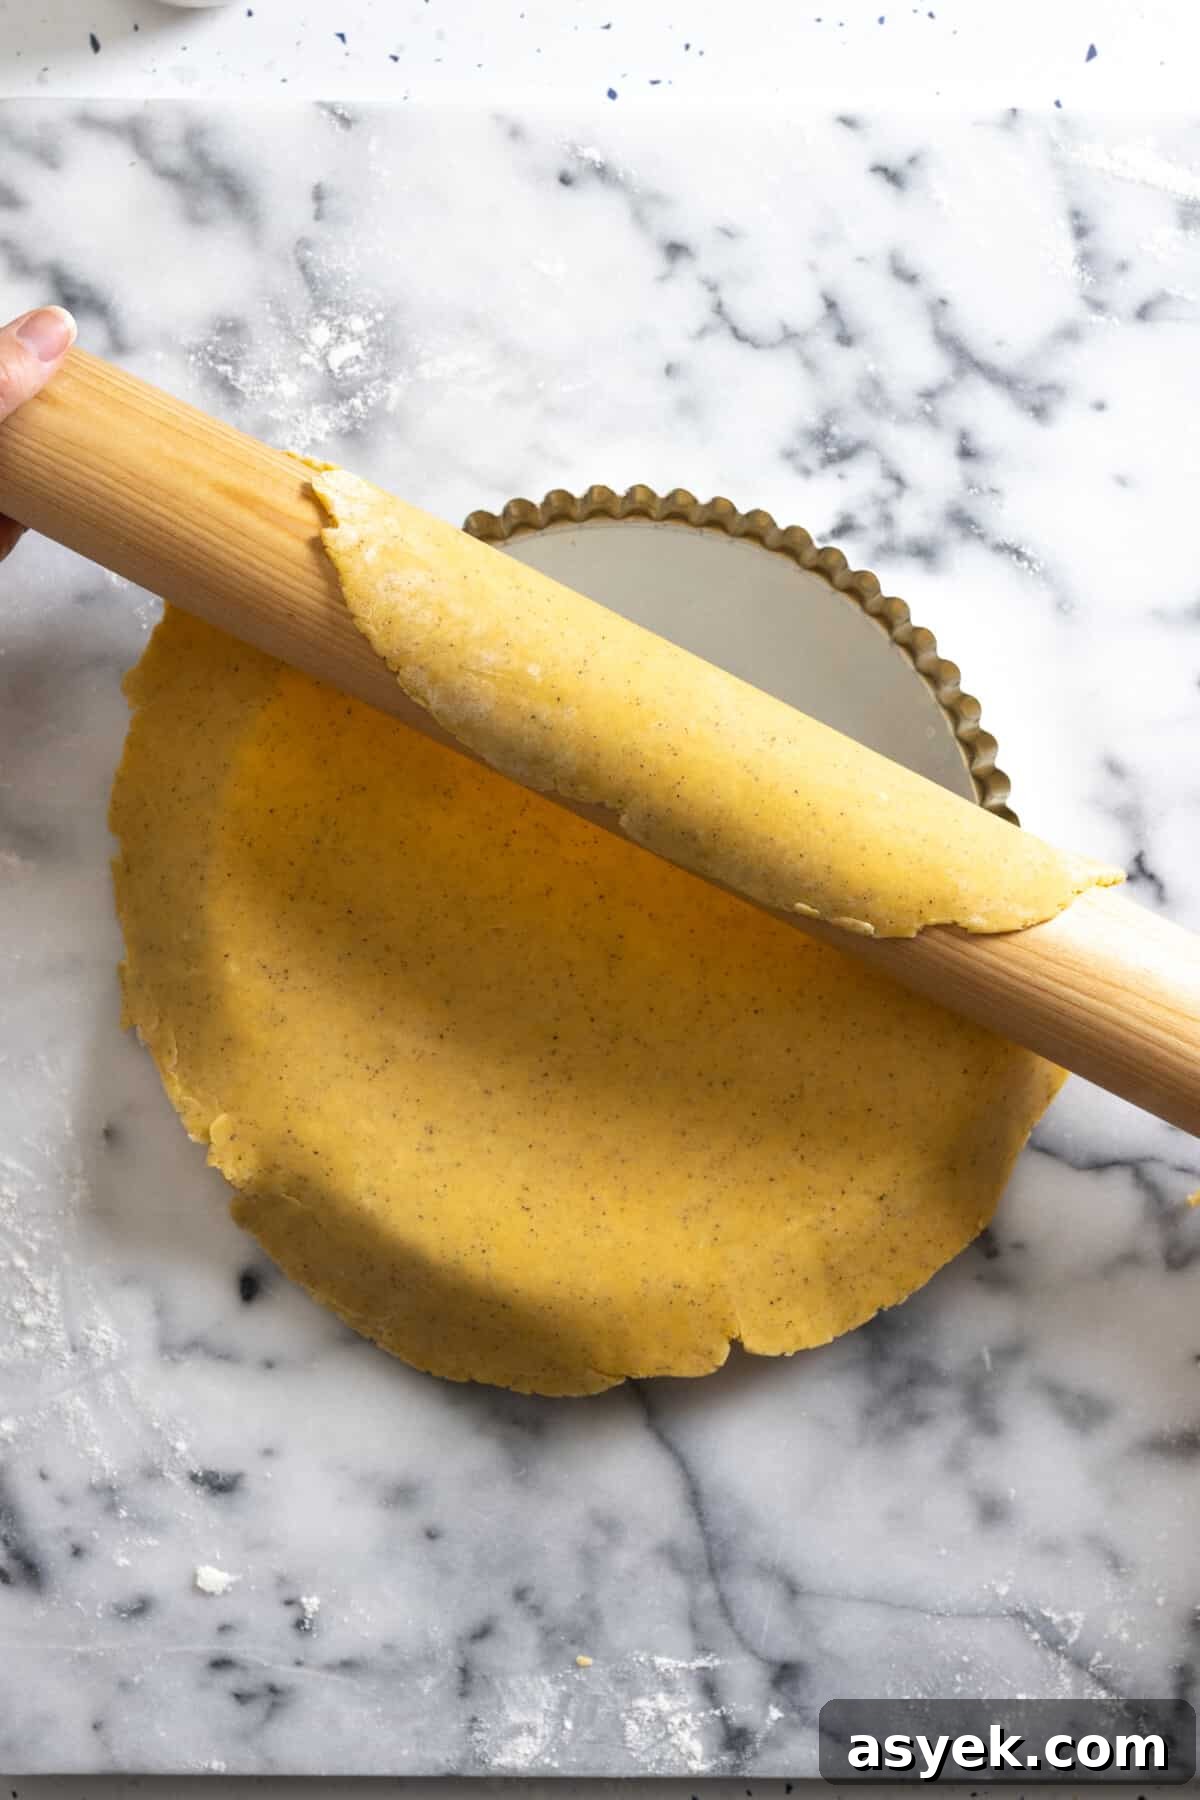
- Transfer by rolling the dough around the rolling pin and unrolling it over the pan. Trim by rolling the pin across the top edge of the pan for a clean, fluted edge.
- Dock the bottom with a fork to prevent puffing, then chill the shell while preheating the oven.
Blind baking
- Preheat the oven to 375°F (190°C) with the rack centered.
- Line the shell with crumpled parchment or foil and fill with pie weights, dried beans, or uncooked rice so the shell is evenly supported.
- Bake for about 20 minutes until the liner no longer sticks and the edges begin to color. Remove the weights carefully and bake 3–5 more minutes for a partially baked shell.
- For fully baked crusts (for no-bake fillings), bake another 8–12 minutes until golden brown and dry. Cool on a wire rack before filling.
Notes
- This recipe can be rolled or pressed into pans and scaled for mini tartlets or larger pans—aim for a crust thickness between 1/8″ and 1/4″.
- Store frozen dough for up to 3 months; thaw overnight in the refrigerator or for 90 minutes to 2 hours at room temperature before rolling.
- Omit the pepper if you prefer a purely savory, non-peppery crust.
Author: Becky Sue of Baking The Goods
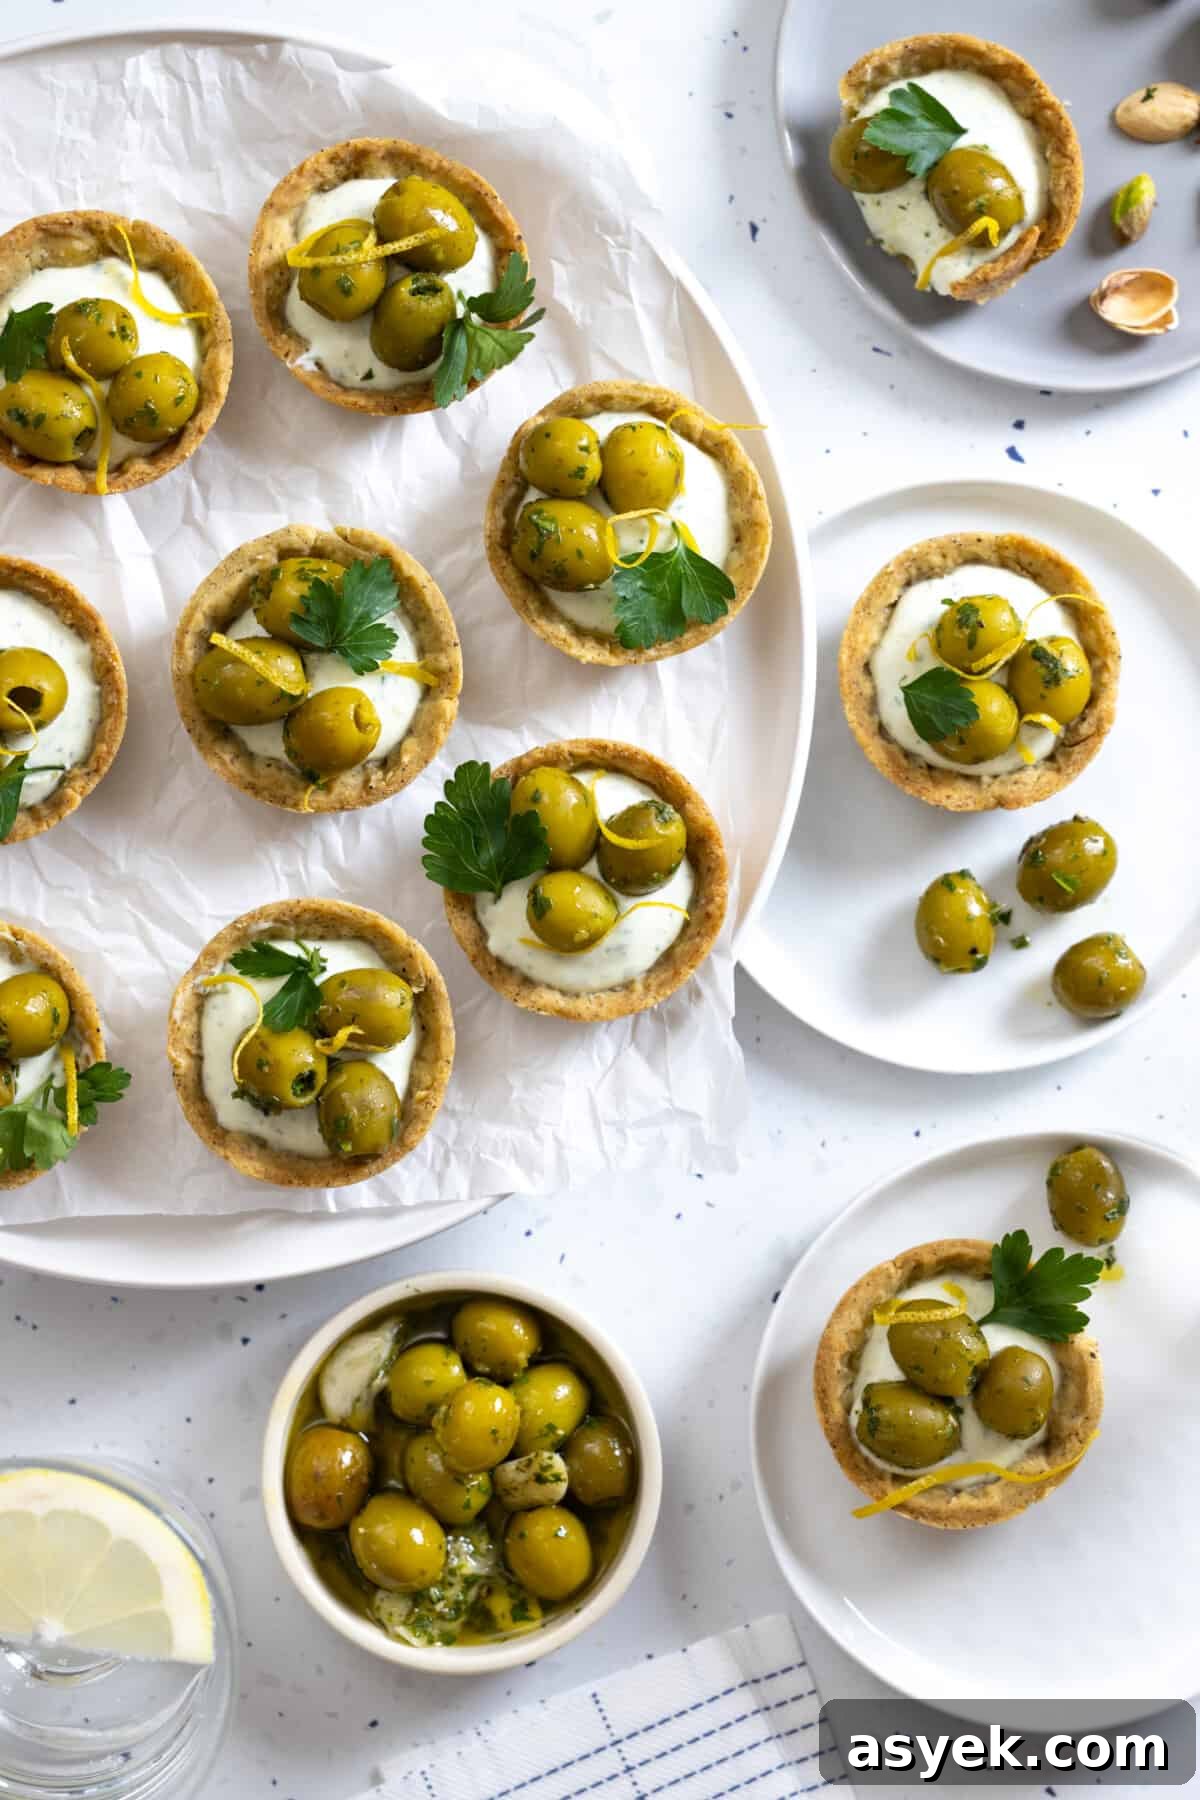
Try this dough with her Herby Olive Goat Cheese Tartlets or a spinach and tomato quiche for crisp, flaky results.
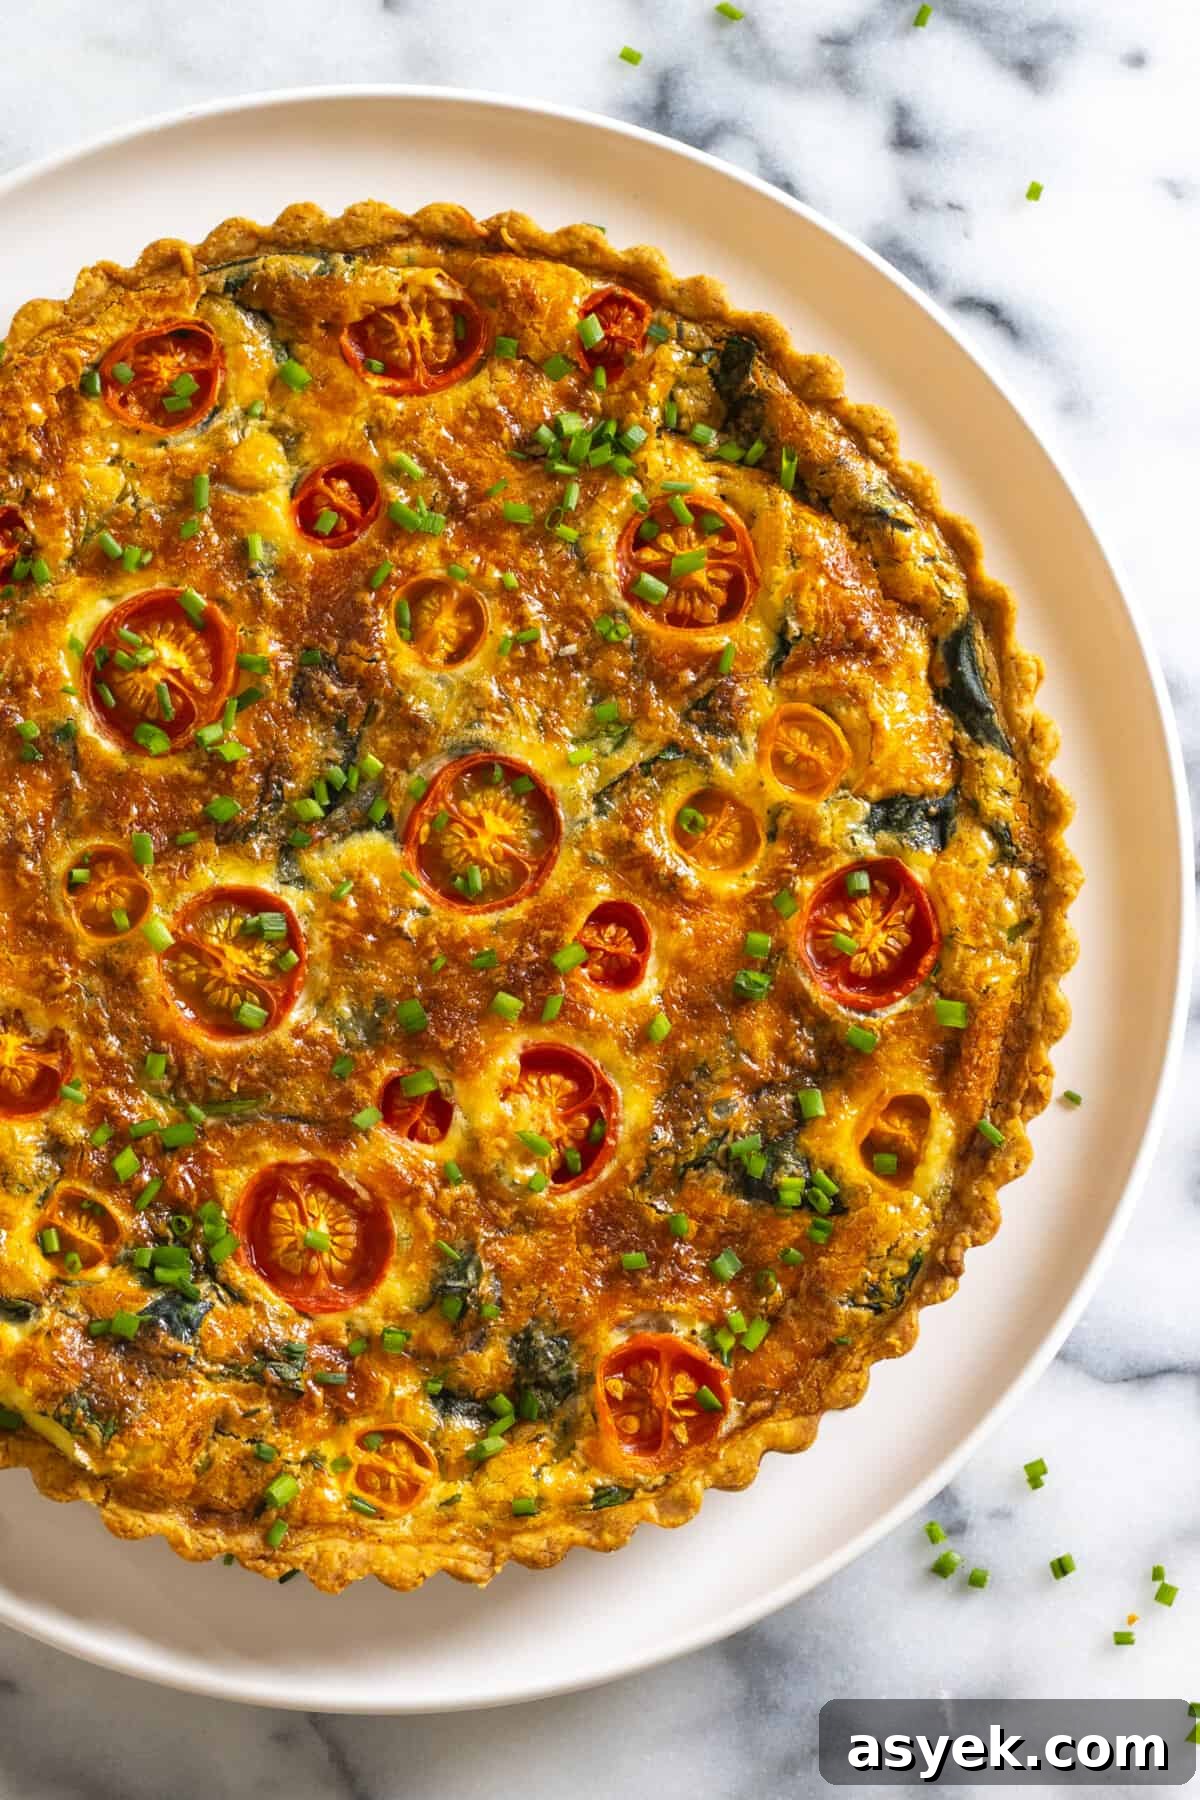
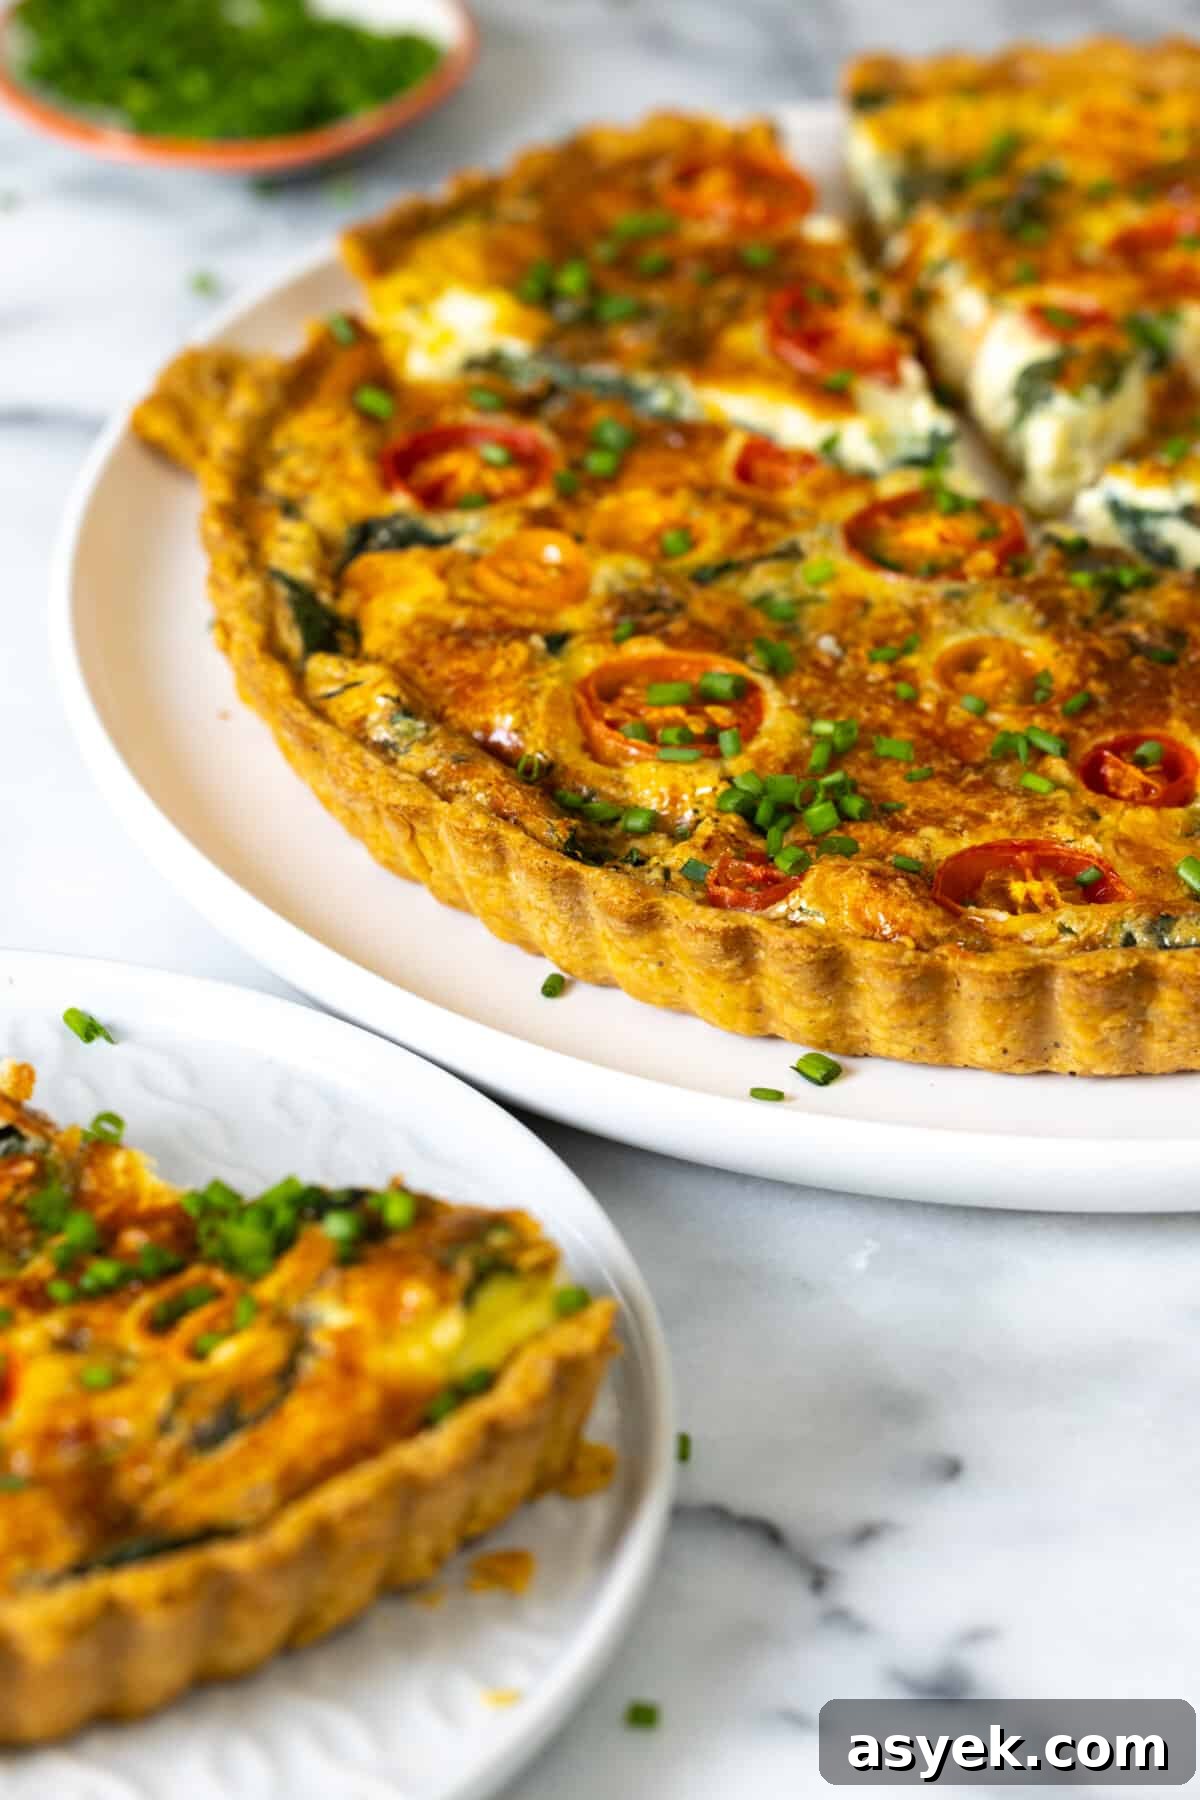

Enjoy exploring the savory side of baking with this reliable, flavorful tart dough—perfect for entertaining, make-ahead parties, or weeknight quiches. Happy baking!