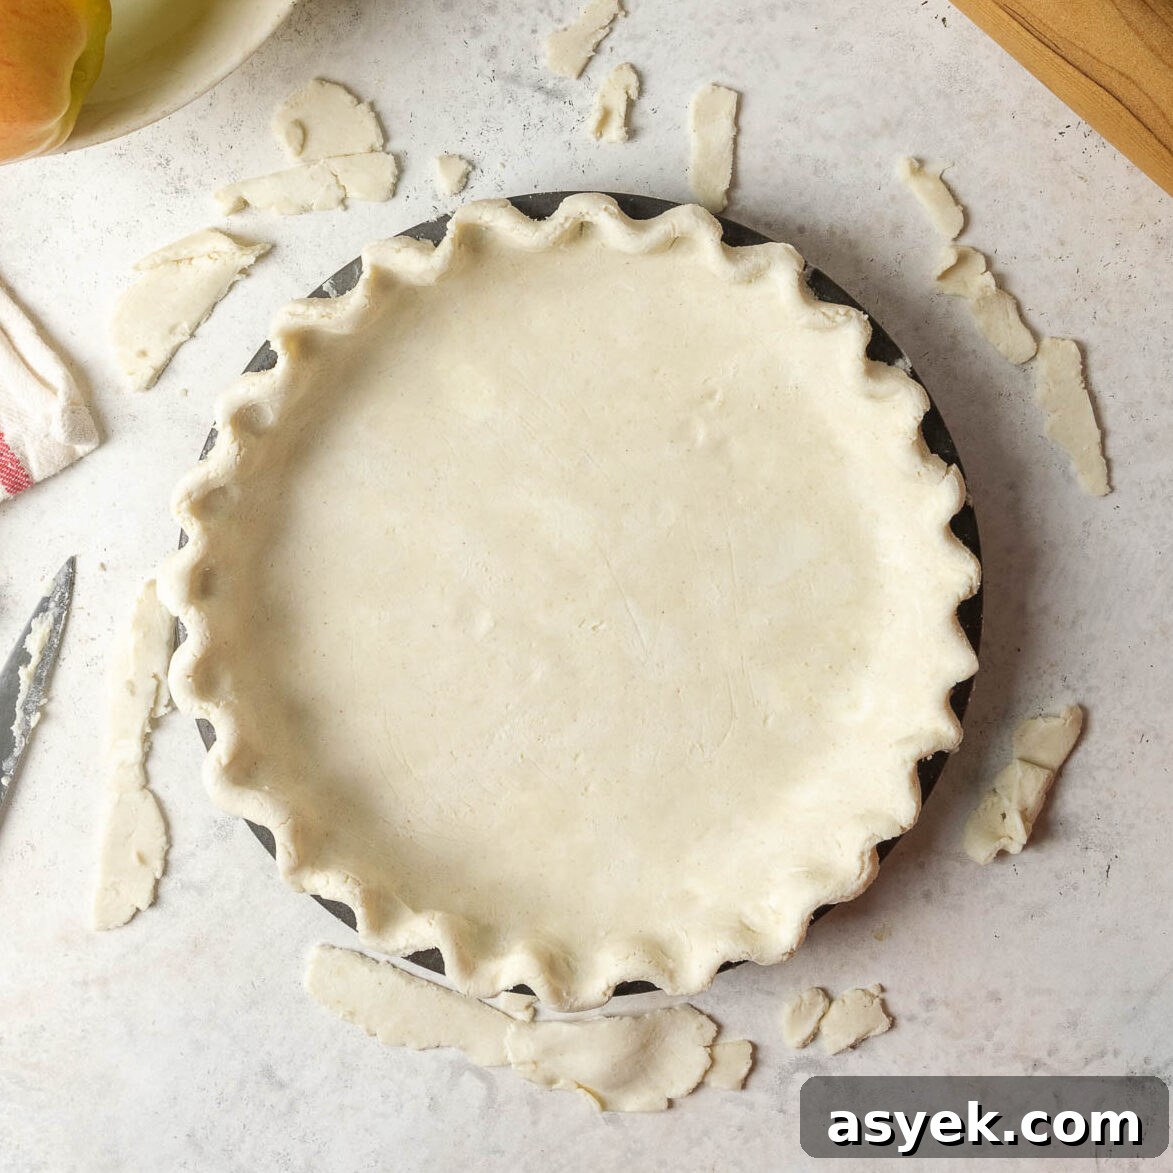
Being gluten free, dairy free, or vegan doesn’t mean you have to give up flaky, delicious pie. This gluten free pie crust recipe delivers a tender, buttery crust that holds up for both sweet and savory fillings. The instructions below include clear step-by-step directions and photos so even beginner bakers can make a beautiful crust.
I’ve made this pie crust many times and consistently get compliments on its texture and flavor—most people can’t tell it’s gluten free. This recipe yields enough dough for one double-crust pie or two single-crust pies. Use it with any favorite filling or try a fruit, custard, or nut pie variation.
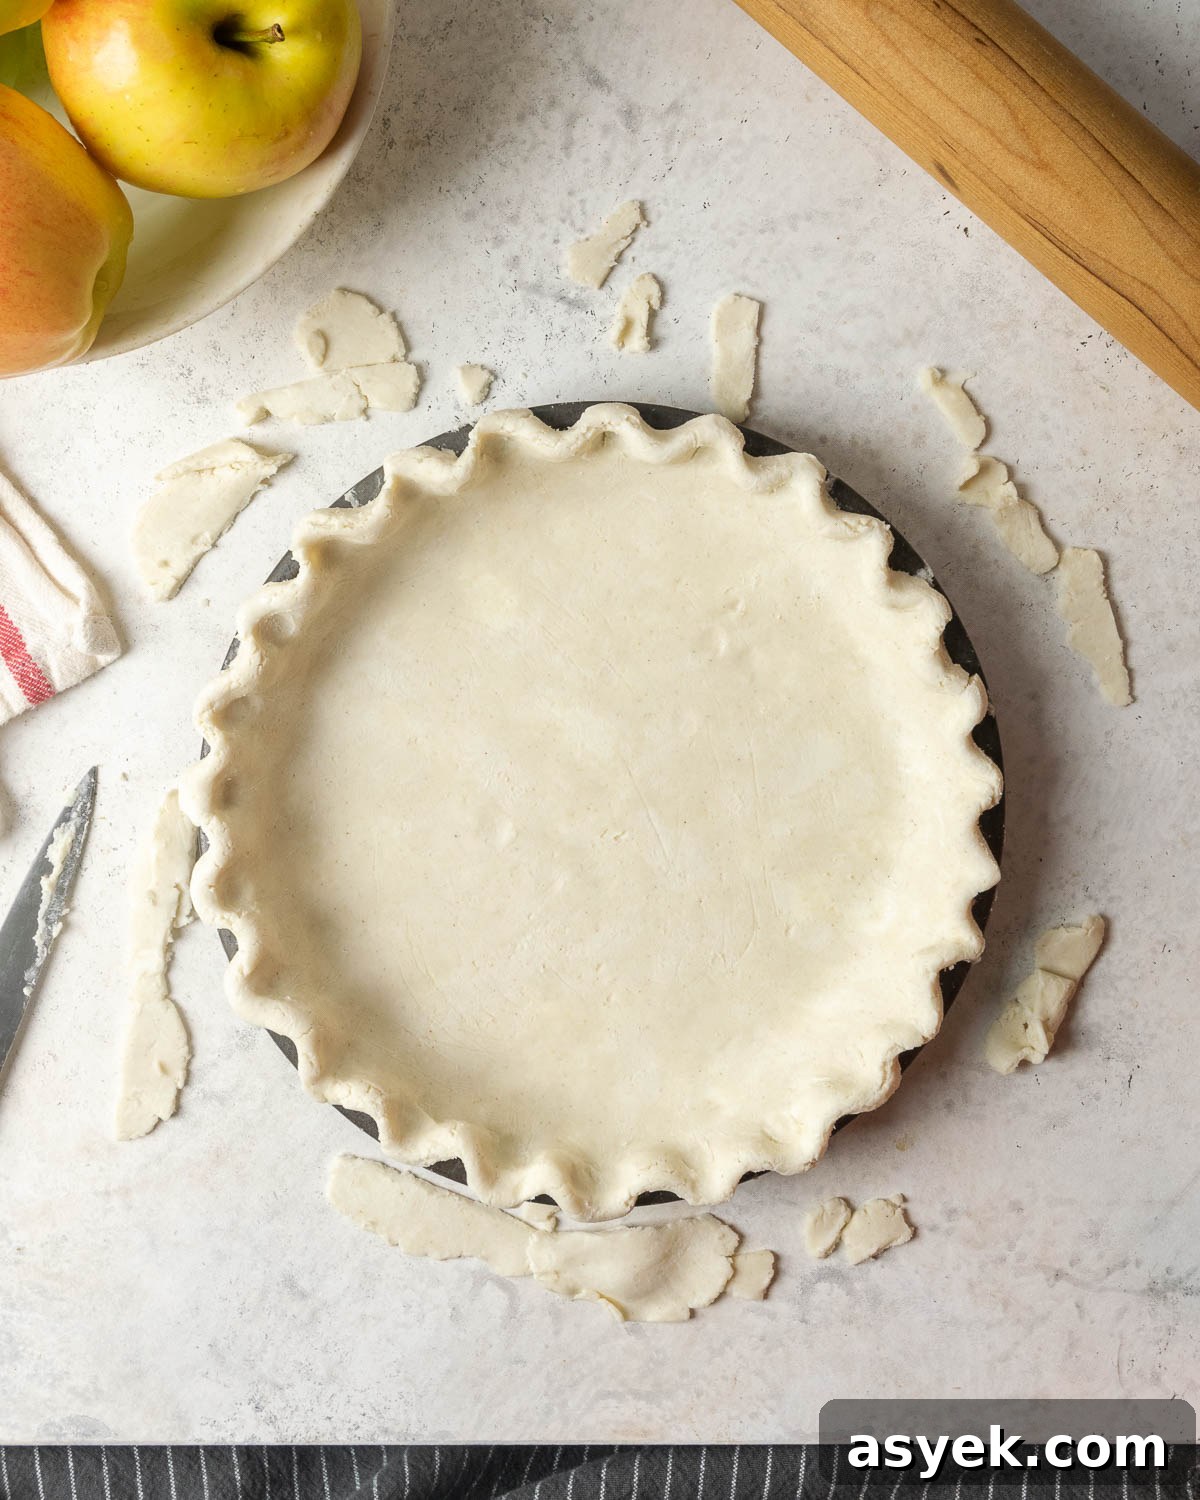
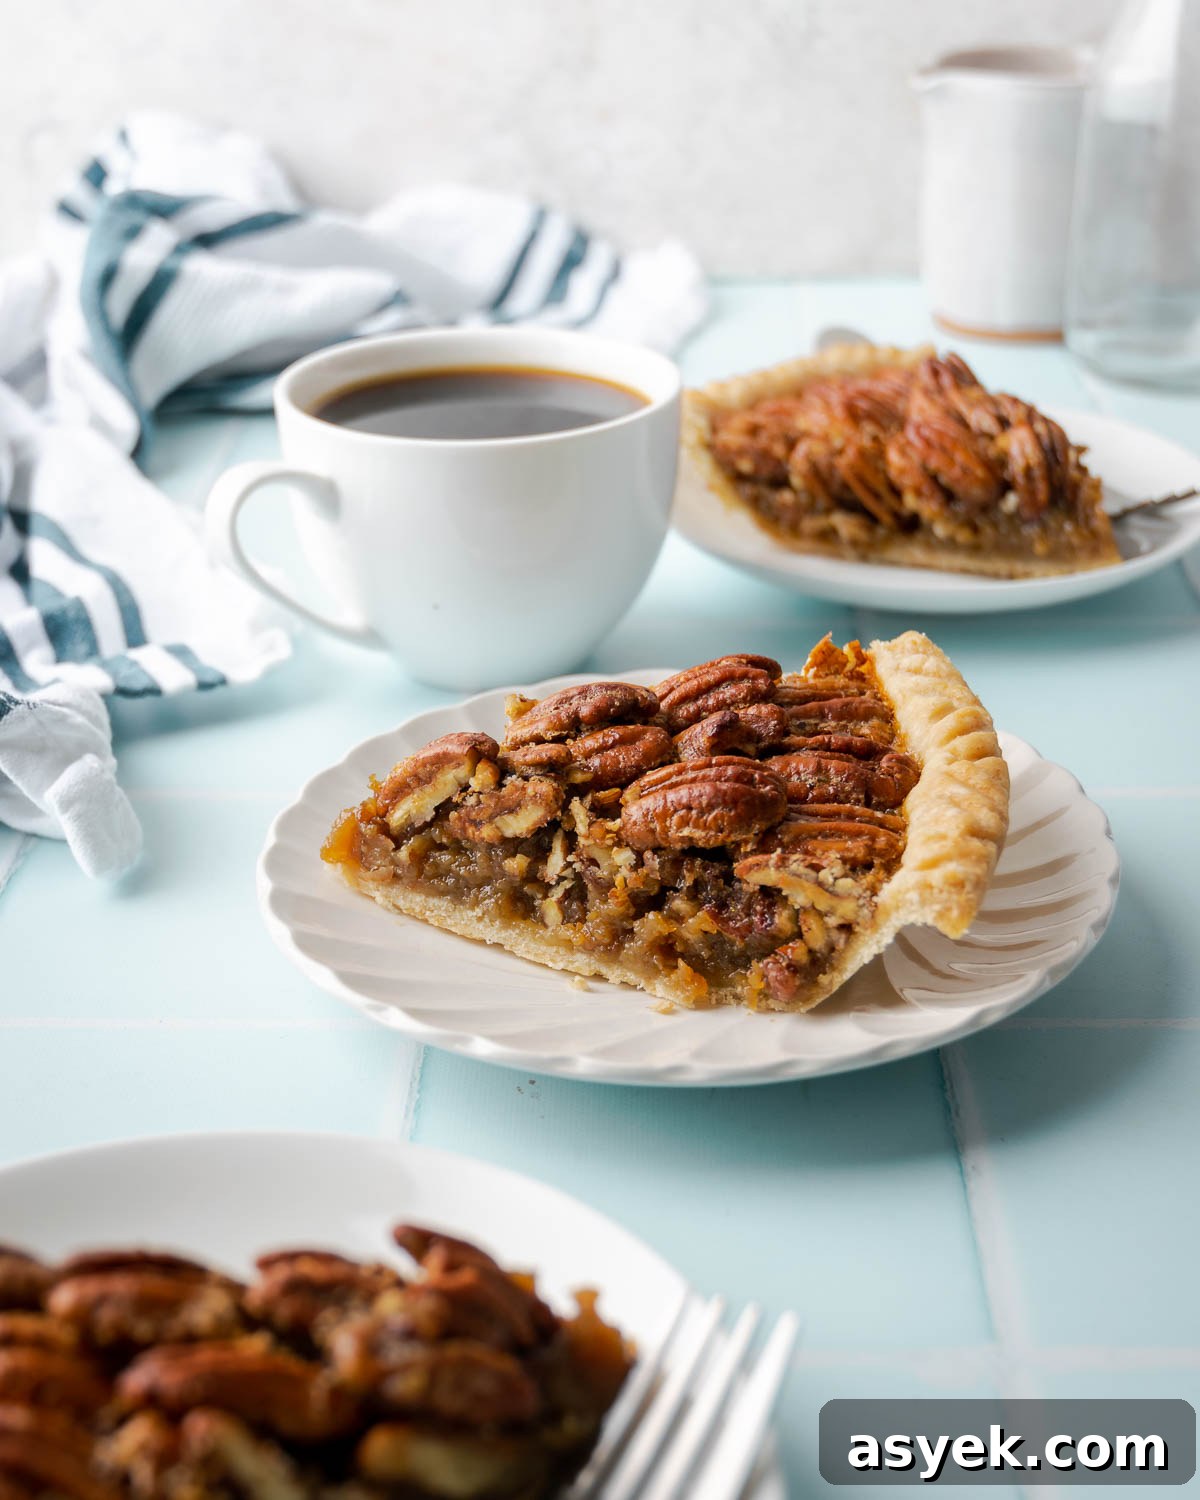
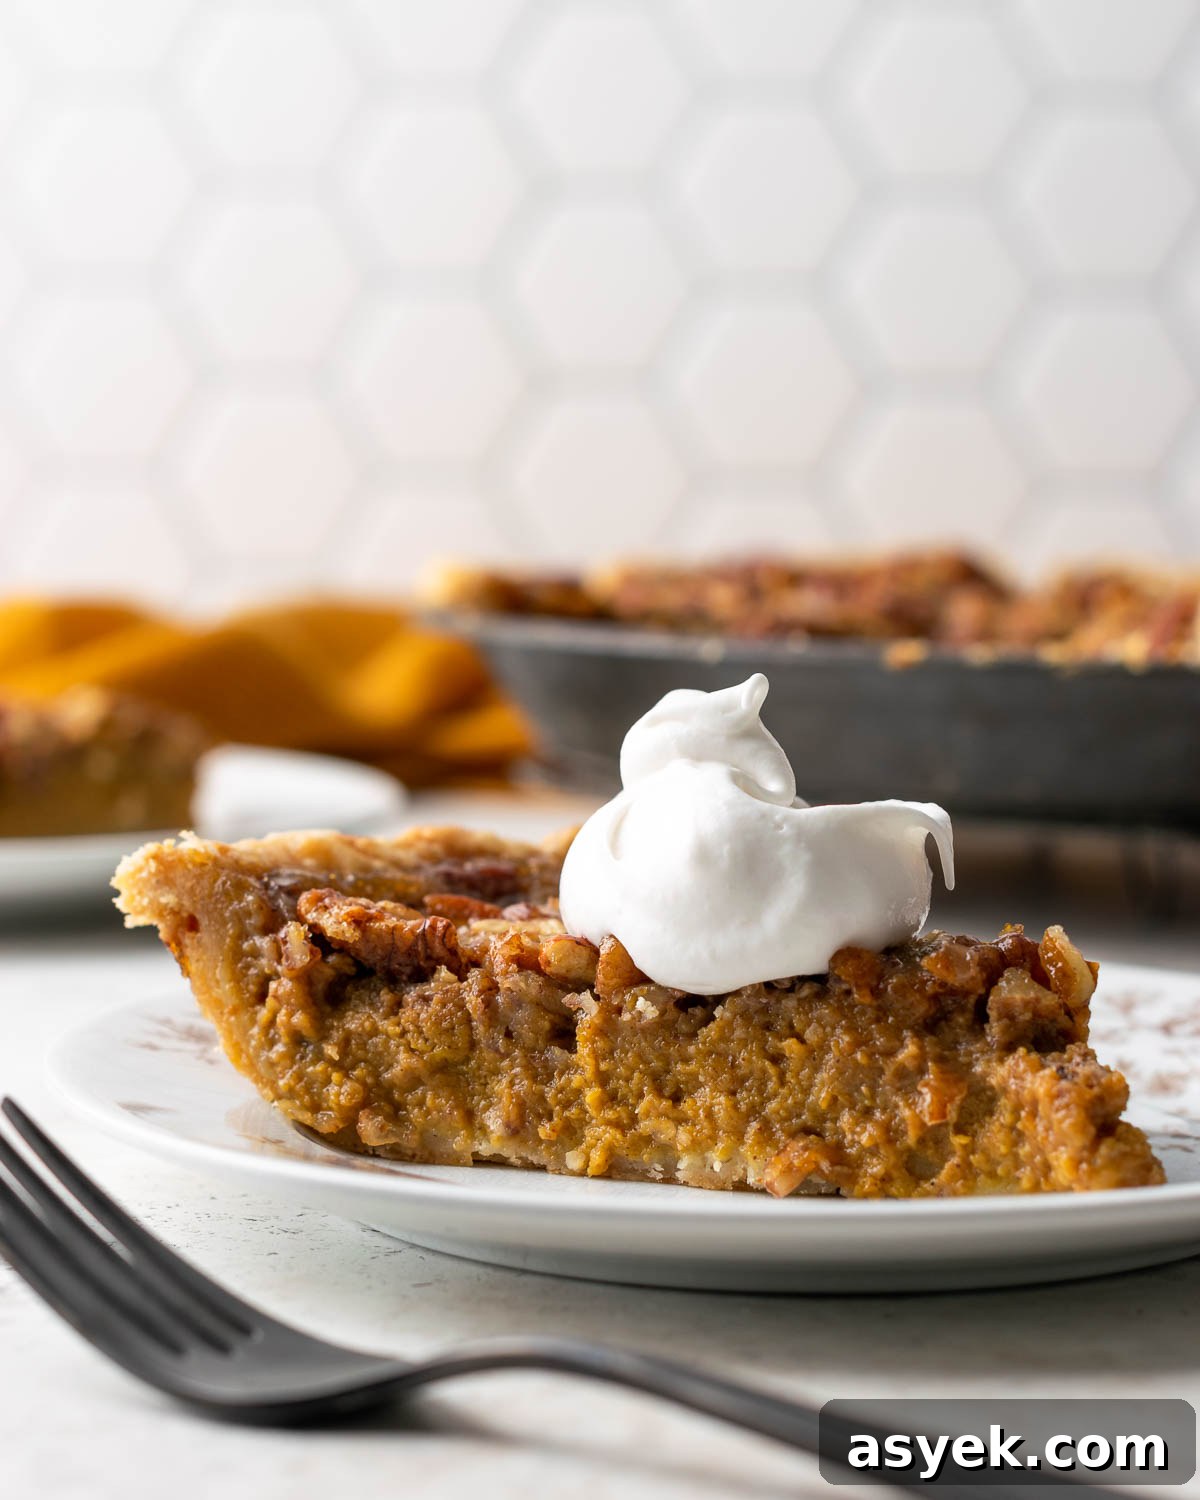
Fill this crust with apple, pecan, pumpkin, or chocolate pies, or use it for savory galettes and pot pies. For cookie-style bases such as graham or Oreo crusts, consider a simple no-bake option for cheesecakes and chilled pies.
Why This is the Best Gluten-Free Pie Crust Recipe
- Exceptionally flaky — light layers that almost melt in your mouth.
- Made with simple, pantry-friendly ingredients.
- Gluten free and easily made vegan or with dairy butter.
- Handles similarly to traditional pie crust when chilled properly.
- Versatile for both sweet and savory pies.
Equipment Needed
For a basic pie crust, you’ll want:
- A pie plate or pie dish (metal, glass, or ceramic)
- A rolling pin
- Plastic wrap or parchment paper
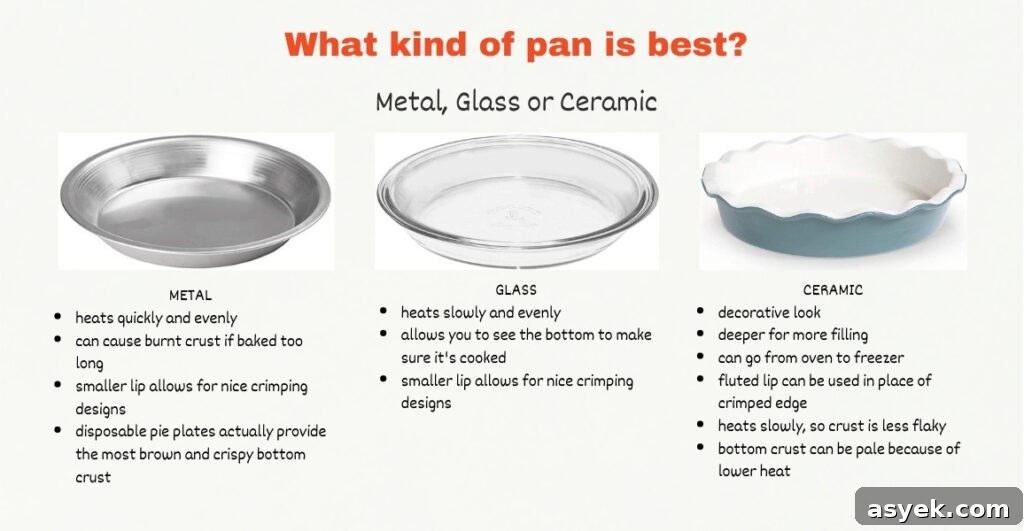
Optional but helpful: pie weights for par-baking, a bench scraper, and a kitchen scale.
Ingredient Notes
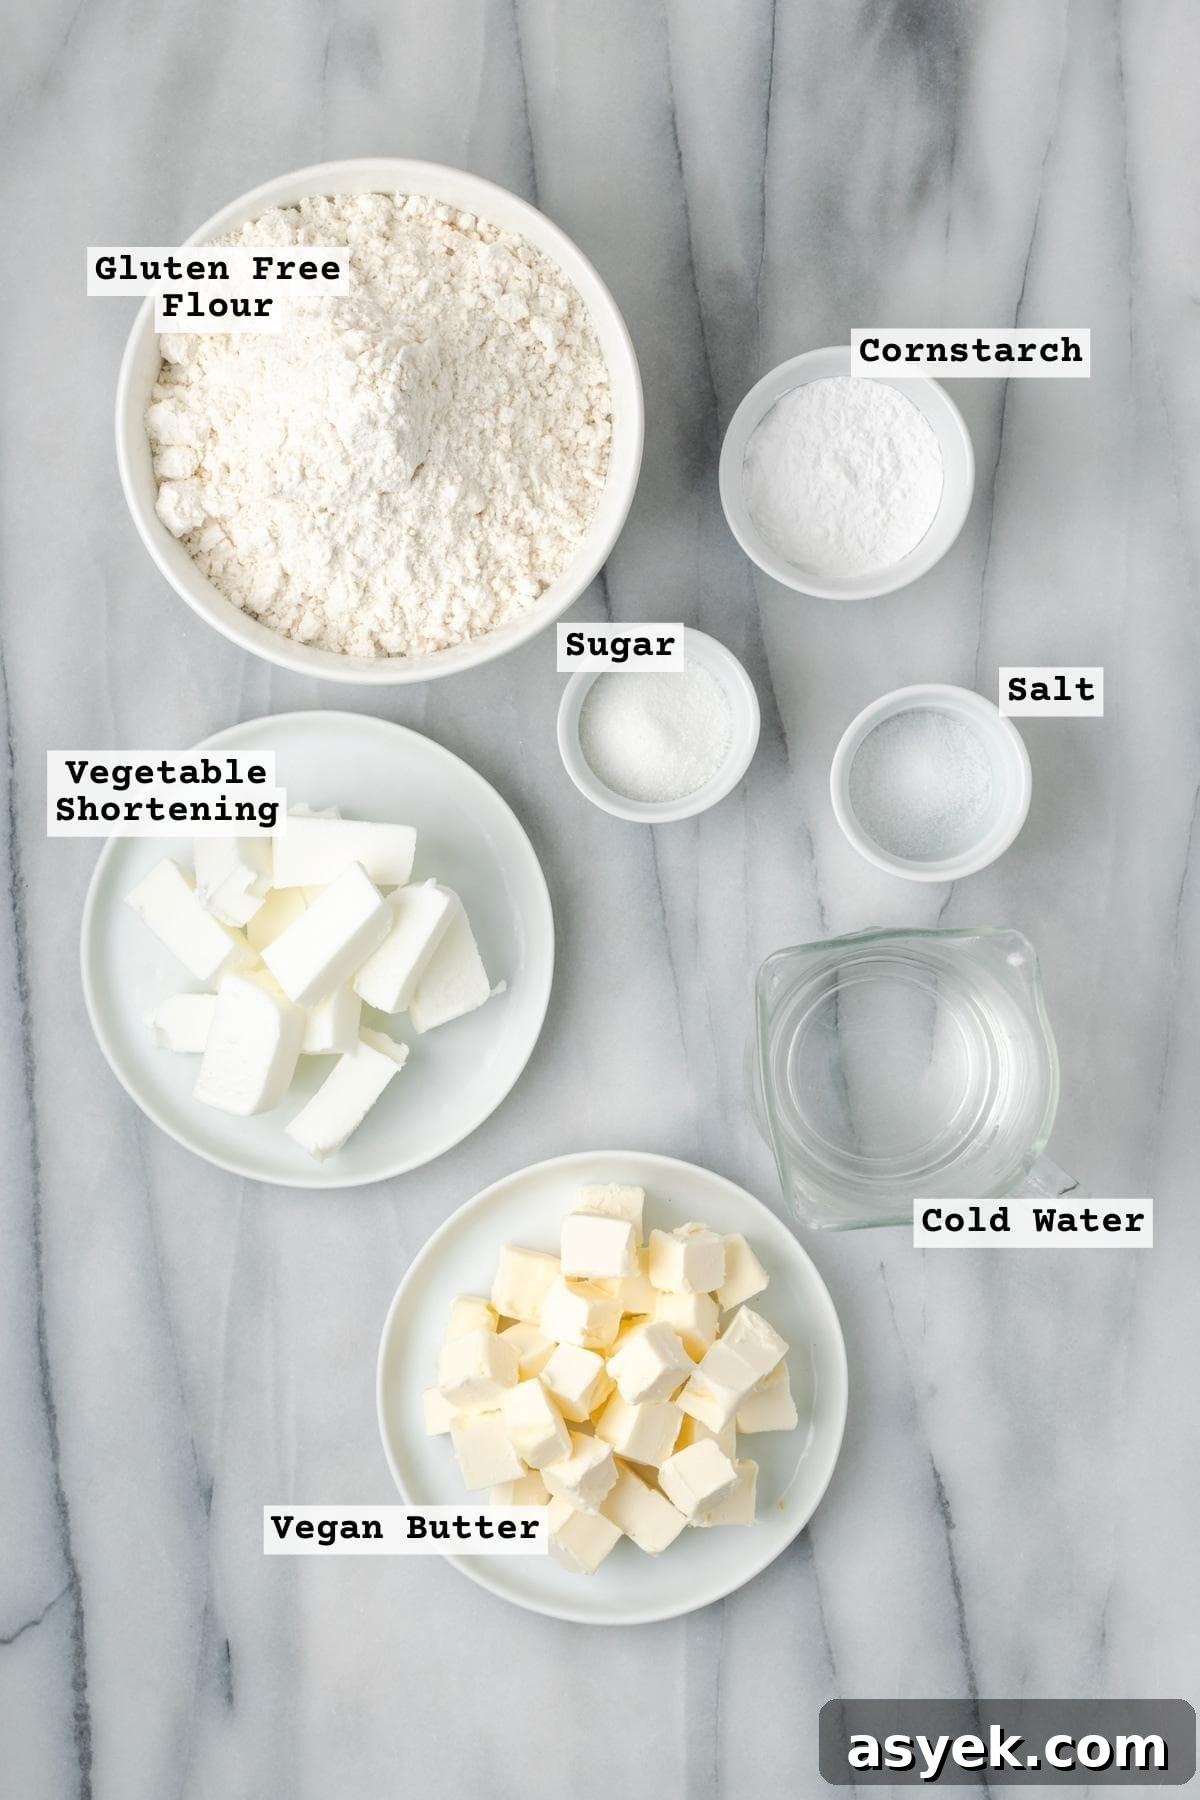
- Gluten free flour blend – Use a 1-to-1 cup-for-cup gluten free baking blend that includes xanthan gum, or add xanthan gum separately per the blend’s instructions.
- Starch – A little cornstarch, arrowroot, or tapioca starch lightens the texture and improves the pastry-like crumb.
- Salt – A small amount enhances flavor.
- Sugar – A tablespoon helps the crust brown and crisp; it won’t make the crust noticeably sweet.
- Vegan or regular butter – Use vegan butter for a dairy-free crust or unsalted dairy butter if you don’t need vegan. Vegan butters tend to soften faster, so keep ingredients cold.
- Shortening – Replacing half the butter with shortening makes the dough easier to handle and increases flakiness. If you prefer all-butter, the dough will be richer but may be softer to work with.
- Ice water – Keeps the dough cold so the fat stays in pieces and creates flaky layers when baked.
See the recipe card below for precise measurements and the full ingredient list.
Substitutions & Variations
- Savory pie crust – Add 1/4 teaspoon black pepper, 1/8 teaspoon paprika, and 1/8 teaspoon dried thyme to the dry ingredients for a crust that pairs well with pot pies and savory galettes.
- All-butter crust – Replace the shortening with additional butter. The dough will be more prone to softening, so keep it chilled while working.
- Chocolate crust – Replace about 1/3 cup of the flour with unsweetened cocoa powder for a rich chocolate pastry perfect for cream or chocolate fillings.
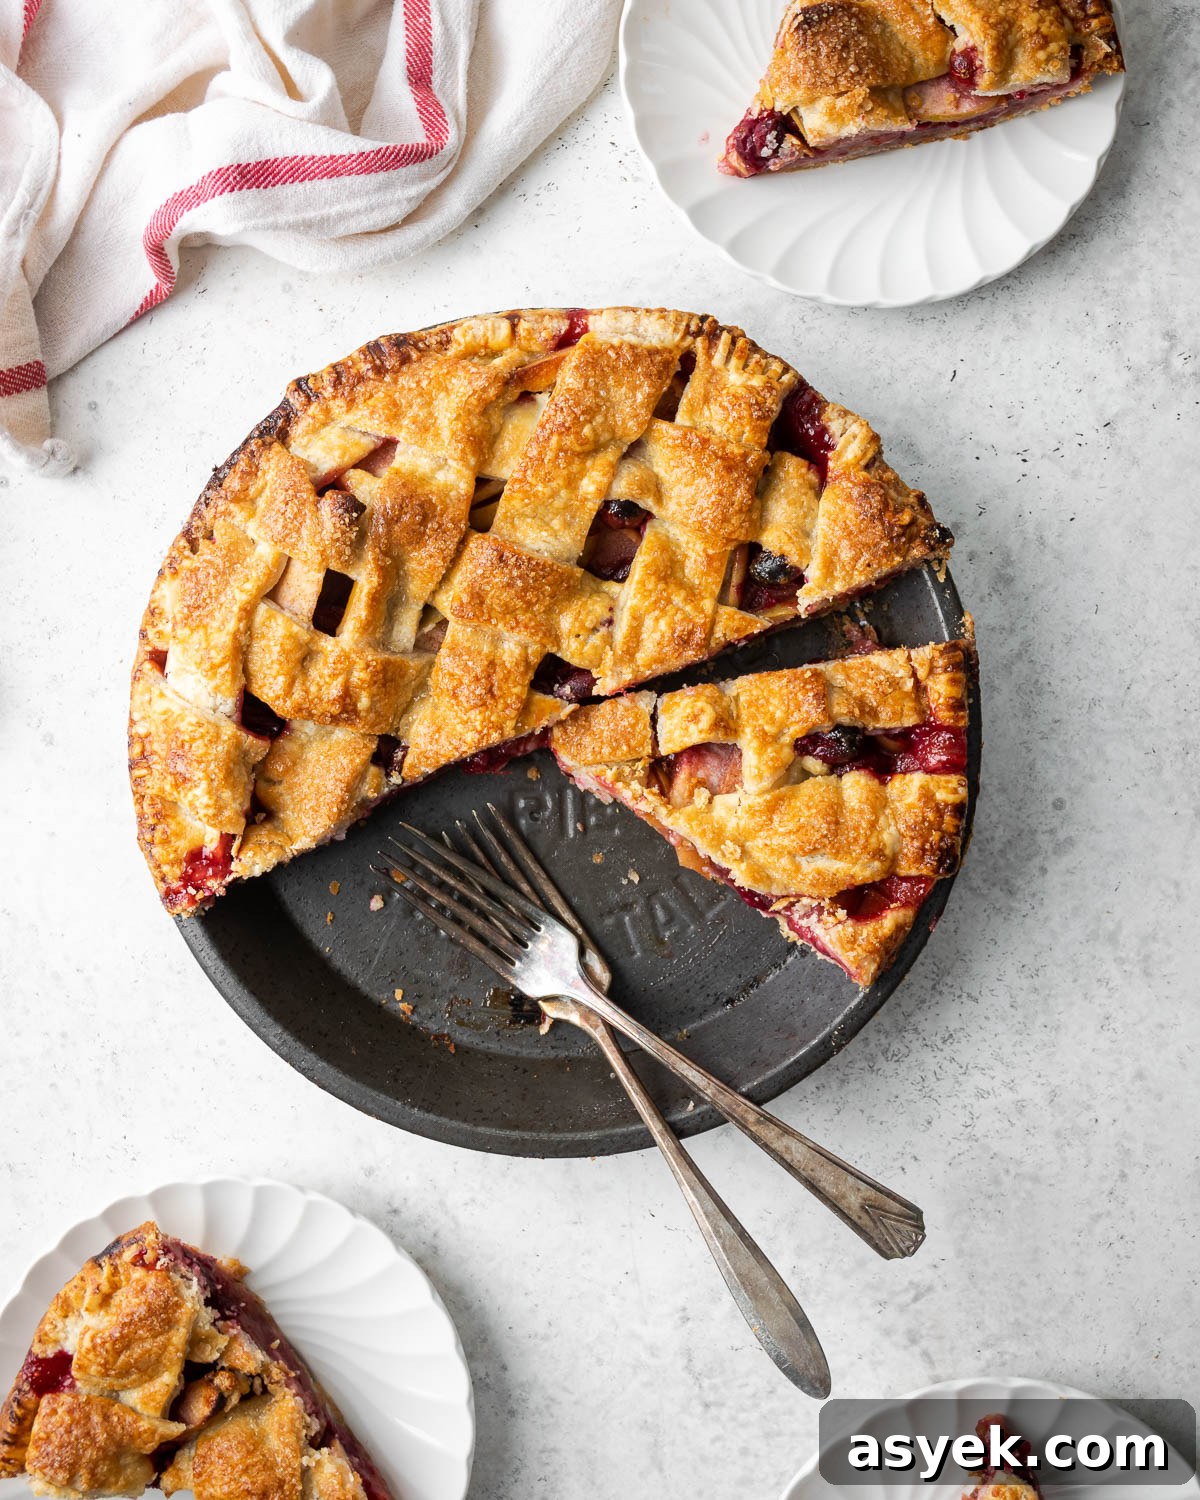
How to Make Gluten Free Pie Crust
Prepare the fats and water so everything stays cold: cube the butter and shortening about 1/2″ wide and chill them in the freezer for 15 minutes. Measure the ice water and chill that as well.
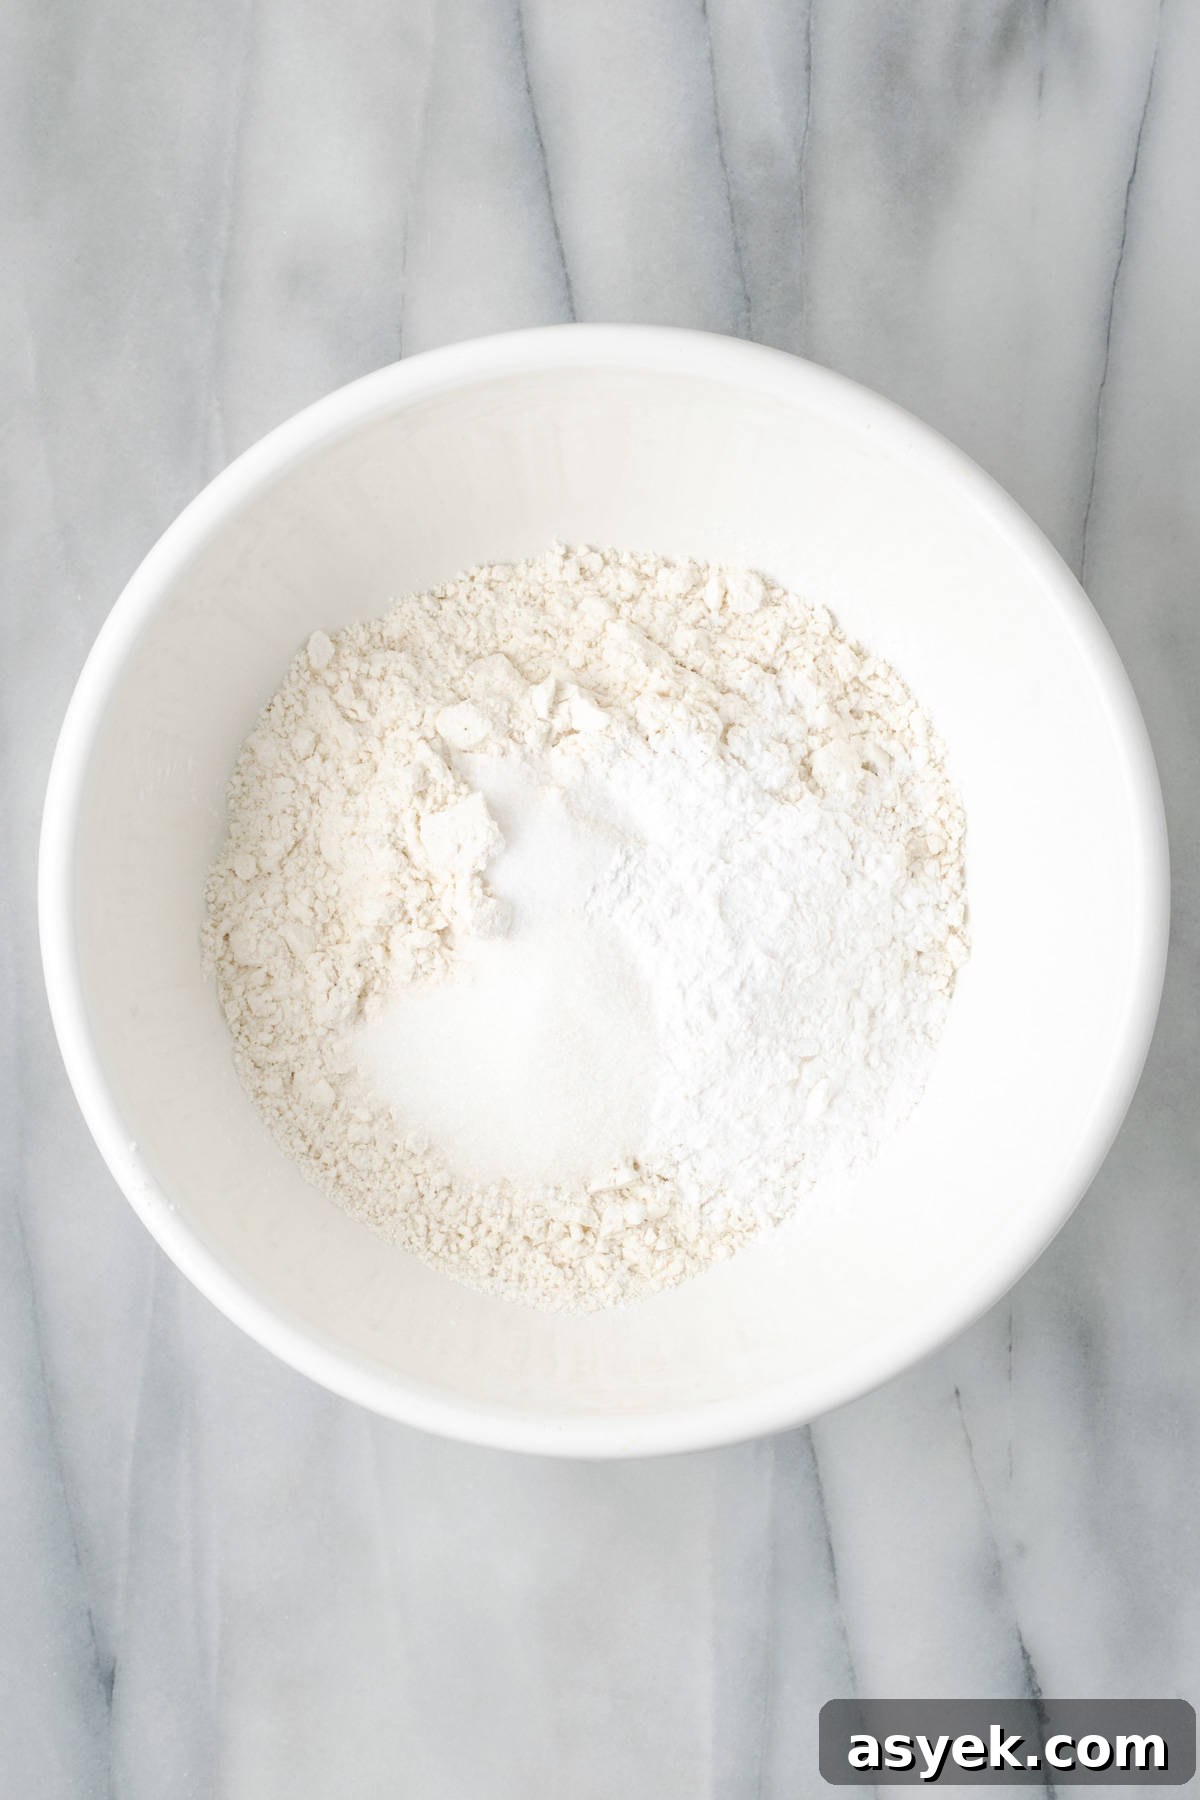
STEP 1: In a large bowl, combine the gluten free flour, starch, salt, and sugar. Stir to mix evenly.
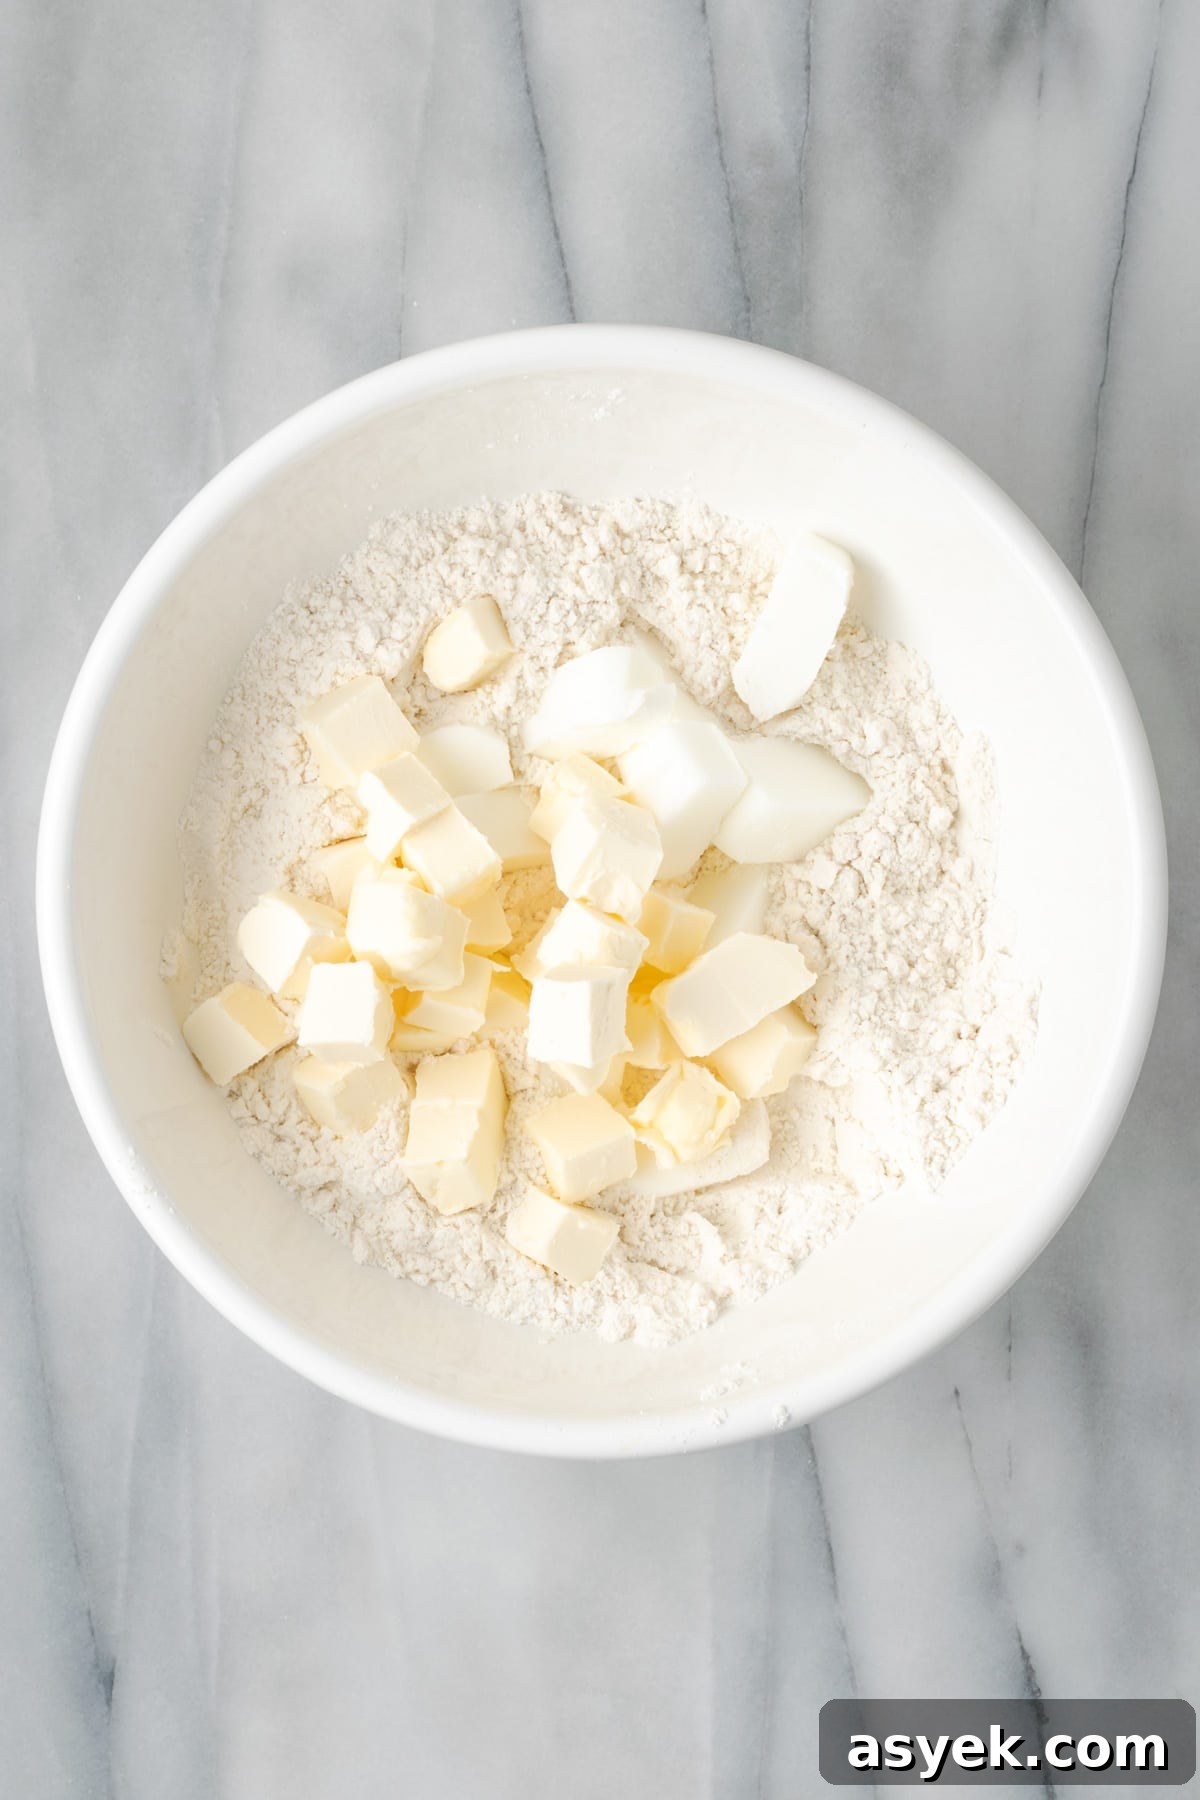
STEP 2: Add the cold cubes of butter and shortening to the dry ingredients. Toss to coat the fat with flour.
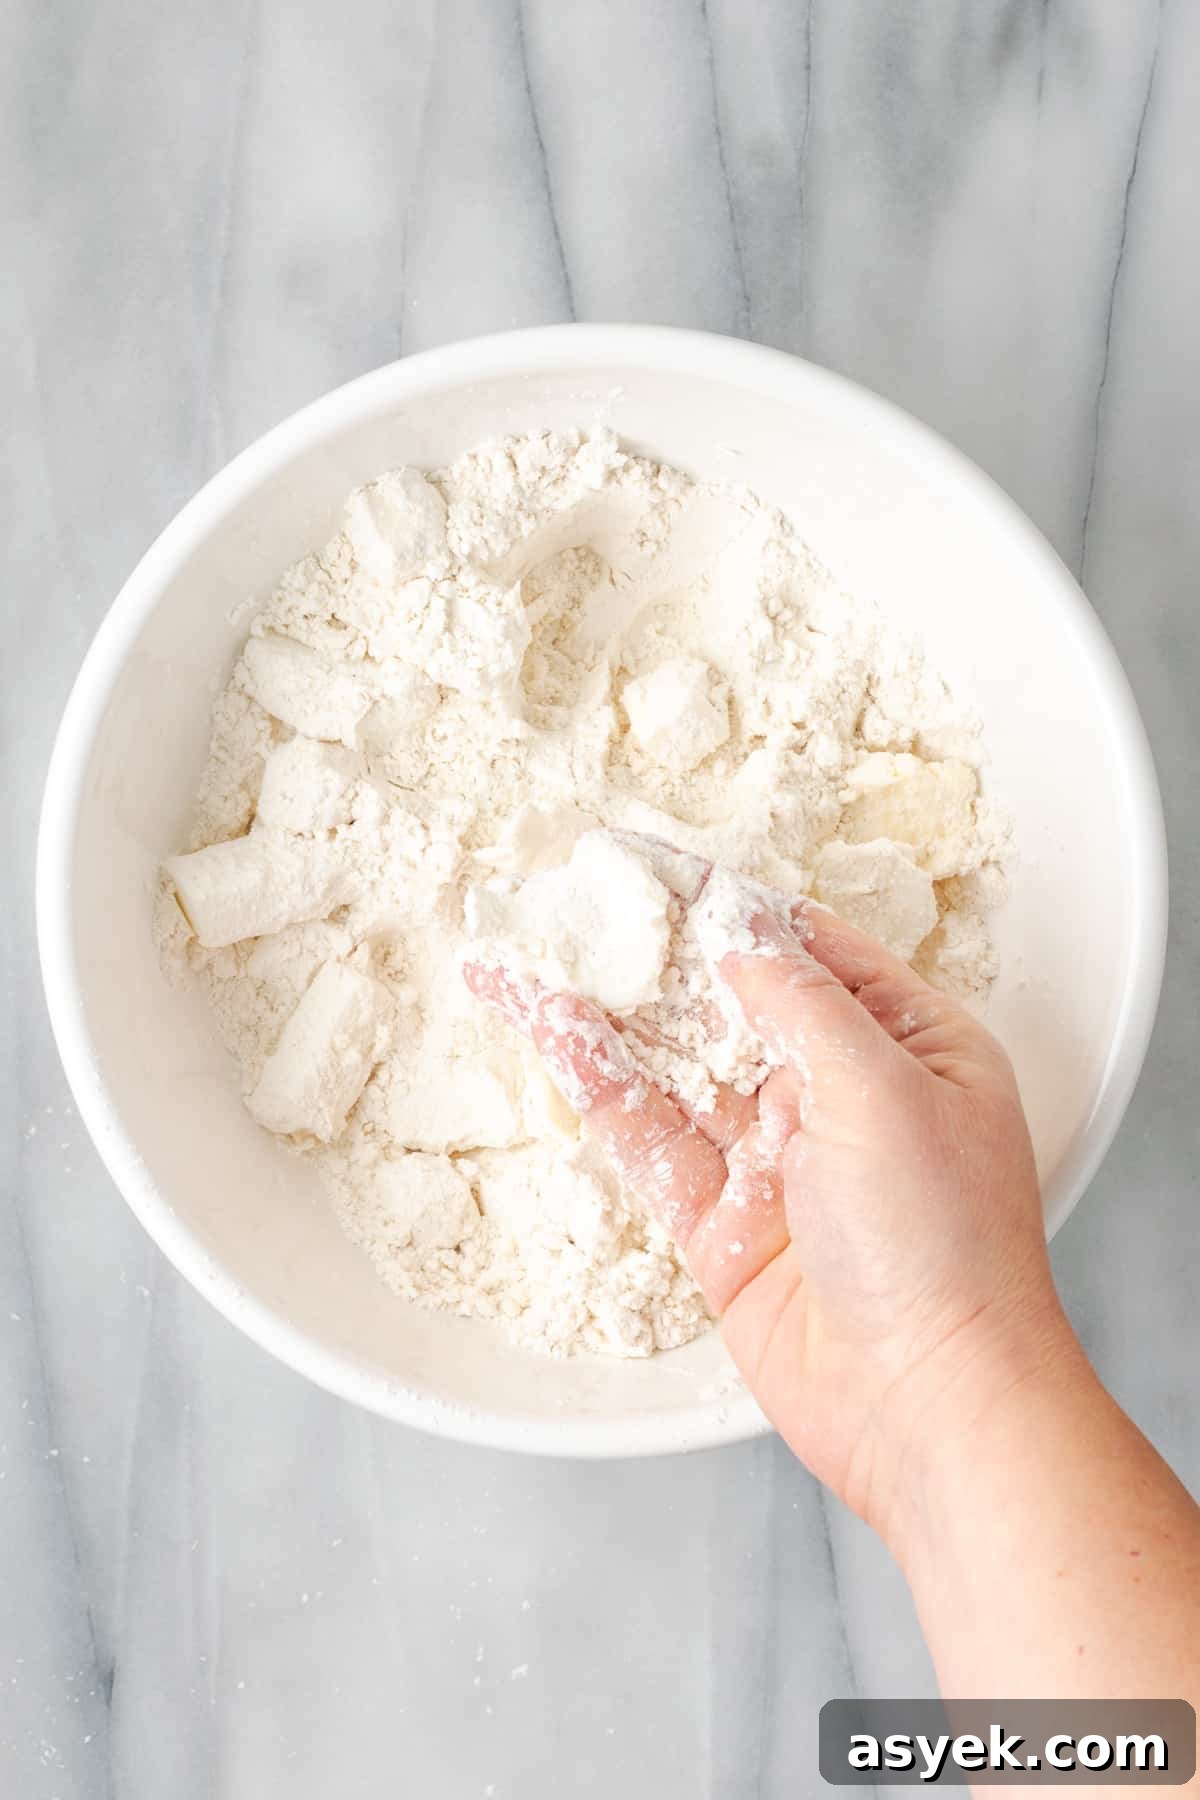
STEP 3: Using your fingertips or a pastry cutter, press the fat pieces into flattened discs roughly the size of a quarter. Work quickly so the fat stays cold; you want large crumbs, not a paste.
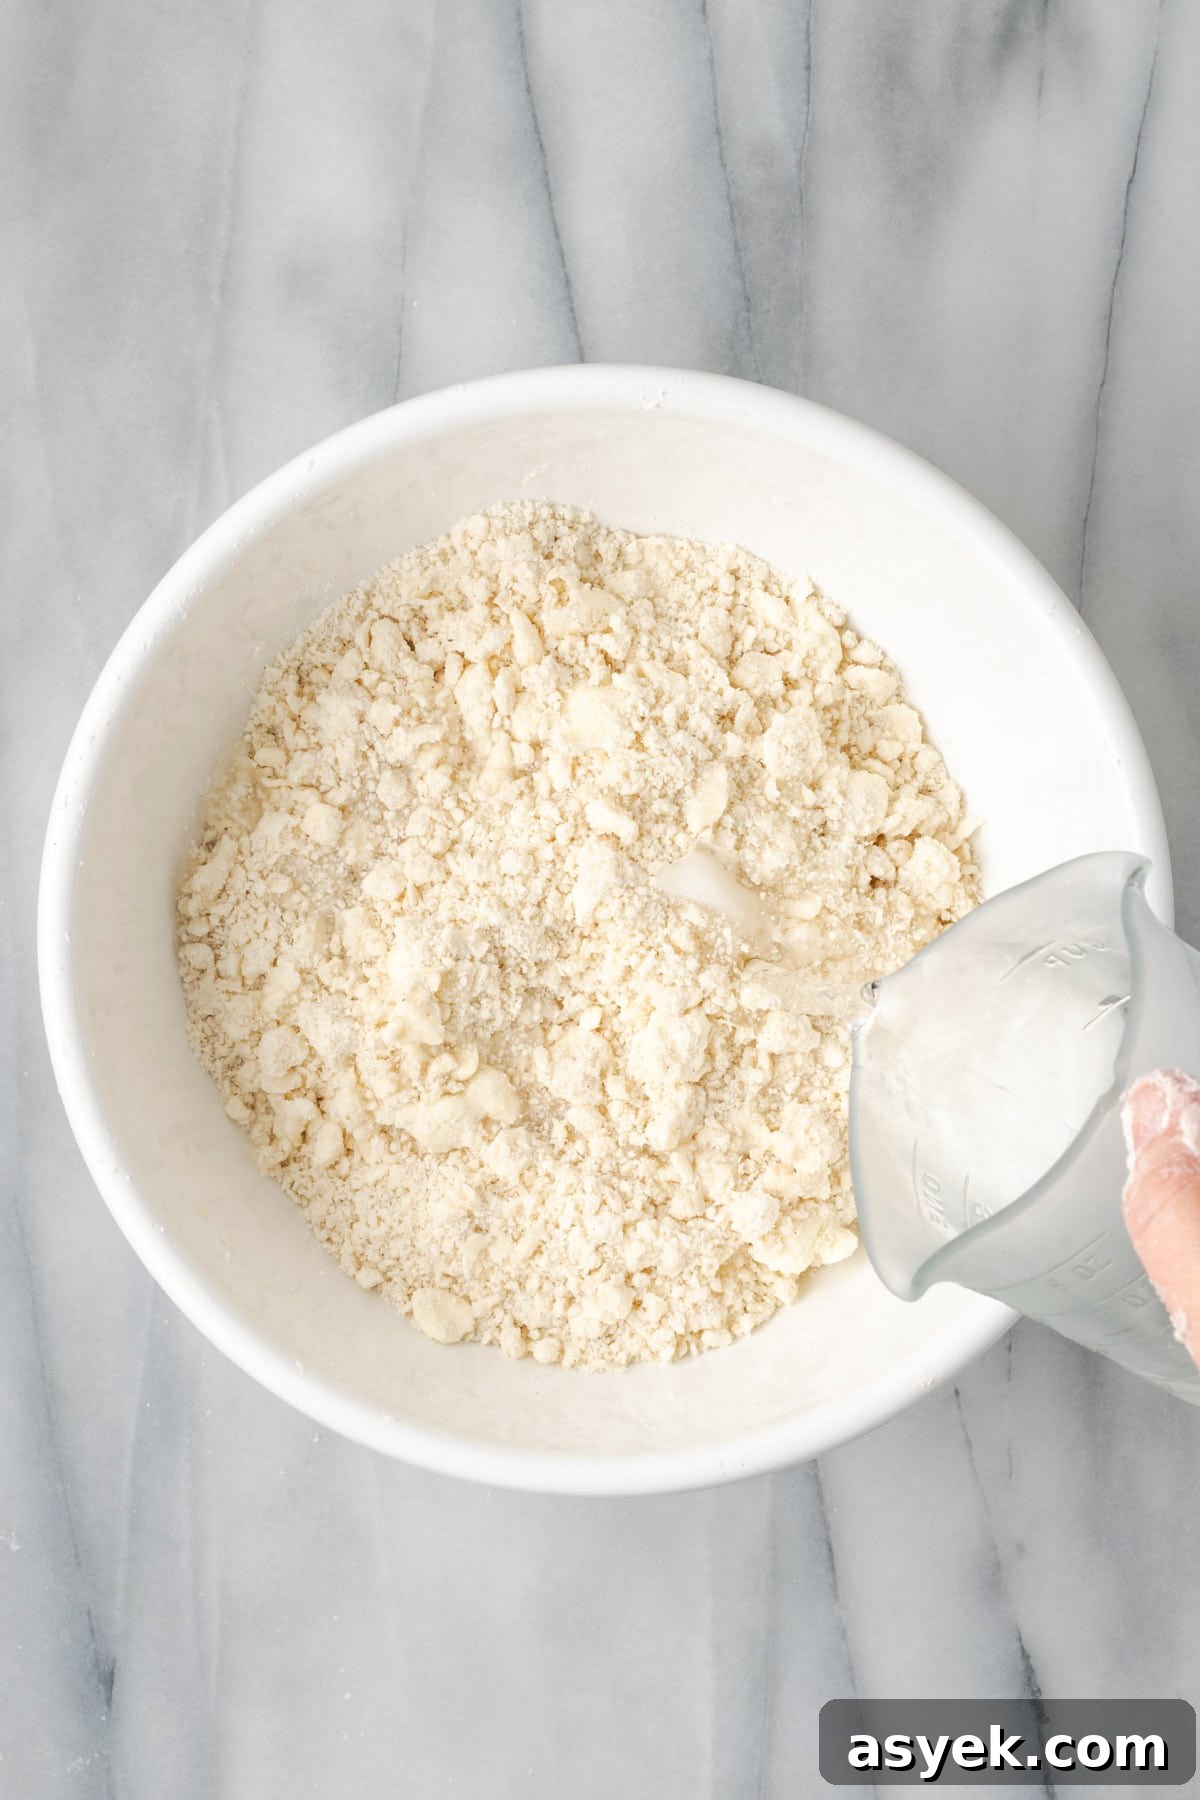
STEP 4: Add about half the iced water and toss the mixture (like a salad) to distribute moisture. Add more water, a tablespoon at a time, until the dough holds together when squeezed but is not wet.
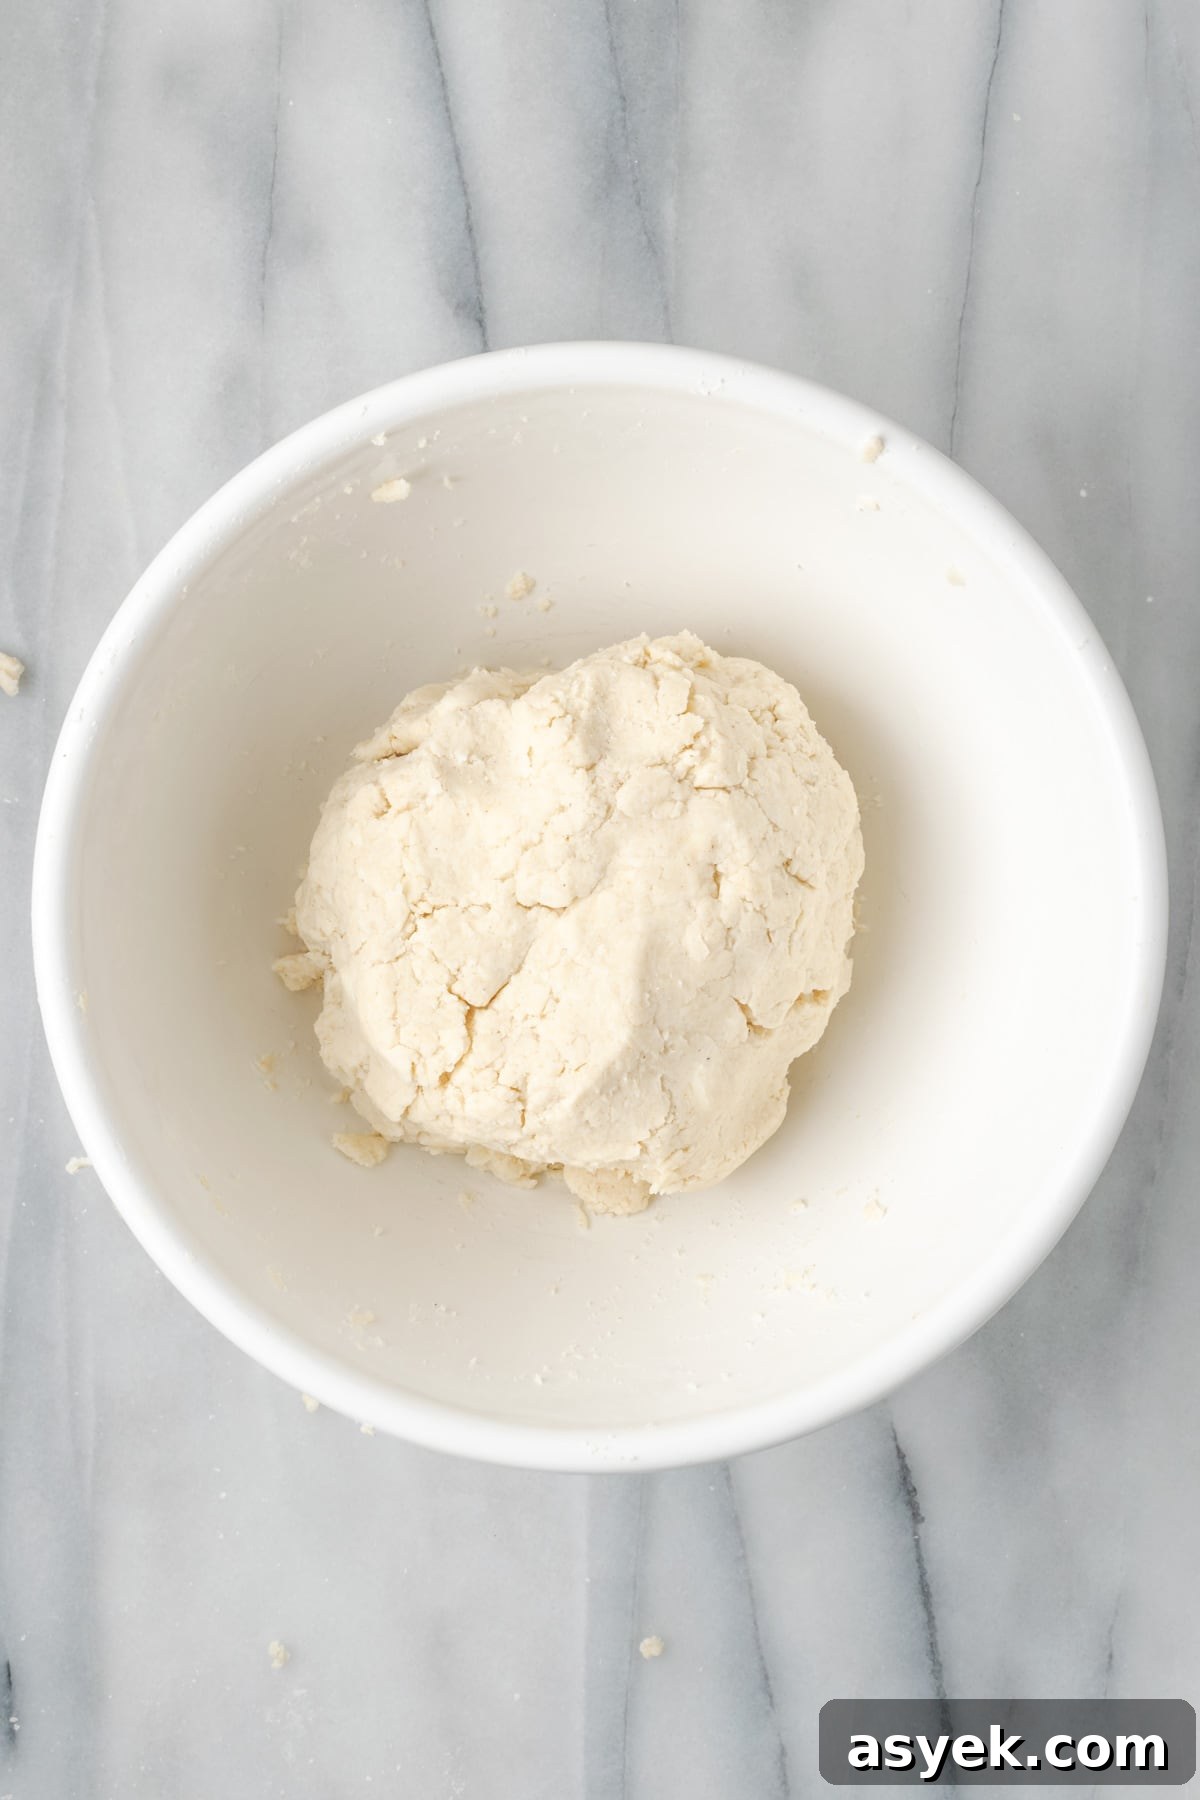
STEP 5: Form the dough into a ball. It should not cling to the bowl. For a double crust, divide the dough in half.
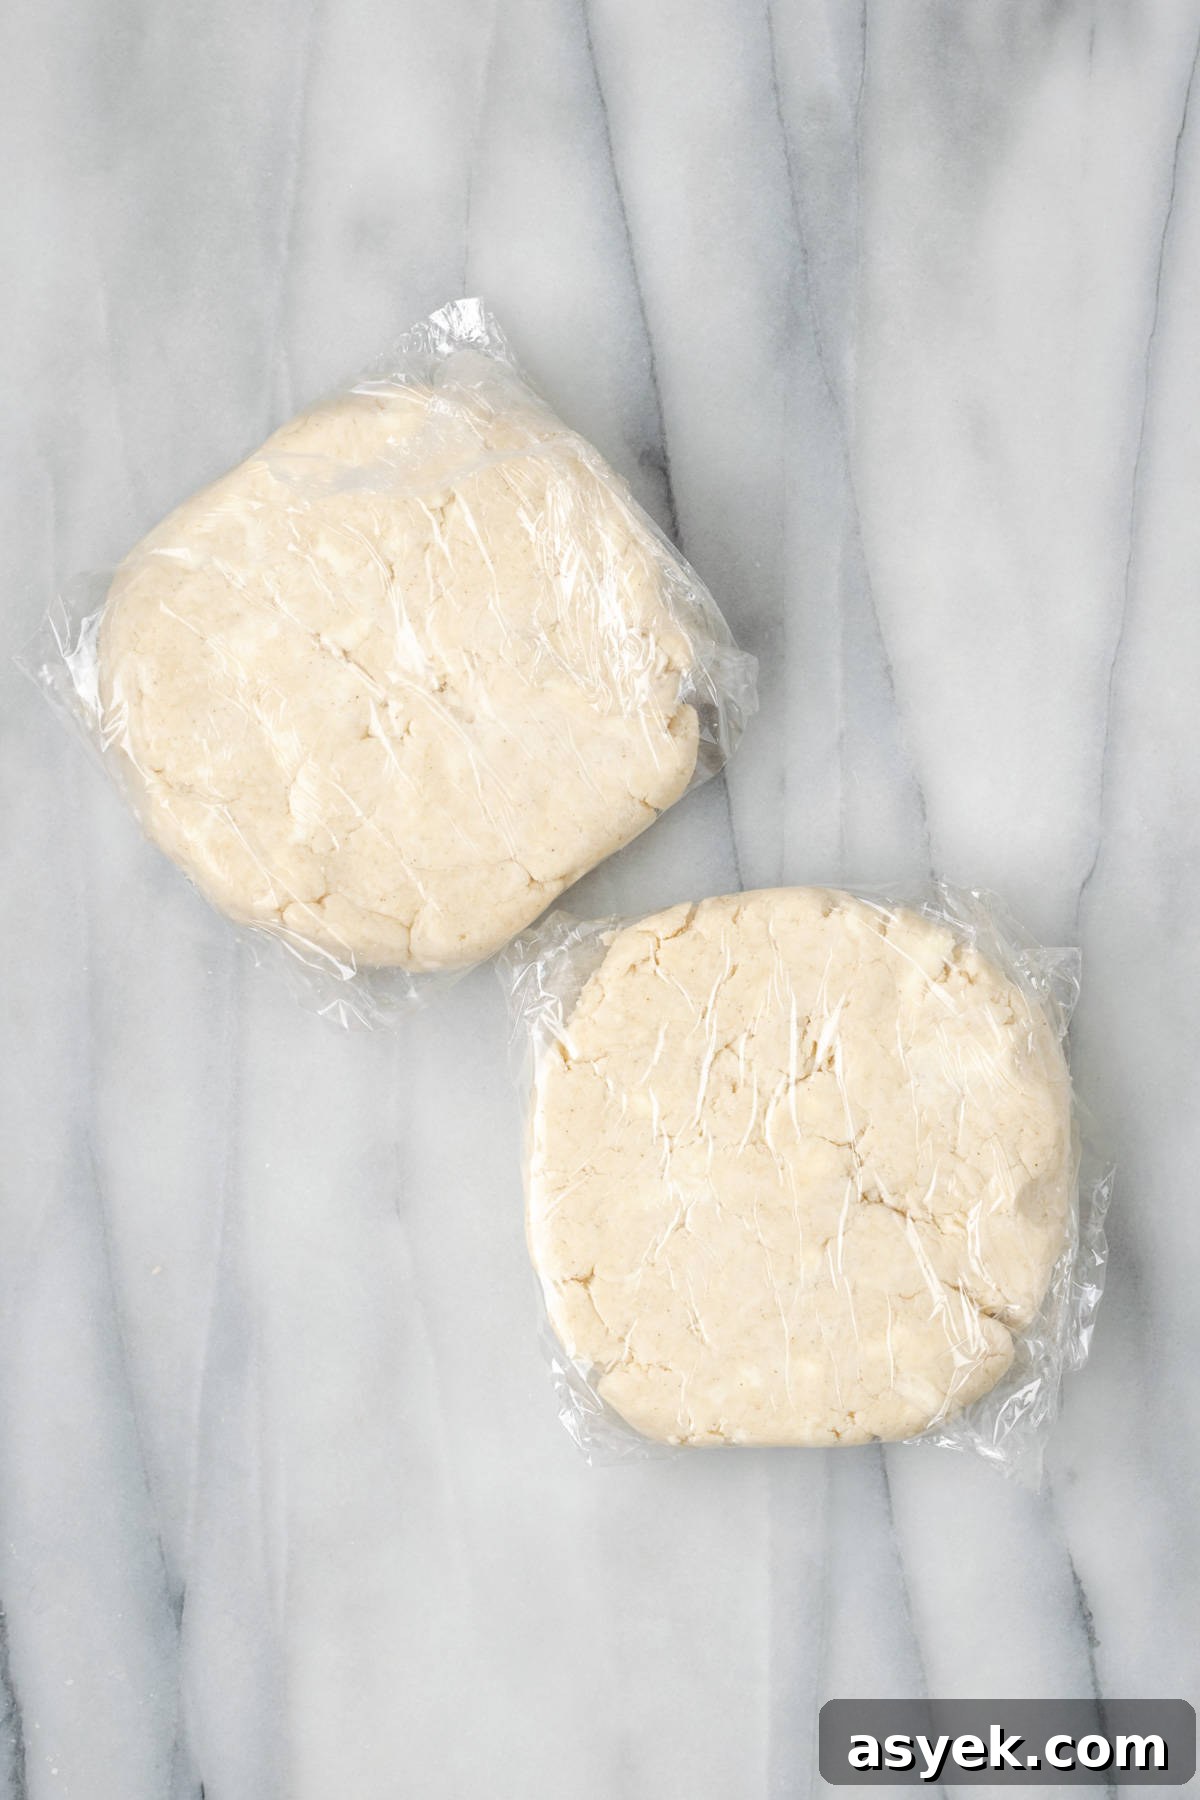
STEP 6: Flatten each portion into a disc about 1″ thick, wrap tightly in plastic, and refrigerate for at least 2 hours or up to 5 days.
Expert Tip
Make the dough in a food processor if you prefer speed. Pulse the dry ingredients with the cold fat until the pieces are pea-sized, then add water and finish by hand. The processor will handle faster but may produce slightly smaller fat pieces and a less flaky result.
- Keep everything cold for flakiness.
- Work quickly to avoid warming the fat.
- Fold and re-roll the dough once or twice to create more layers if you want extra flakiness.
Rolling Out and Shaping the Dough
Remove chilled dough from the refrigerator. There are two preferred rolling methods:
Method 1: Plastic wrap method
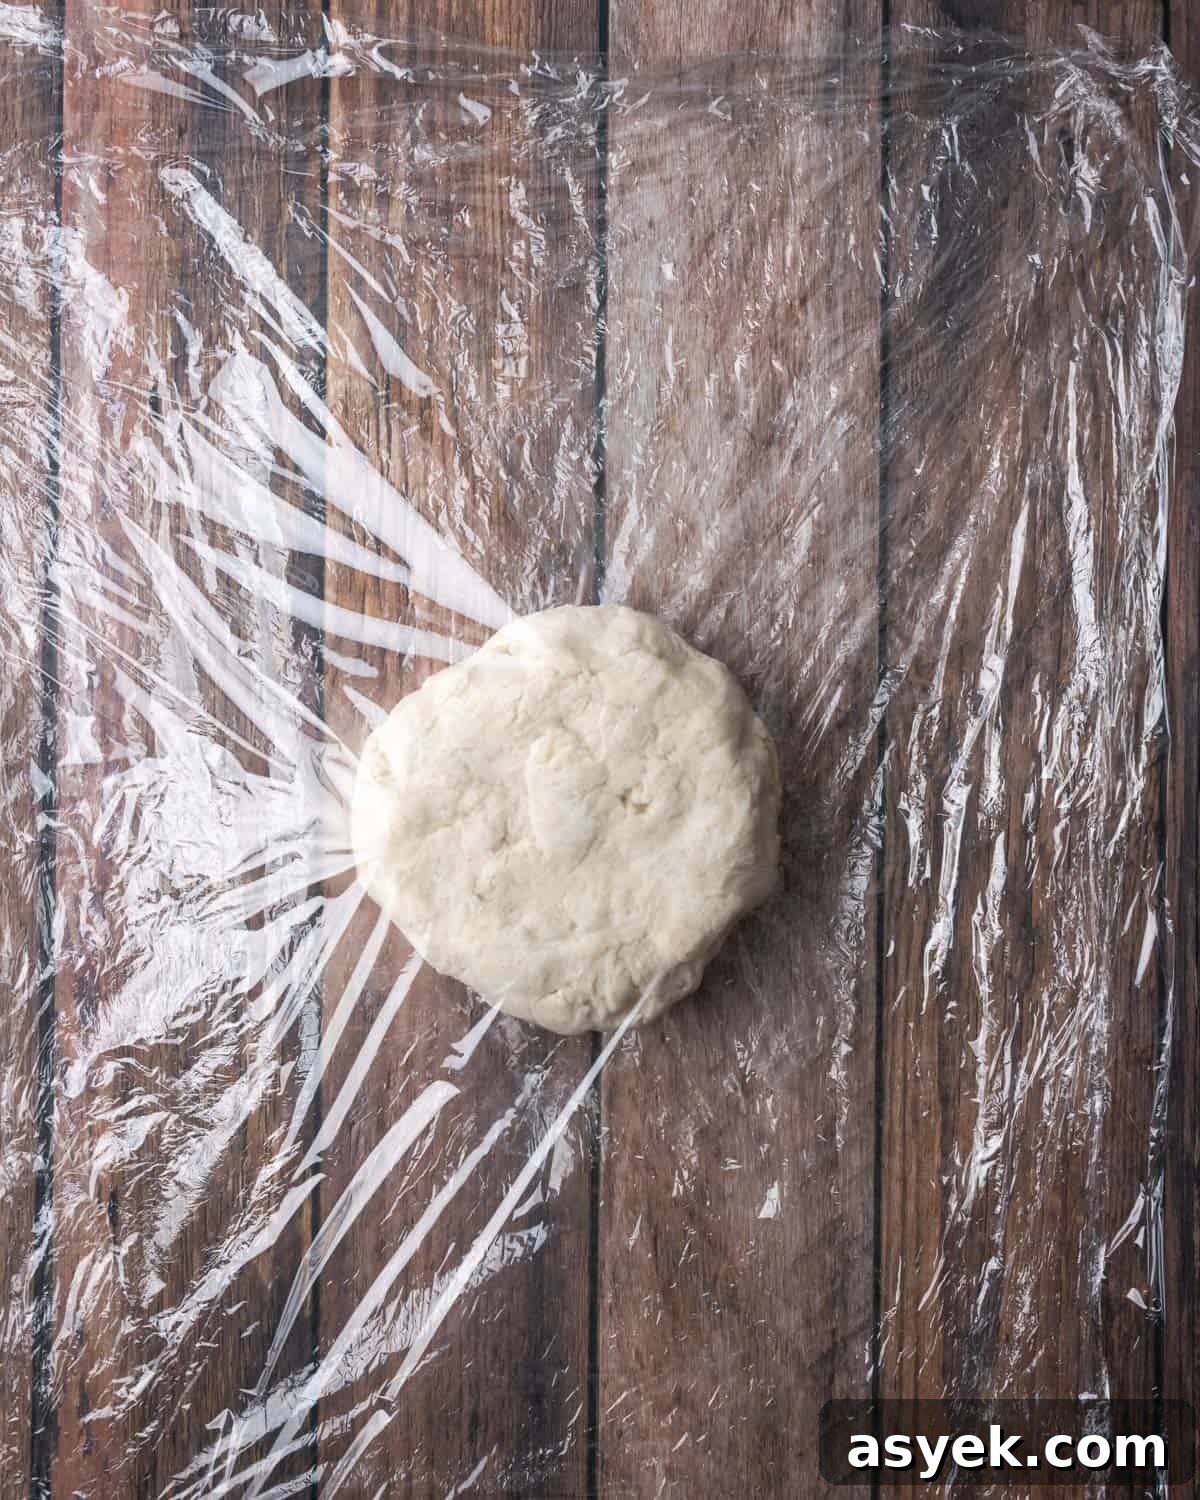
STEP 1: Sandwich the chilled dough between two sheets of plastic wrap and roll to the desired diameter—about 1″ larger than your pan.
Method 2: Lightly floured parchment
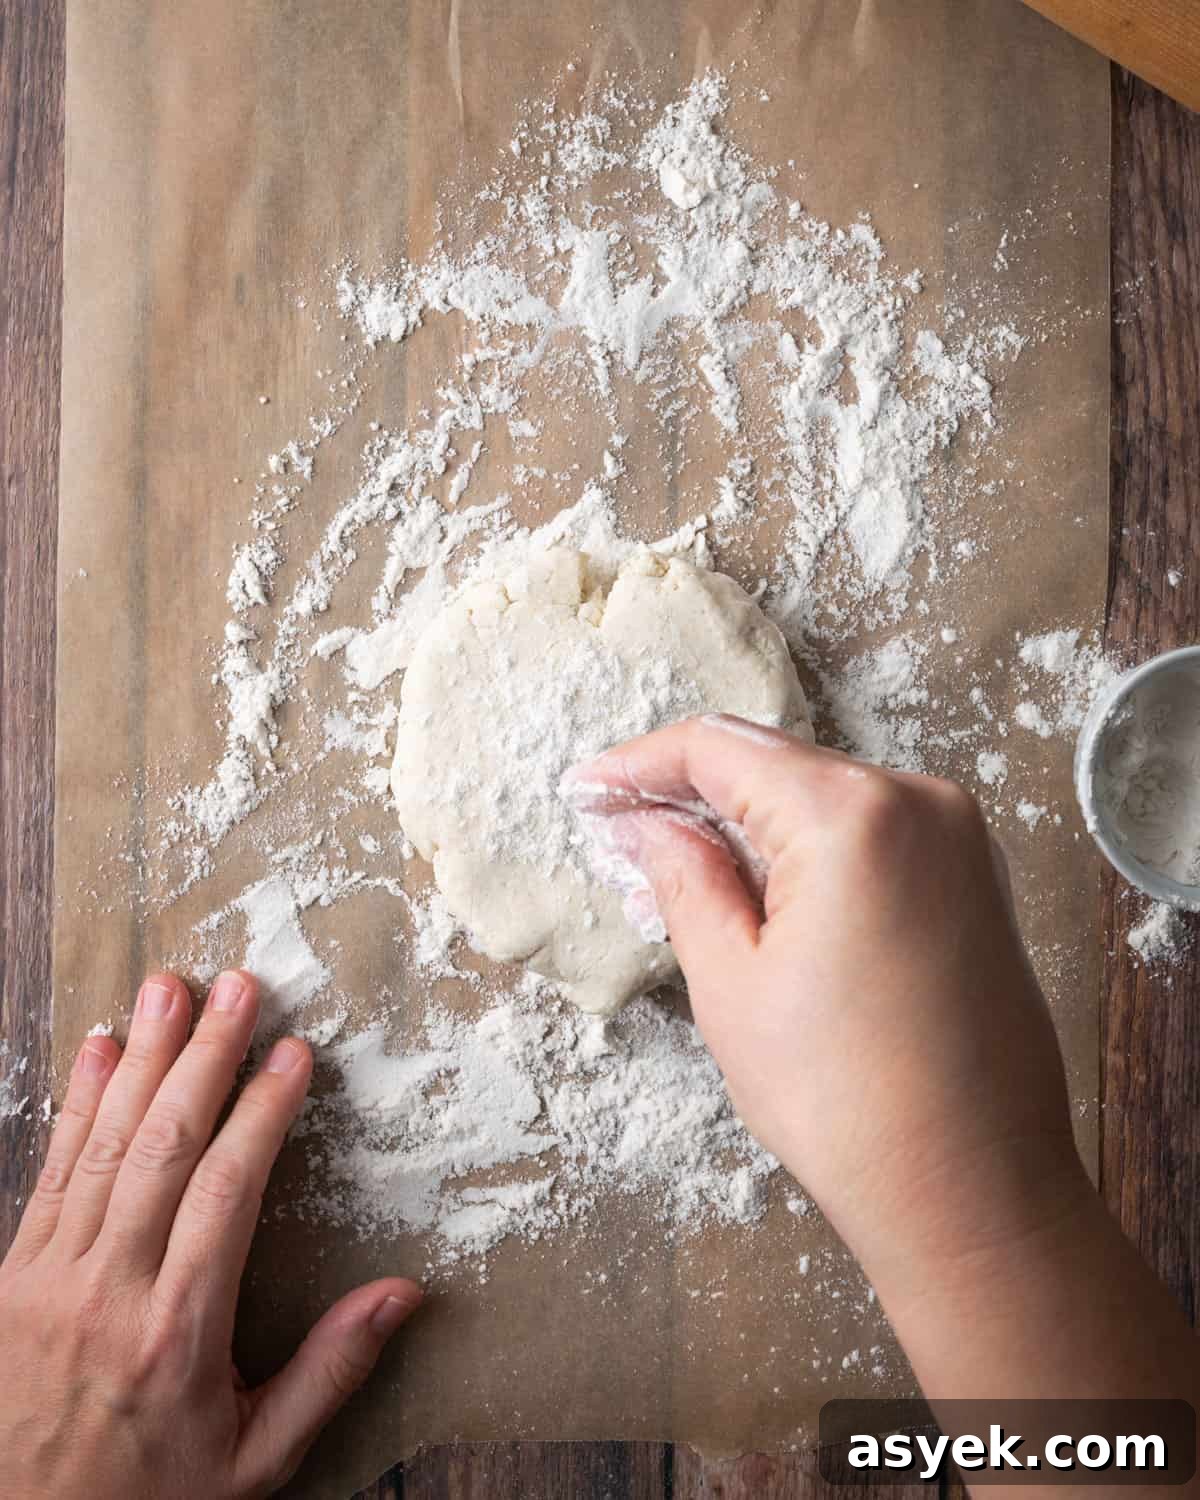
STEP 1: Place the dough on parchment dusted with a tablespoon of gluten free flour. Dust the top and your rolling pin lightly and roll the dough to the right size.
After rolling, place the dough sheet on a baking sheet and chill for another hour. Trim the dough using your pan as a guide, leaving about a 1/2″ overhang. Flip the pan and gently press the dough into the pan without compacting it. Patch any holes with trimmed scraps and freeze the prepared shell if you won’t bake it right away.
Expert Tip
Patch any small holes with trimmed scraps of dough. Filling can leak through holes and cause the pie to stick to the pan or lose its shape.
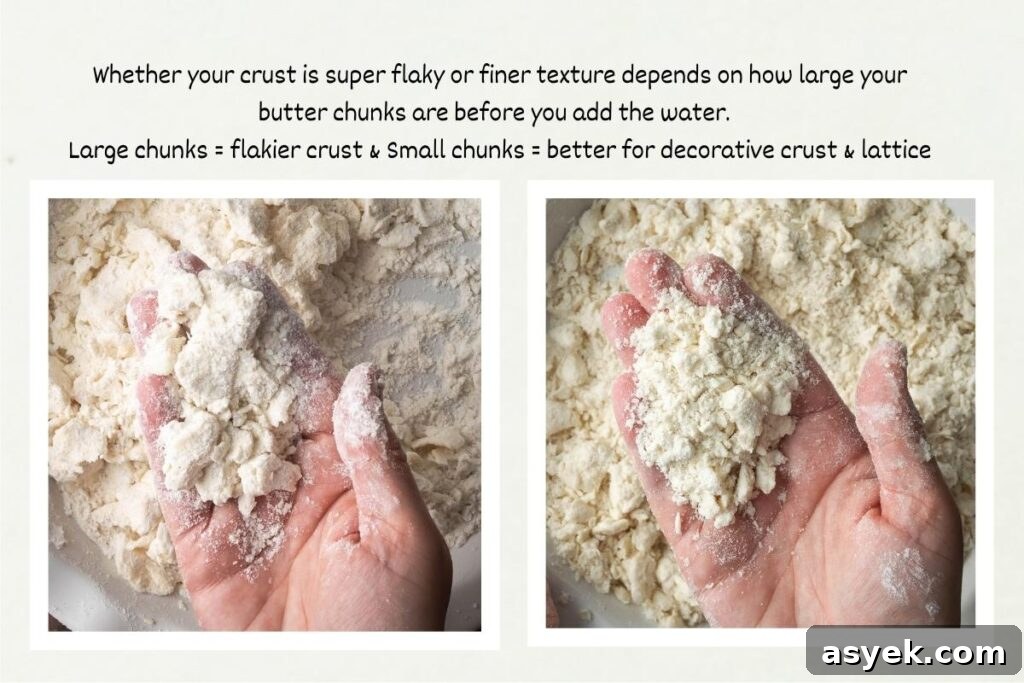
How to Make Extra Flaky Pie Crust
To maximize flakiness:
- Keep the fat cold: Cold fat creates steam pockets as it melts in the oven, producing flaky layers.
- Leave larger fat pieces: Larger bits of butter or shortening produce distinct layers. Aim for pieces roughly the size of a quarter rather than tiny crumbs.
- Create layers: Use the flour-dusted rolling method. Fold the rolled dough into halves a couple of times, then re-roll to the pan size to introduce more layers.
How to Make a Lattice Pie Crust
Once you have dough you are comfortable working with, decorative tops like lattices are simple and elegant.
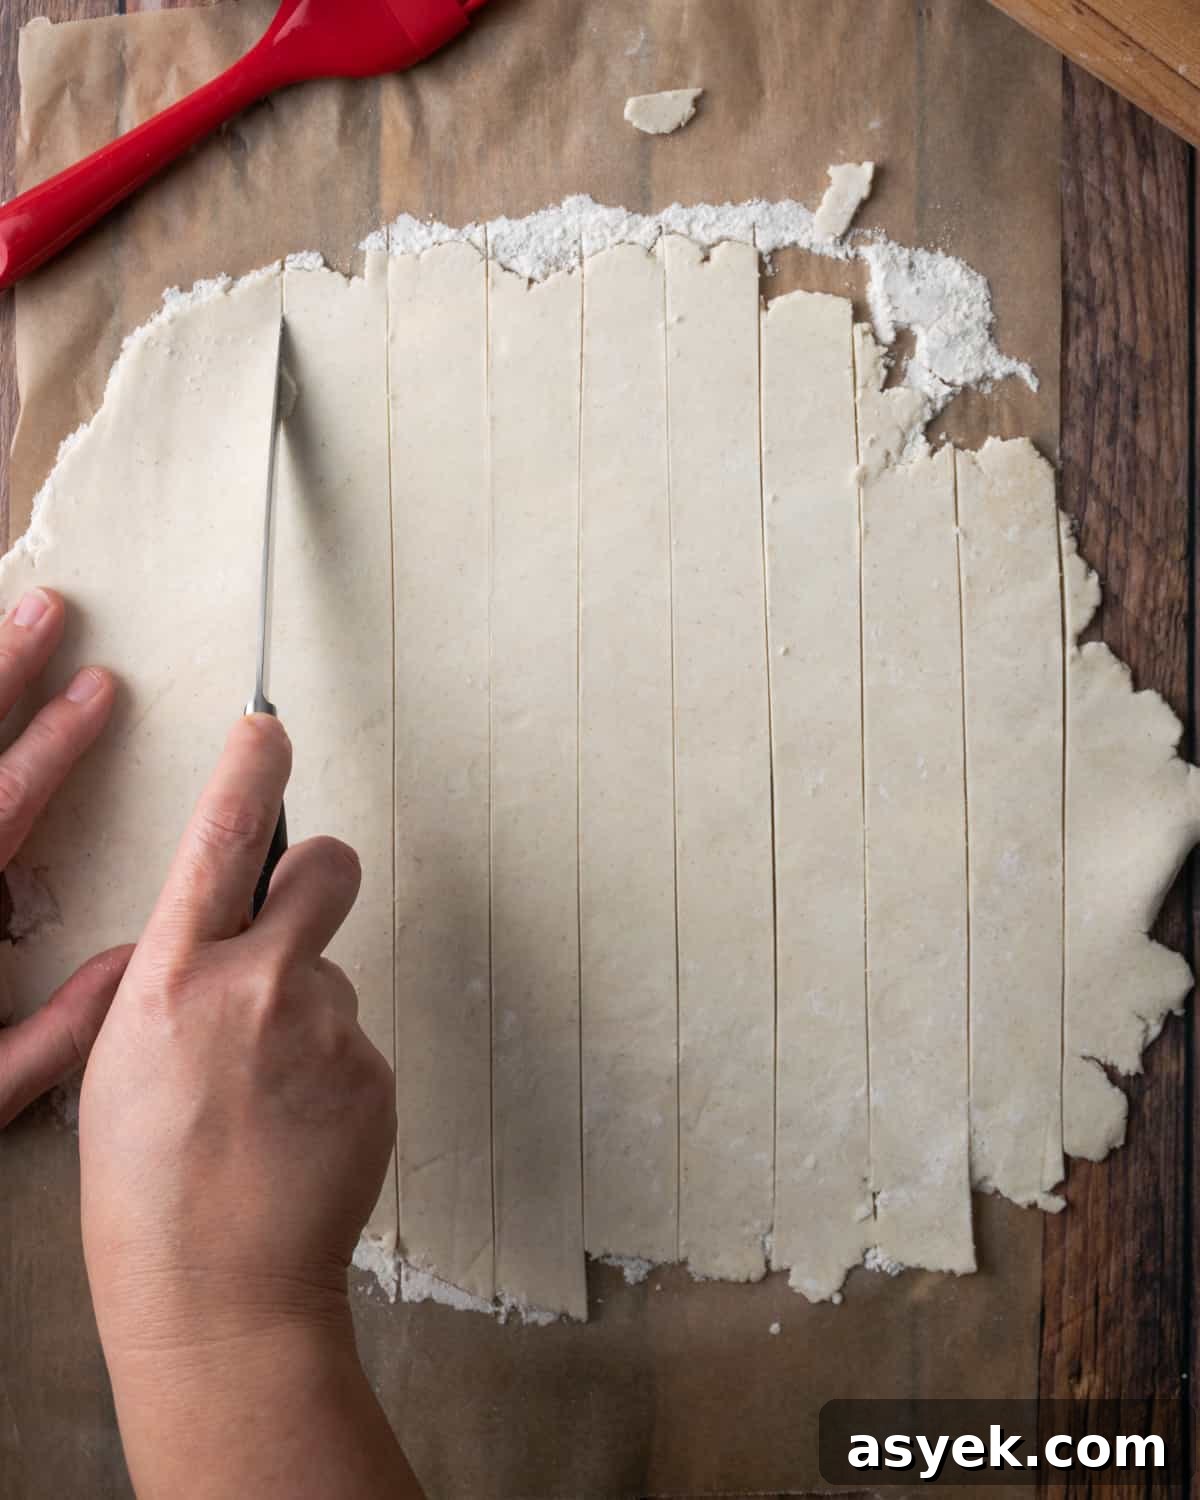
STEP 1: Roll a sheet of dough and cut into even strips.
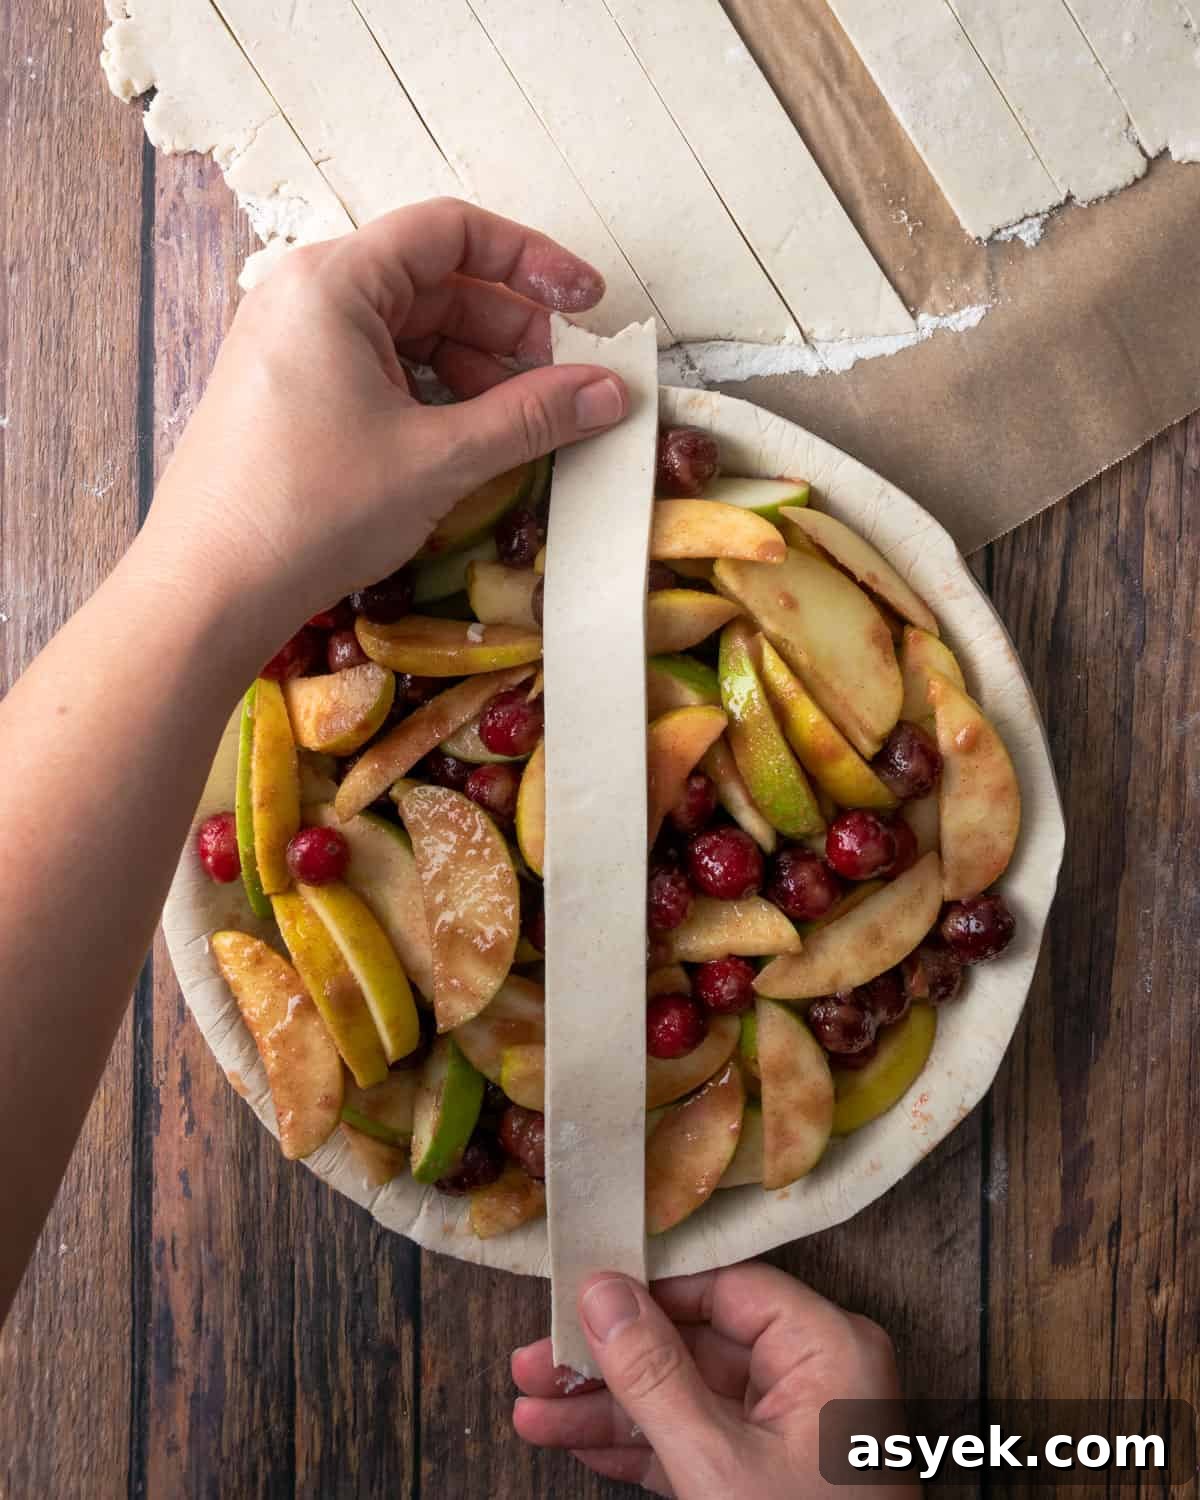
STEP 2: Lay every other strip across the pie in one direction.
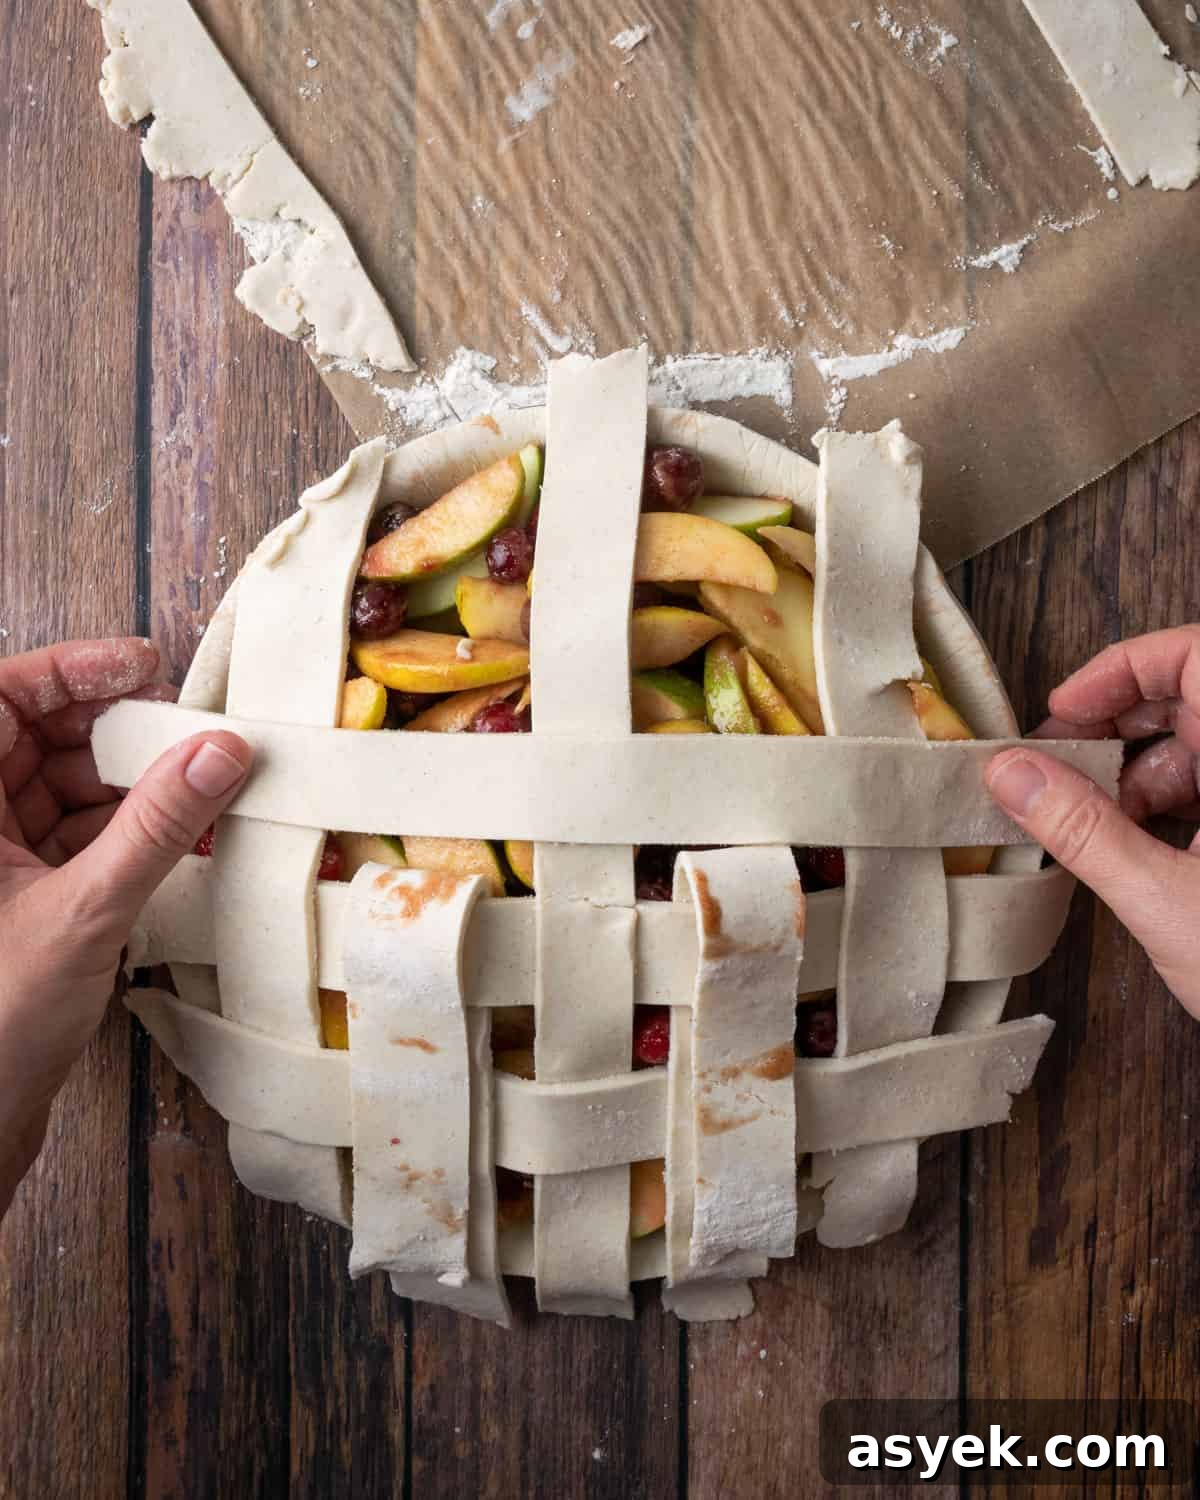
STEP 3: Fold back alternating strips and place a perpendicular strip, then unfold to weave a lattice.
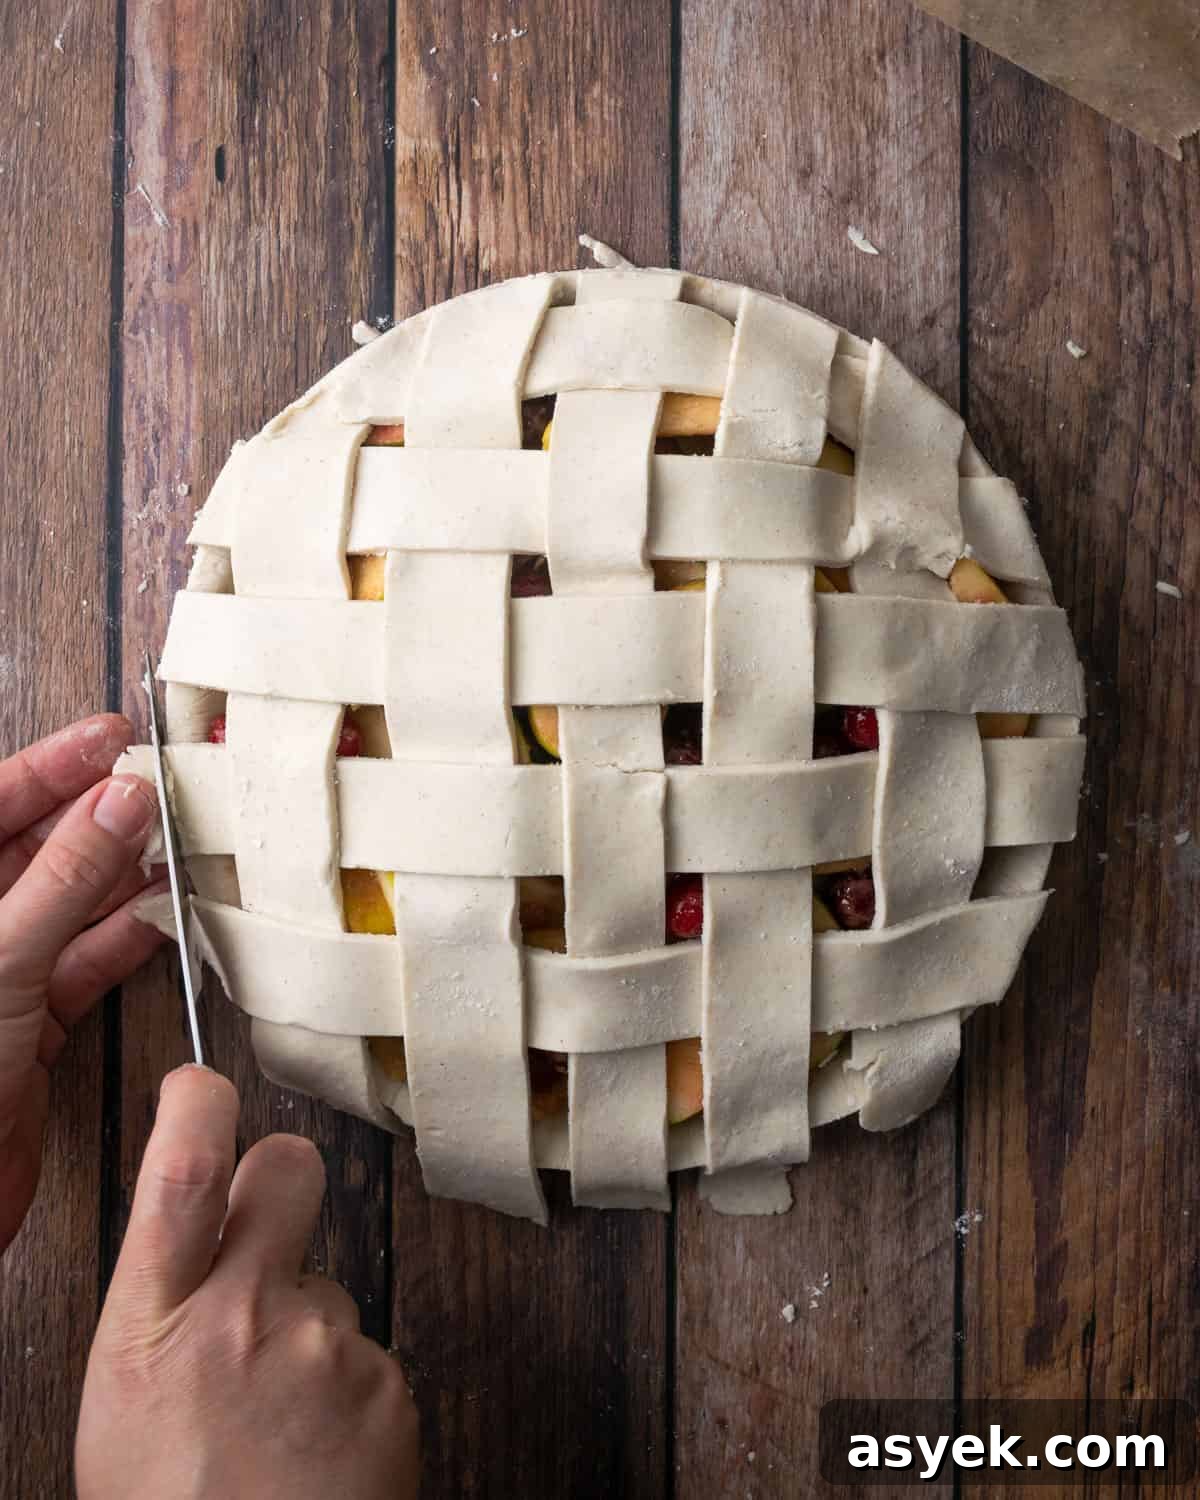
STEP 4: Trim the edges and crimp the border as desired.
Use This Recipe to Make Decorative Pie Crusts
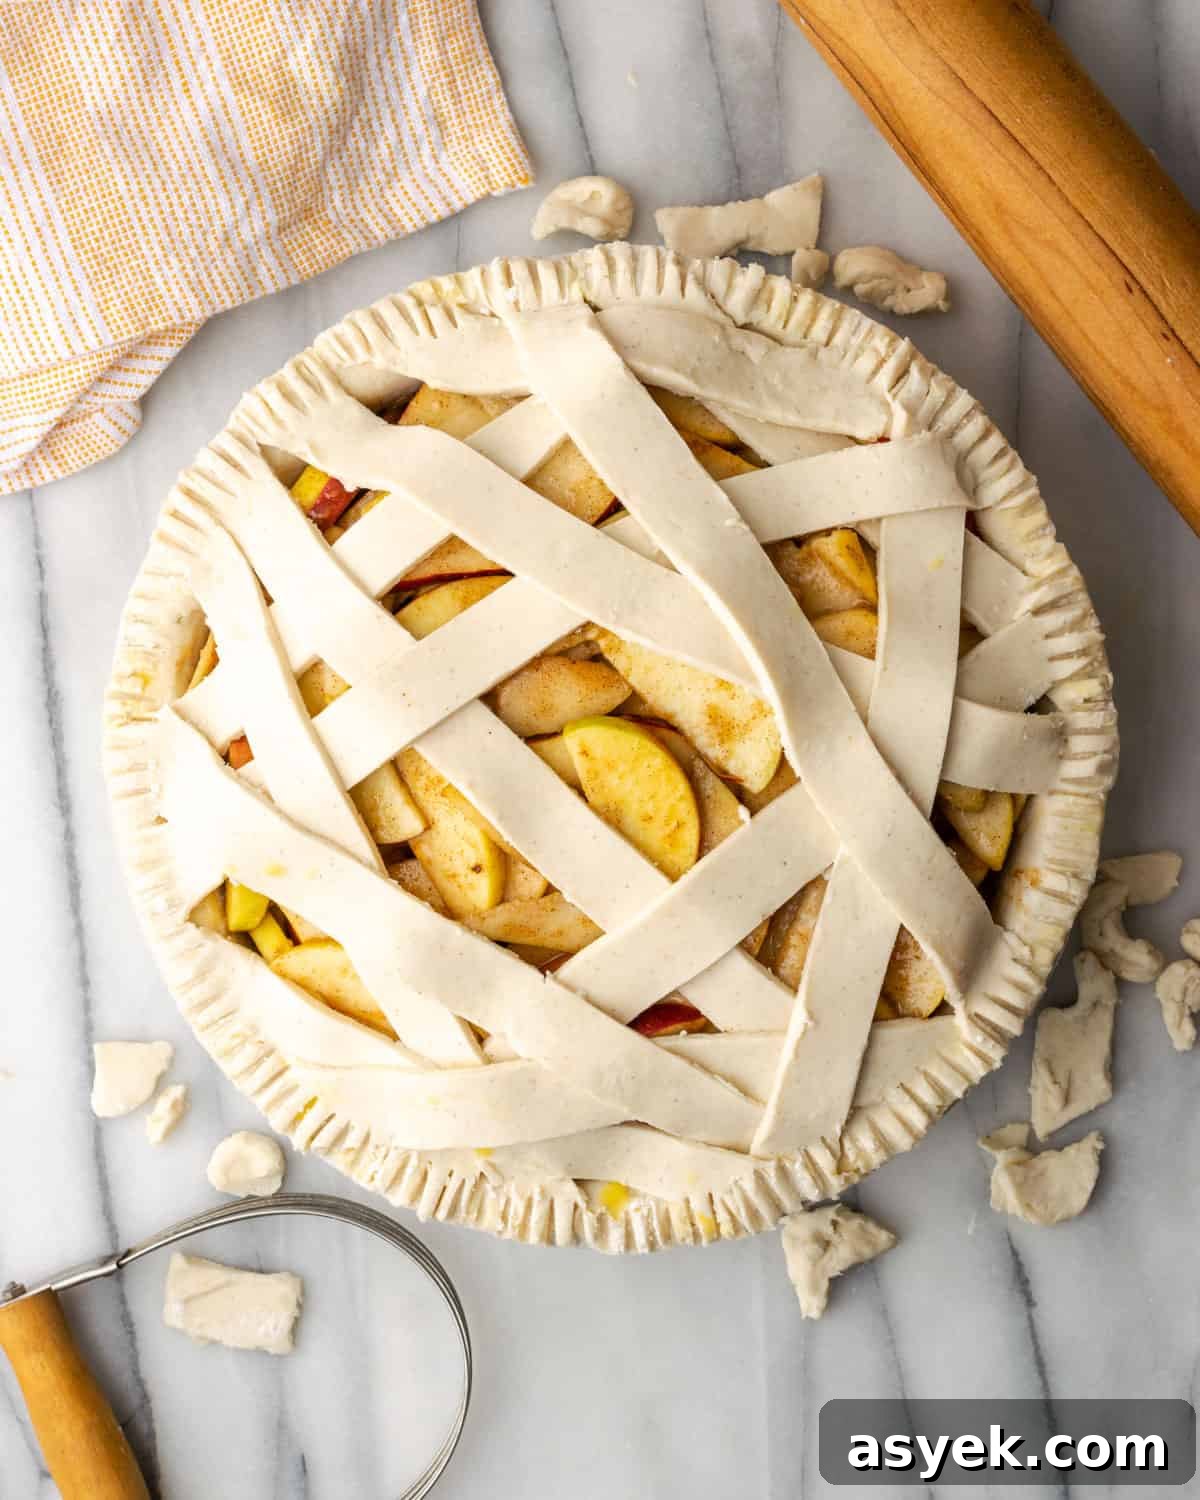
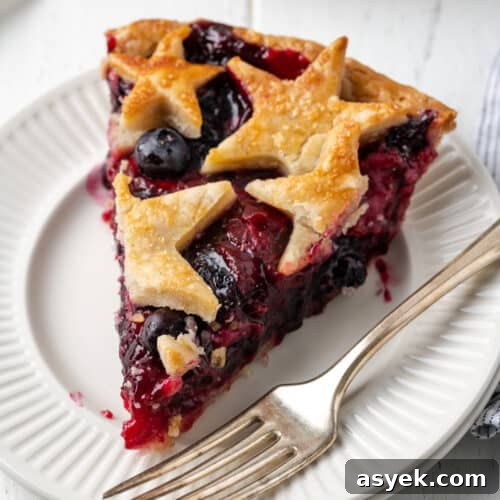
Your imagination is the only limit. Cut shapes, braids, leaves, or stars to decorate the top of fruit pies and tarts.
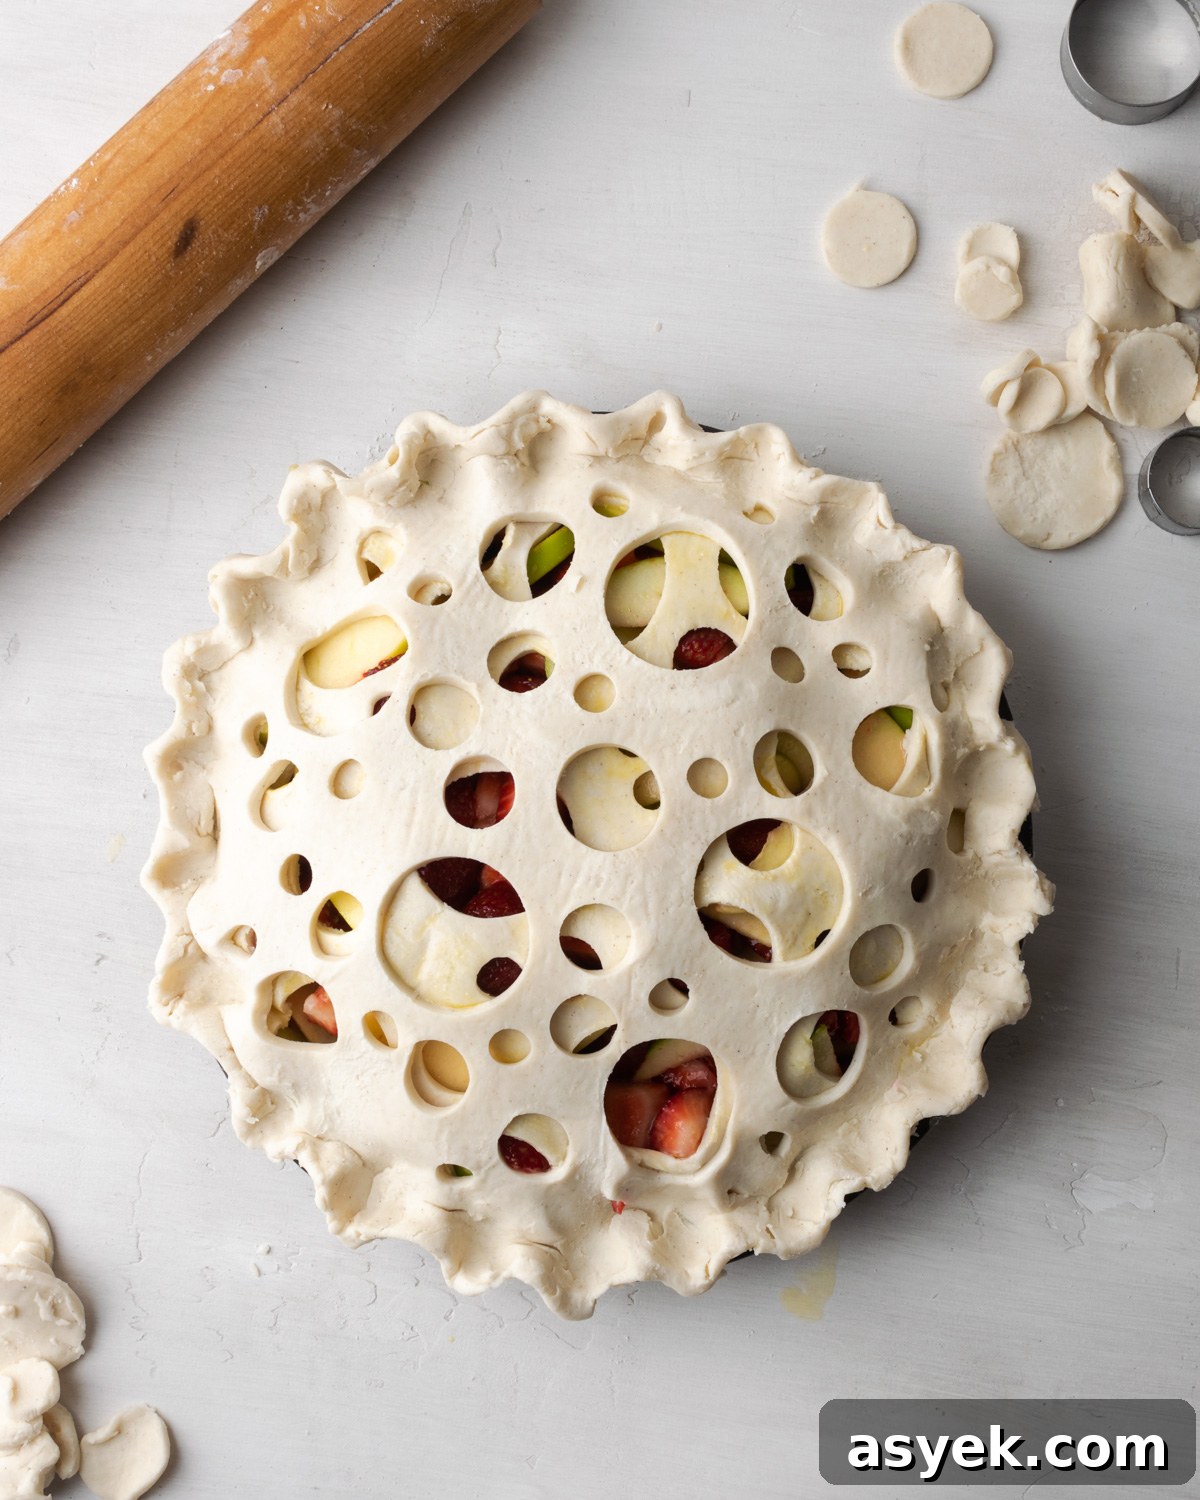
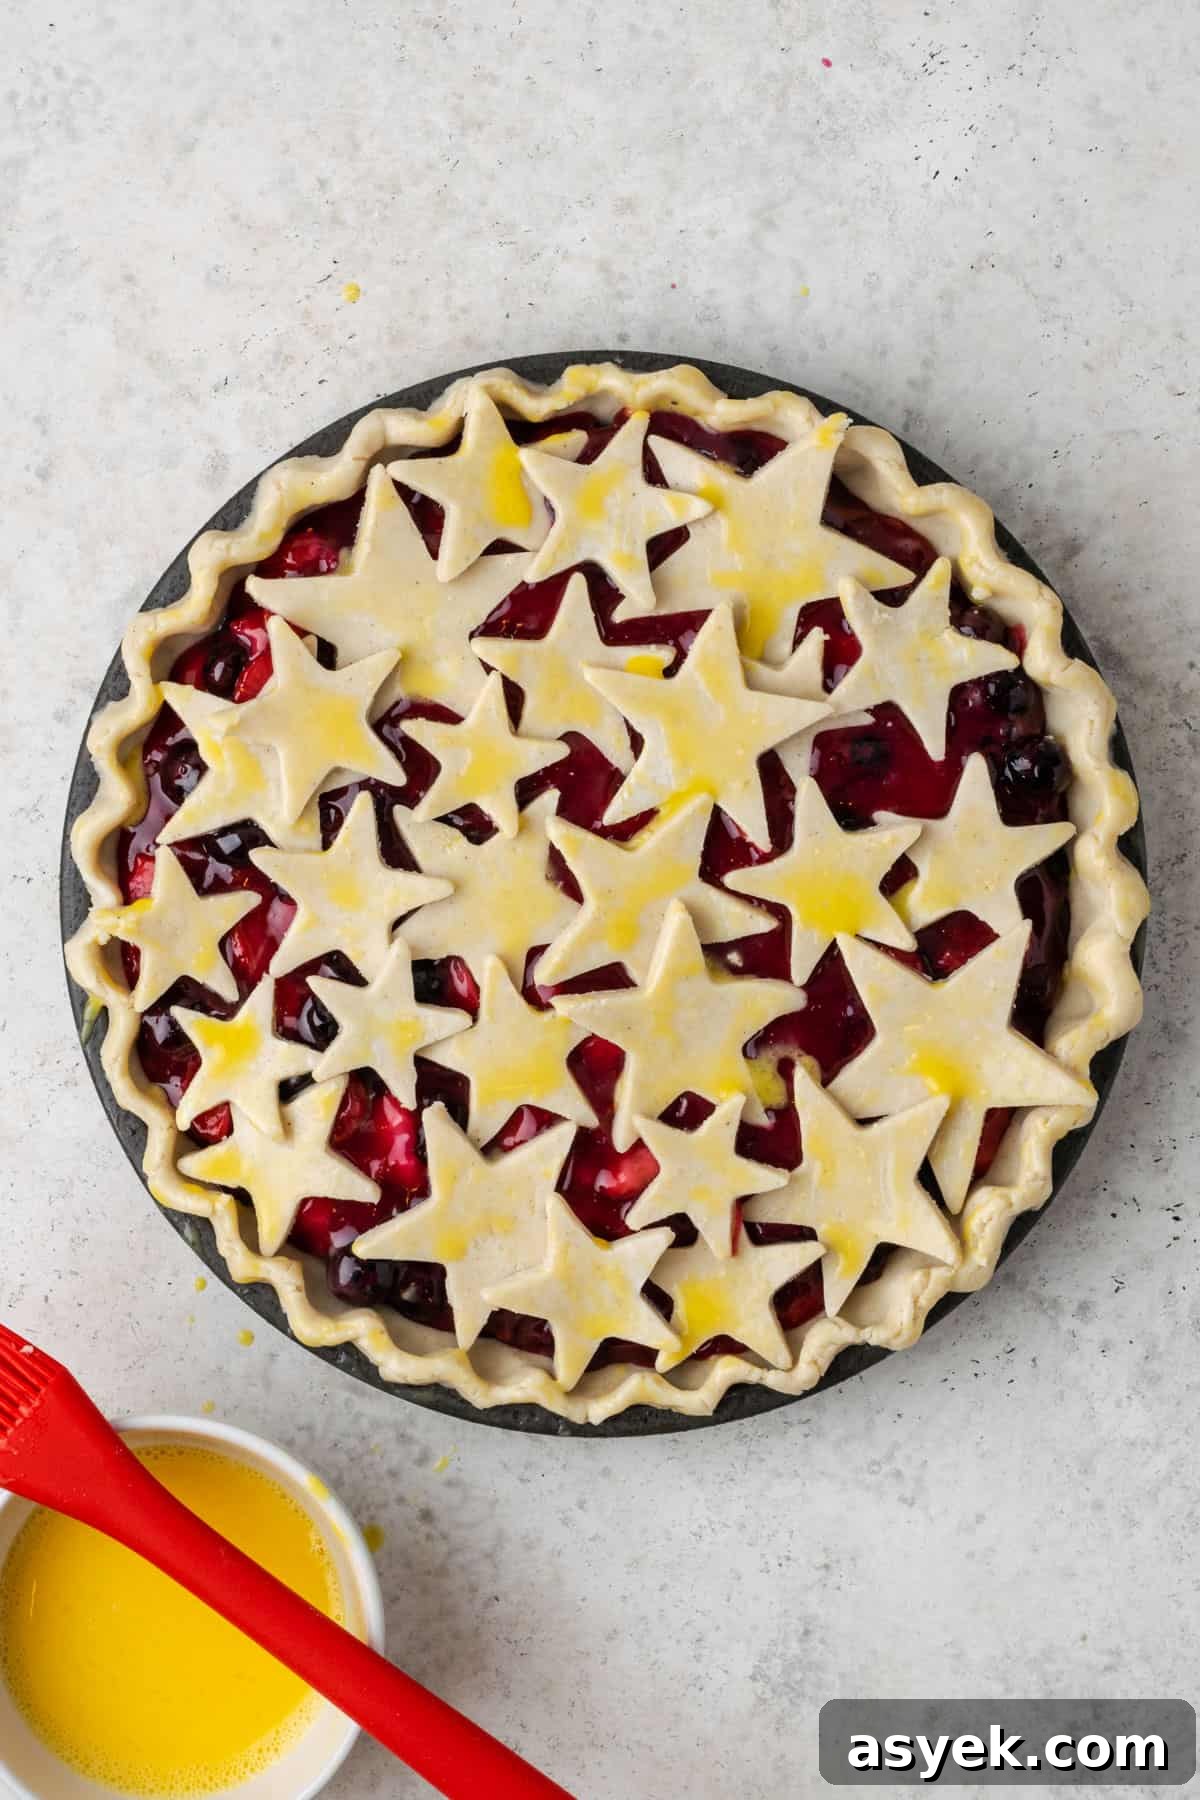
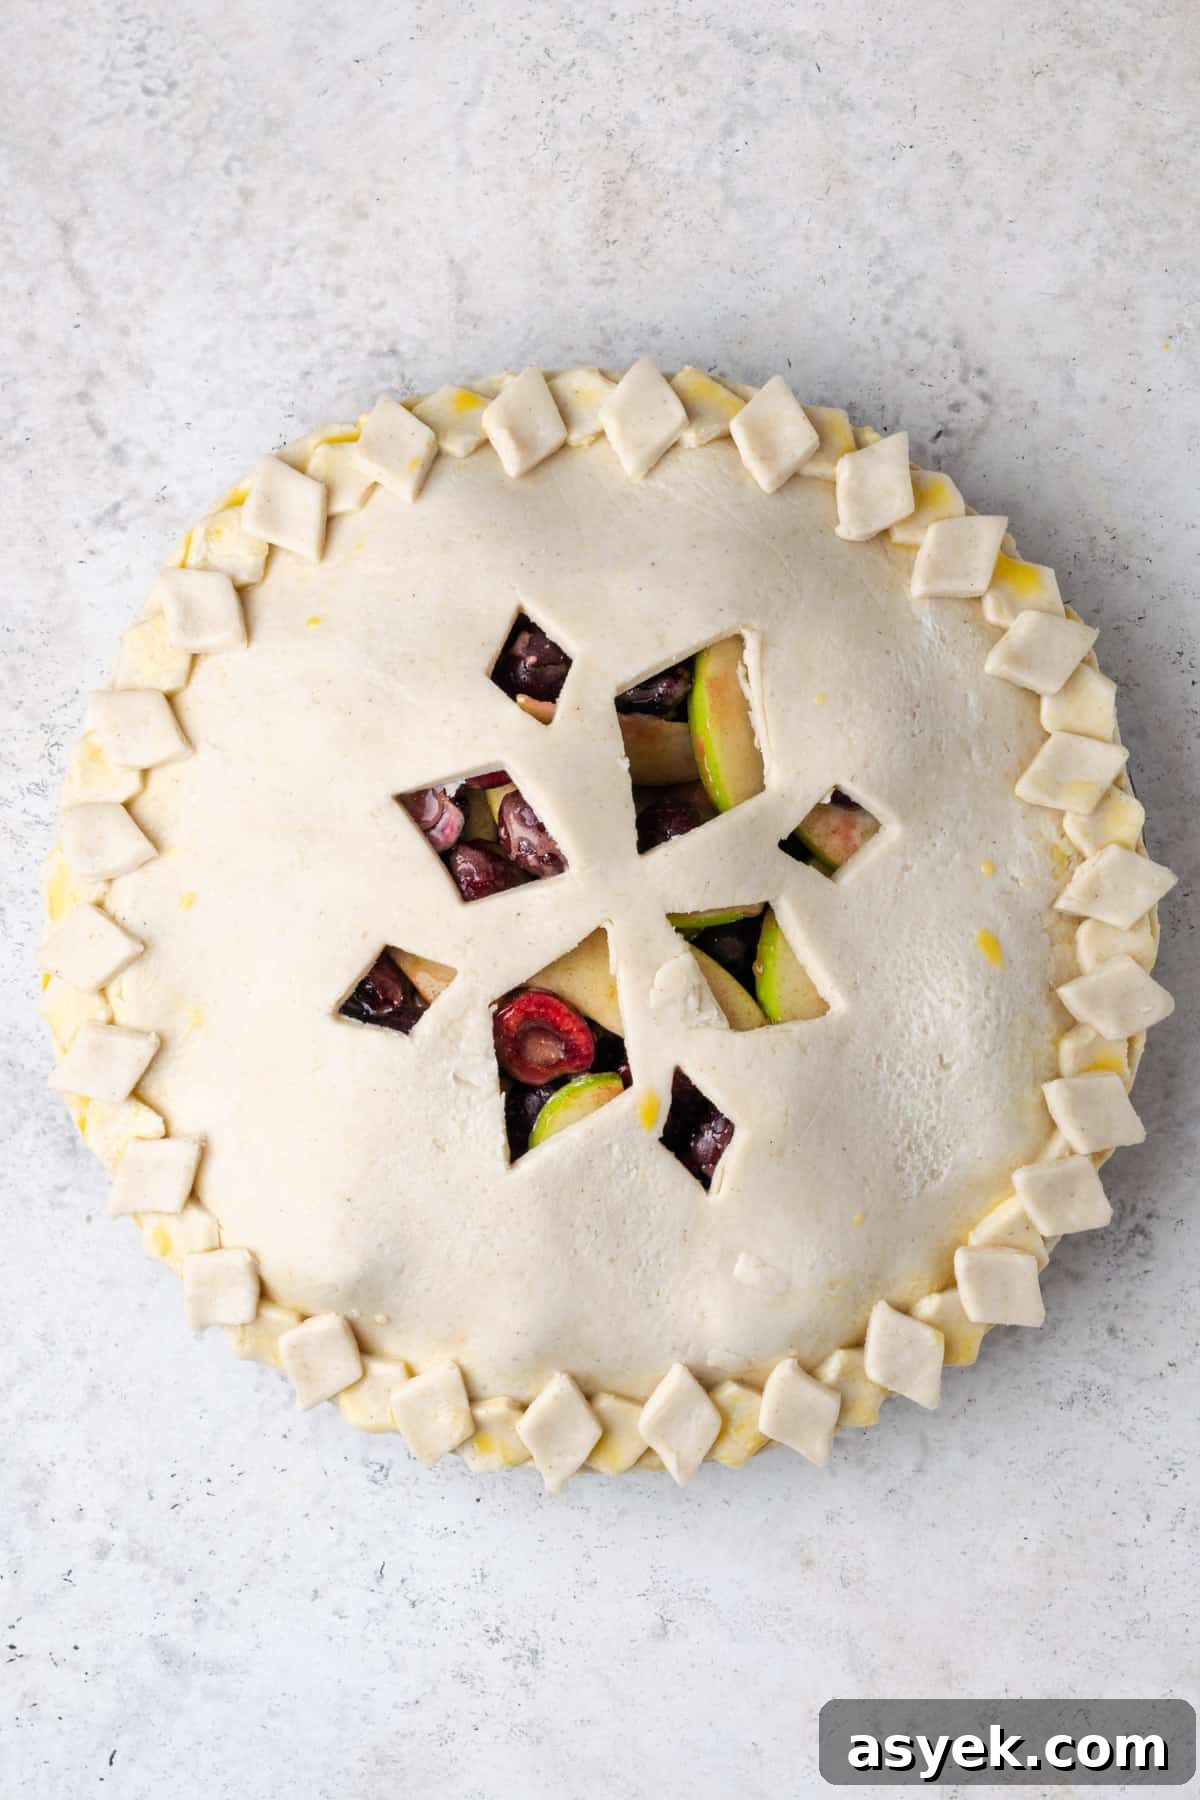
Recipe FAQs
Wrapped in plastic at the patty stage, dough will keep in the refrigerator for up to 5 days. For longer storage, wrap tightly and freeze for up to 3 months. Thaw frozen discs overnight in the refrigerator before rolling.
Yes. Freeze wrapped dough discs or completed pie shells for up to 3 months. Thaw dough discs overnight in the refrigerator before rolling. Pre-lined pie shells can be frozen solid, wrapped well, and used straight from the freezer.
Wrap tightly in plastic wrap and place inside a freezer bag or airtight container to prevent freezer burn.
Store for up to 3 months. Thaw disc-shaped dough overnight in the refrigerator. Frozen pie shells can be baked from frozen — no thawing required for many recipes.
No. Thawing at room temperature warms the fat and makes the dough difficult to handle. Thaw in the refrigerator only.
It’s not recommended. Microwave defrosting heats unevenly and can make parts of the dough too soft to work with.
Gluten Free Pie Recipes to Consider
-
Strawberry Blueberry Pie
-
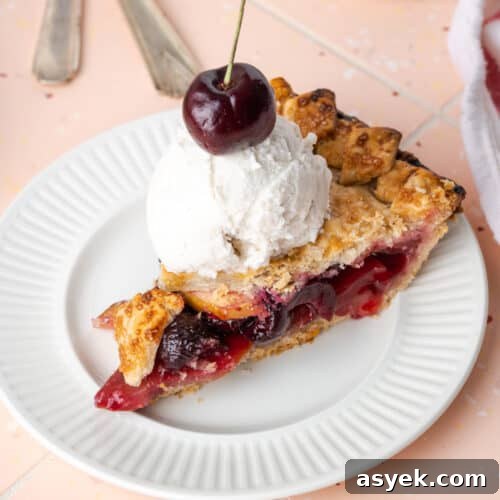
Apple Cherry Pie
-
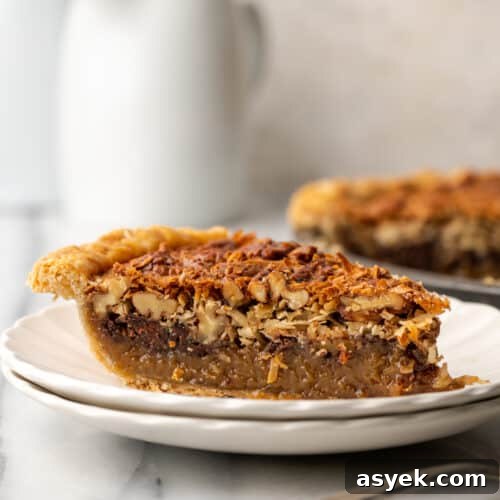
German Chocolate Pecan Pie
-
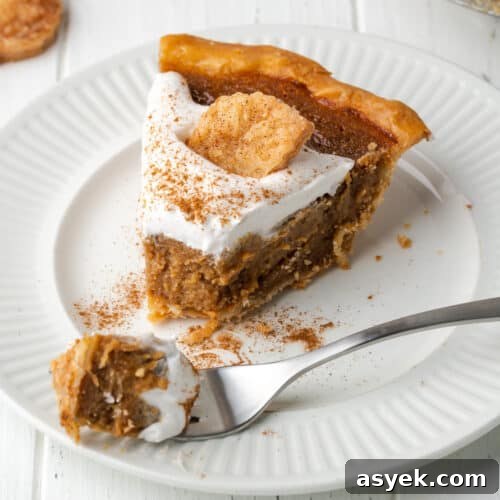
Apple Butter Pie
If you try this recipe, please leave a star rating and share your experience in the comments — feedback helps others find great gluten free pie recipes.
Recipe
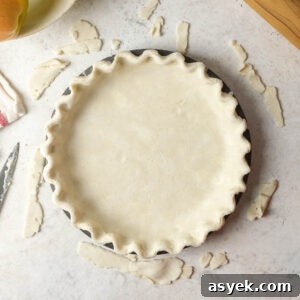
Gluten Free Pie Crust
Ingredients
- 2 1/4 cups gluten free 1-to-1 flour blend
- 2 tablespoons cornstarch (or arrowroot/tapioca)
- 1/2 teaspoon salt
- 1 tablespoon sugar
- 1/2 cup vegan butter (or unsalted dairy butter)
- 1/2 cup shortening
- 1/2 cup cold water (ice water)
Instructions
- Cut butter and shortening into 1/2″ cubes and chill in the freezer for at least 15 minutes.
- Chill the measured water while you prepare the dry ingredients.
- In a large bowl, combine the flour, cornstarch, salt, and sugar and stir well.
- Add the chilled fat cubes and toss to coat with flour. Quickly press the fat pieces into flattened discs about the size of a quarter.
- Add about half the cold water and toss to distribute. Add more water a tablespoon at a time until the dough holds together when squeezed.
- Form into a disc about 1″ thick, wrap tightly in plastic, and refrigerate for at least 2 hours or up to 5 days.
- When ready to roll, place the dough on parchment dusted with a little gluten free flour or sandwich between plastic wrap. Roll to 1″ larger than your pie pan.
- Chill the rolled sheet for 1 hour, then transfer into your pie pan. Gently fit the dough without pressing. Patch any holes and trim the edge, folding under and crimping as desired.
- Freeze or refrigerate the prepared shell until ready to fill and bake. If freezing for more than 30 minutes, wrap well to prevent drying.
Notes
This recipe makes a double crust. Freeze leftover dough for another pie if you only need a single crust. Use dairy butter in the same measure if you are not making a vegan crust. Substitute starches one-for-one if avoiding corn. For metric measurements use approximately 333 grams of gluten free flour blend.
Storage: Unrolled pie dough can be refrigerated for up to 5 days or frozen for up to 3 months. Thaw refrigerated overnight before rolling.
Carbohydrates: 28 g |
Protein: 3 g |
Fat: 23 g