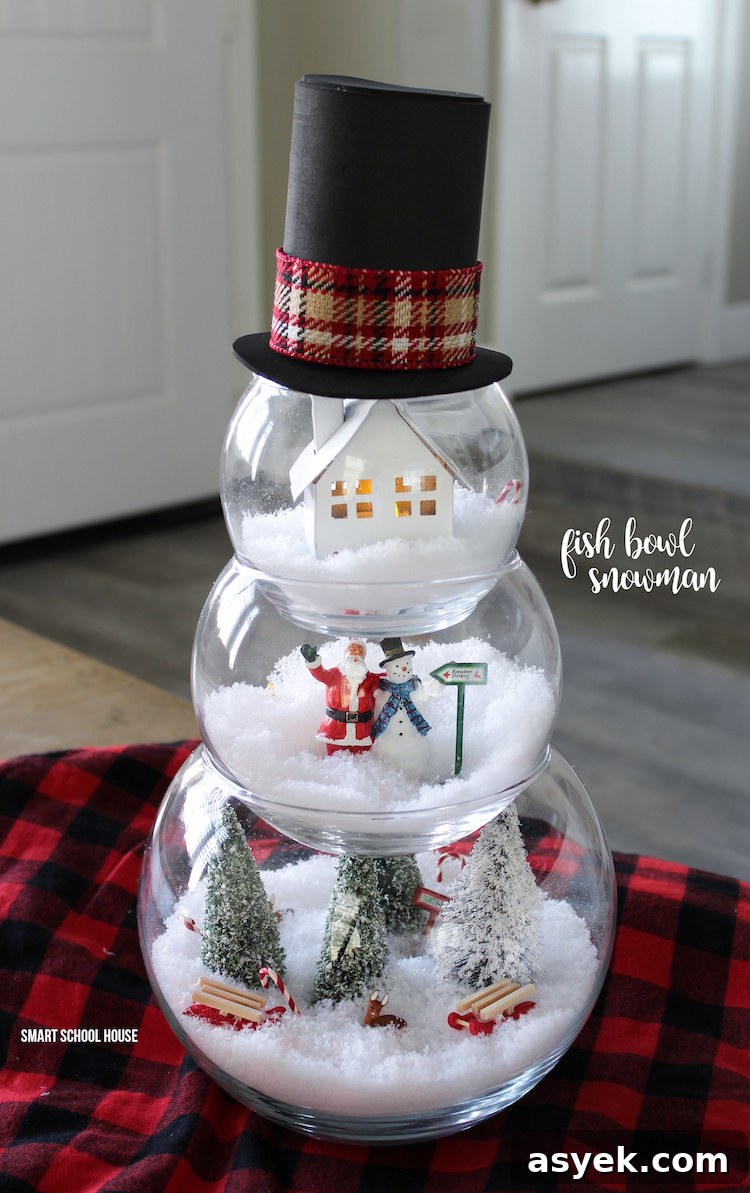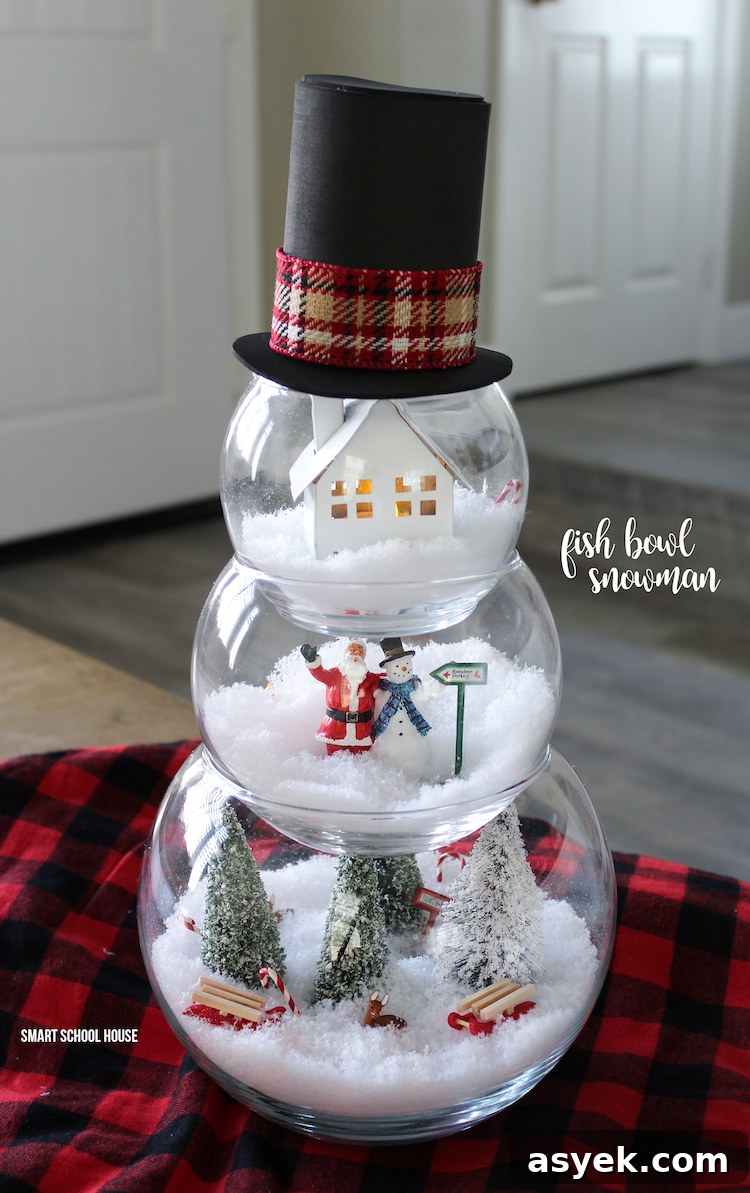
Meet the newest addition to our holiday décor: the Fish Bowl Snowman, a charming DIY Christmas craft. These stacked glass bowls create a tiny winter village inside each sphere — so cute and perfect for a mantel, side table, or as a handmade gift. I gathered all materials from the craft store and even used ready-made miniature village pieces. Follow the step-by-step instructions below and enjoy the photos for inspiration.
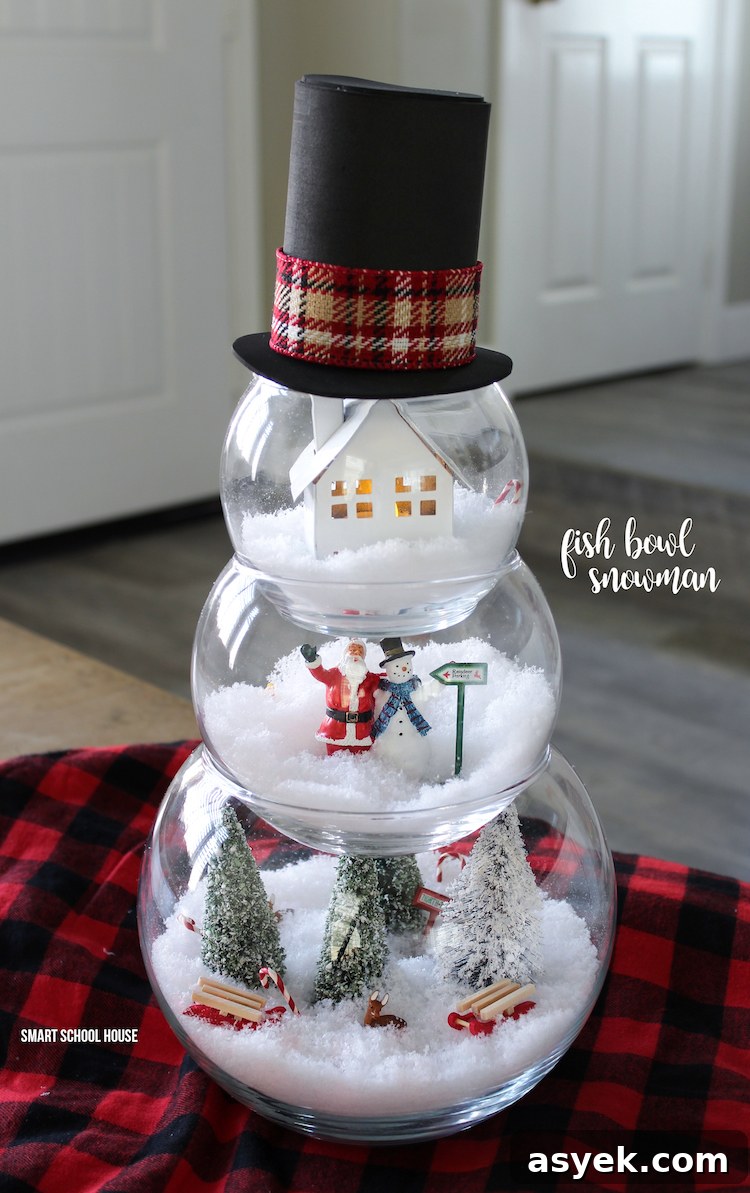
Fish Bowl Snowman
The holiday season is the perfect time to bring out festive decorations and add a few new handmade pieces. This Fish Bowl Snowman is an easy, eye-catching project that layers three clear fish bowls to form the body of a snowman while showcasing small Christmas scenes inside each bowl. It’s a delightful way to combine miniature village elements, faux snow, and a bit of craft foam to create a whimsical centerpiece.
This project works well for crafters of all skill levels. Children can help arrange the tiny houses and trees, while adults can handle cutting and gluing the foam for the snowman’s hat. The finished piece looks magical with a small flameless candle or LED tea light placed inside one of the village buildings — it gives a warm glow without heat, making it safe and lovely for evening display.
Supplies:
- Three clear fish bowls in graduated sizes that stack to form the snowman shape — craft stores and dollar stores often carry them.
- Miniature snow village pieces (small houses, trees, figures) to create a scene inside each bowl.
- One bag of faux snow or white glitter to line the bottoms.
- Two sheets of black craft foam to make the snowman’s top hat.
- Scissors (and an optional craft knife for more precise cuts).
- Christmas ribbon or small trim to decorate the hat.
- A hot glue gun and glue sticks for secure assembly.
- Optional: a tiny flameless tea light or LED to place inside a village house for a cozy glow.
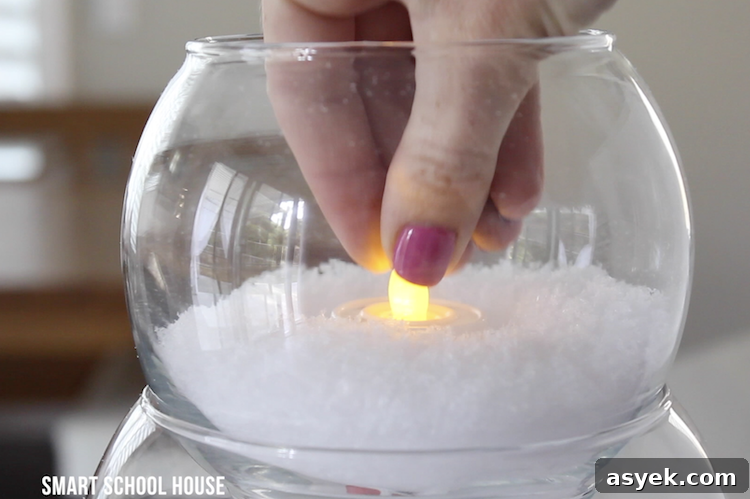
Instructions:
1. Prepare your workspace. Lay down a towel or craft mat to catch any loose faux snow or glue drips. Gather all small pieces so you can arrange them easily.
2. Add faux snow. Place a small layer of fake snow into the bottom of each fish bowl. The amount will vary depending on the size of the miniature pieces — just enough to create a snowy base and keep pieces steady.
3. Build tiny scenes. Arrange your village pieces in each bowl to tell a little story: a house with a lit tea light in the largest bowl, a cluster of trees in the middle bowl, and a tiny figure or gift in the top bowl. Try different layouts until each scene feels balanced and charming.
4. Make the top hat. Trace a circle on black craft foam slightly larger than the opening of the smallest bowl — this is the hat’s brim. Cut a rectangle of foam for the hat’s body, sized so it rolls into a cylinder whose height looks right for your snowman. Hot glue the rectangle edges to form the cylinder, then glue a small circle of foam on top for the hat’s crown. Add a strip of ribbon around the hat for decoration.
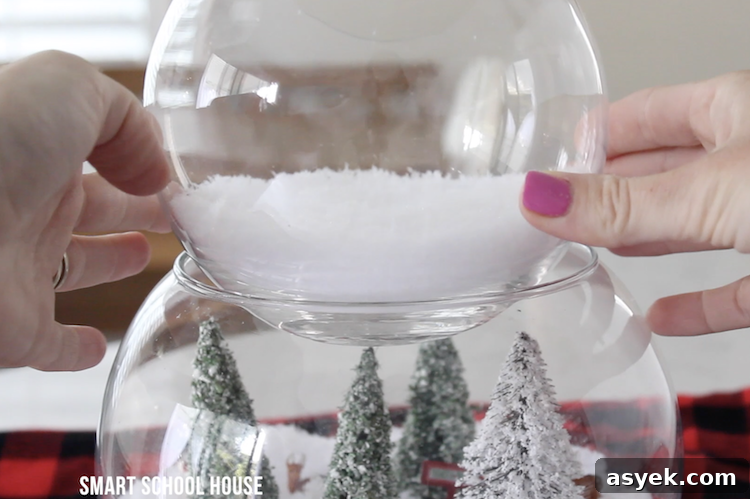
5. Assemble the snowman. Place the bowl with the largest scene at the bottom, then carefully stack the medium bowl, followed by the smallest bowl on top. Apply a small dab of hot glue at the contact points between bowls if you want a more permanent assembly — otherwise the bowls can remain stacked and removable for storage or changes to the scenes.
6. Finish and display. Position the crafted top hat on the very top bowl. If you used a flameless candle inside a miniature house, turn it on to enjoy the cozy glow. Display the Fish Bowl Snowman on a stable surface away from edges and out of reach of small children or pets.
This project is ideal for family crafting nights. Each person can design one level of the snowman, making a collaborative holiday keepsake. You can vary themes by adding metallic accents, tiny signs, or winter animals to your scenes. When not on display, unstack the bowls and store the delicate miniatures safely for reuse next year.