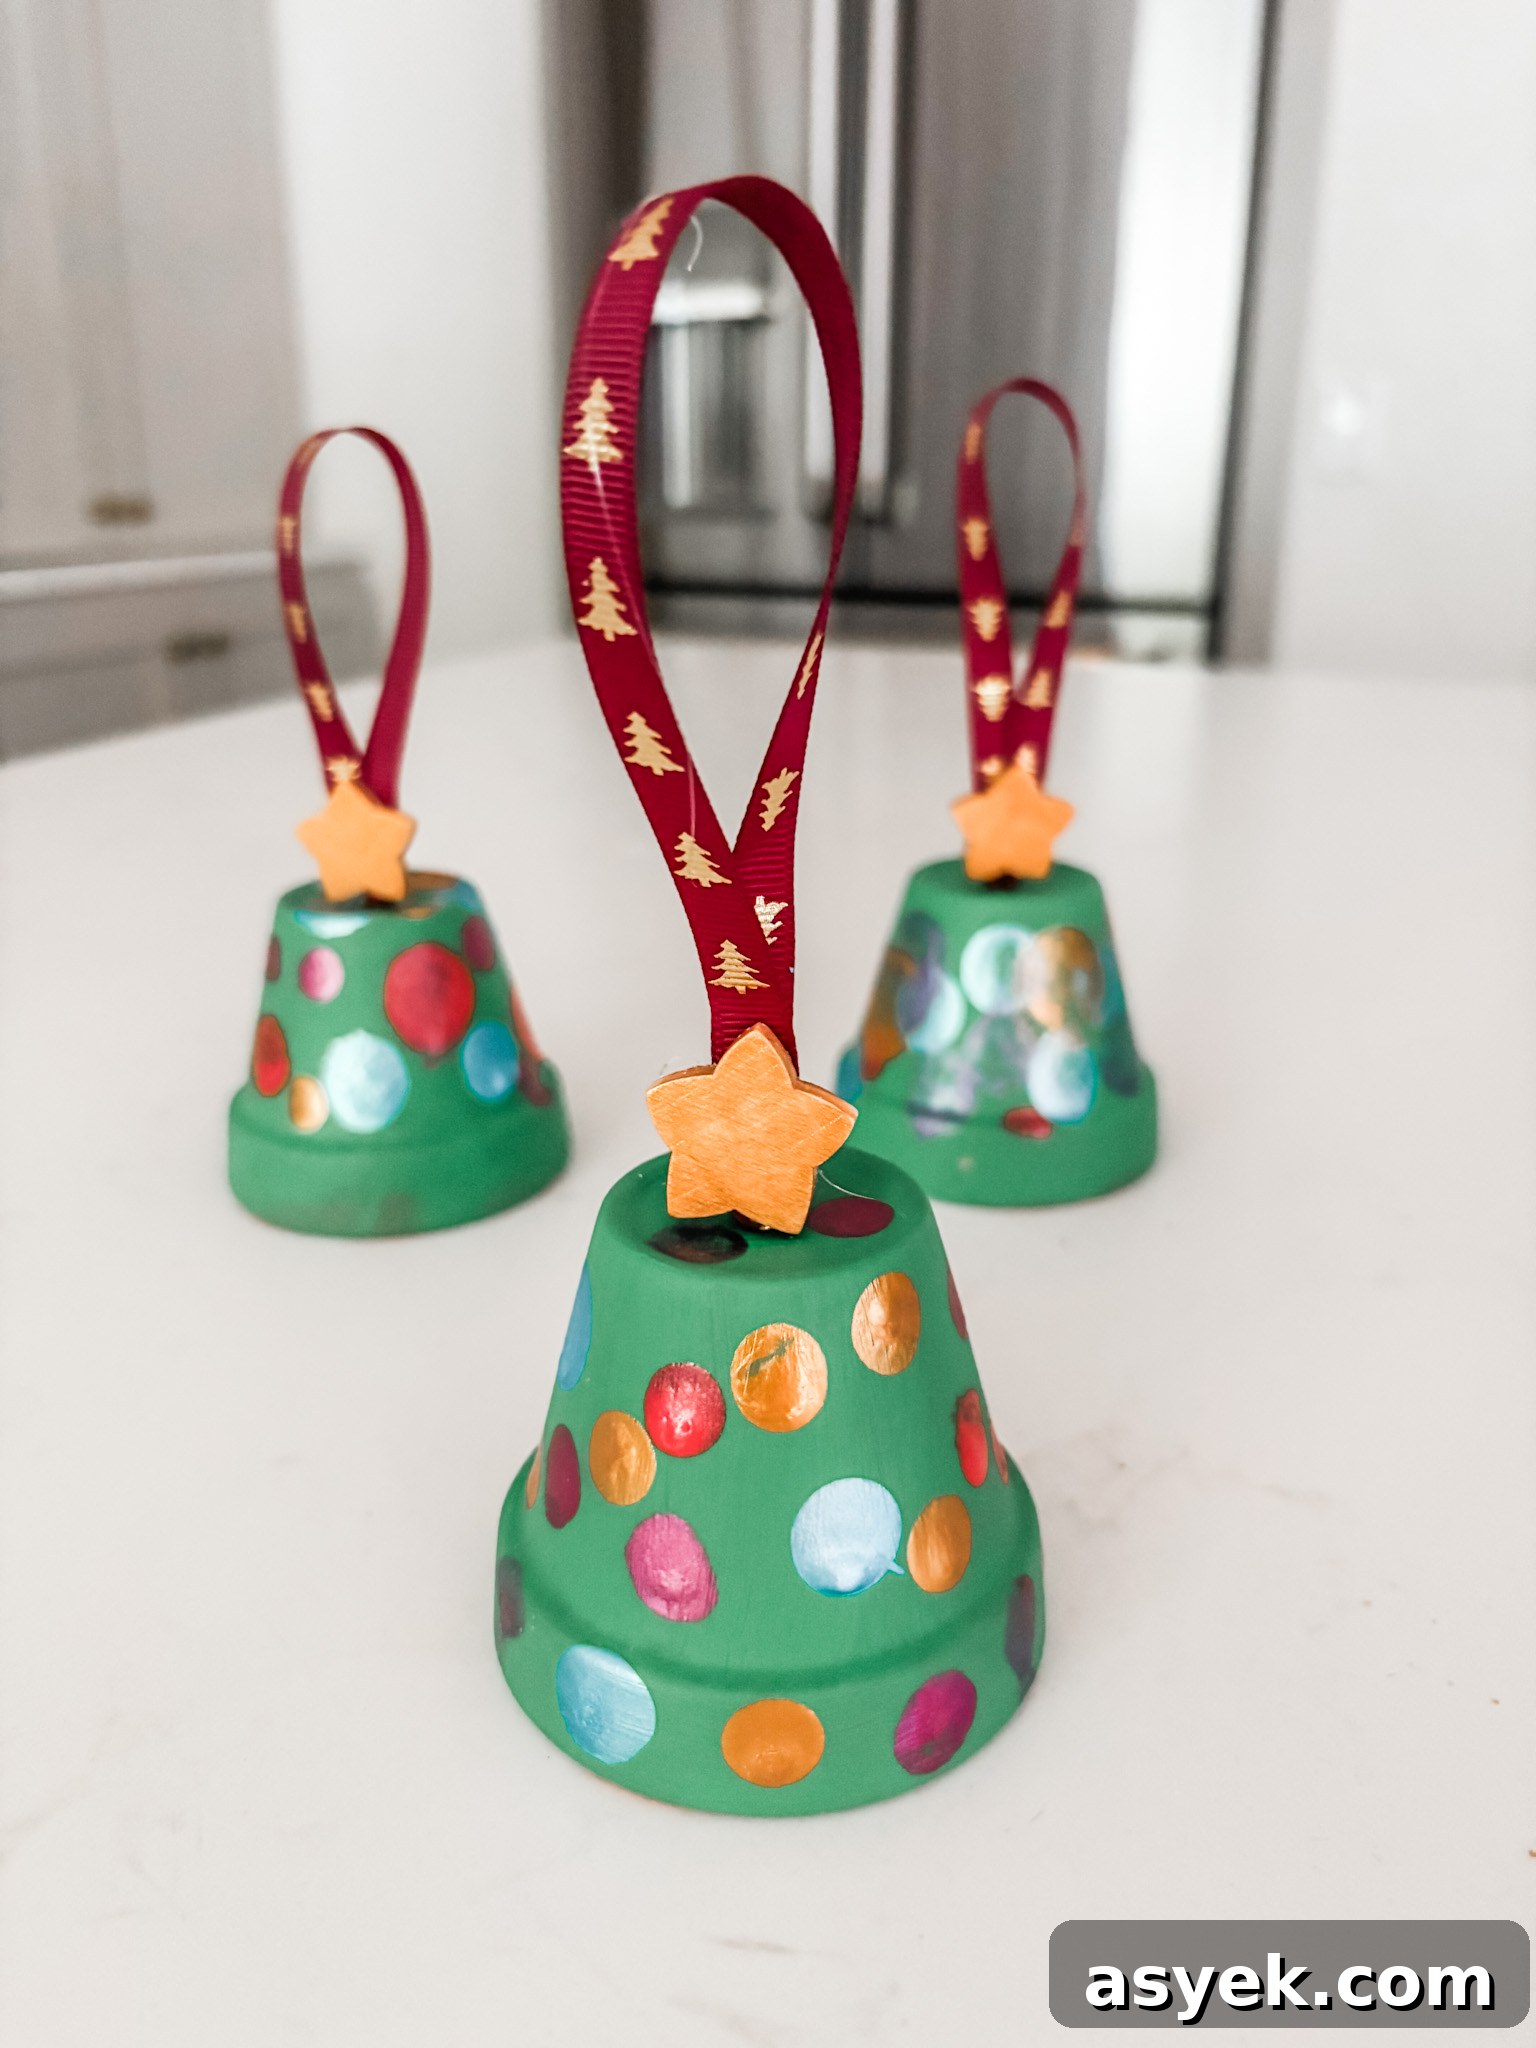
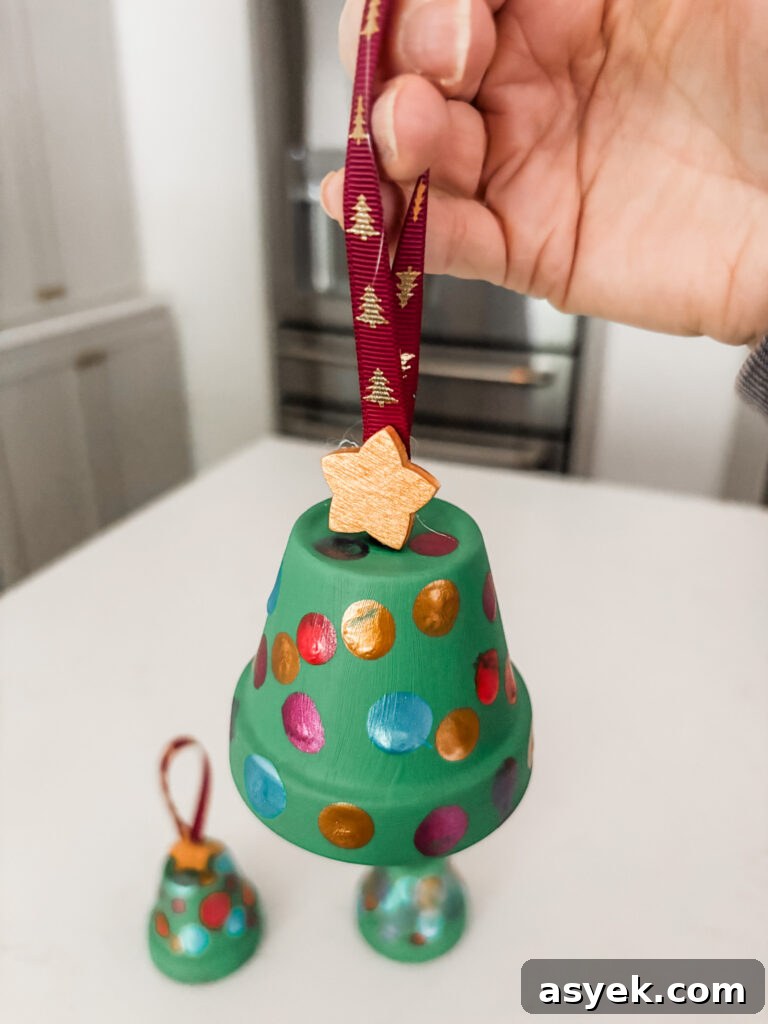
These charming Christmas clay pot ornaments are an easy, hands-on holiday craft you can make alone, with friends at a craft night, or side-by-side with children. They’re festive, quick, and require no advanced crafting skills—just paint, a little glue, and ribbon. Finished ornaments look like tiny Christmas trees, decorated with painted “baubles” and topped with a star, ready to hang on your tree.
Christmas Clay Pot Ornaments – A Fun Holiday Craft for Kids and Adults
I always plan simple activities when I visit my grandchildren: a trip to a local bookstore and a craft project. When our visit fell just before the holidays, clay pot ornaments were the perfect choice. They are simple enough for young children but enjoyable for adults too, making them an ideal group activity for family gatherings, book clubs, church groups, or holiday parties.
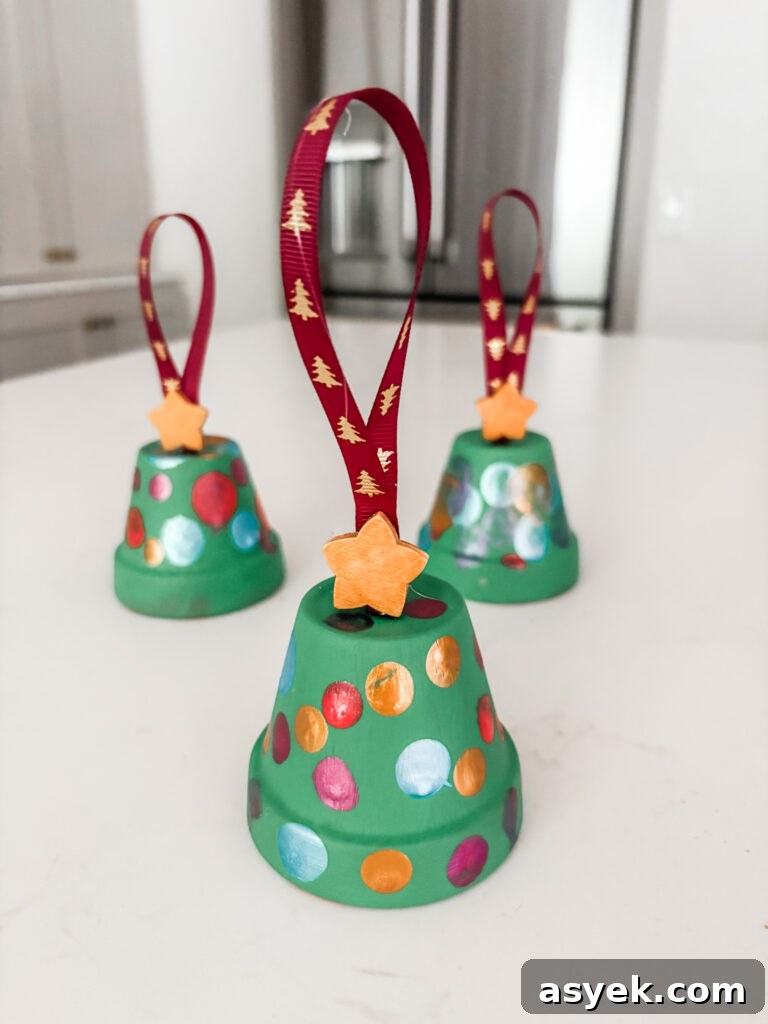
Each ornament takes about twenty minutes to assemble, not counting drying time. Most of the time is painting, so you can chat while making them and still walk away with a stack of adorable, handmade tree ornaments. The project scales easily: make a few for a small tree or craft dozens for classroom gifts or a holiday market.
What You’ll Need
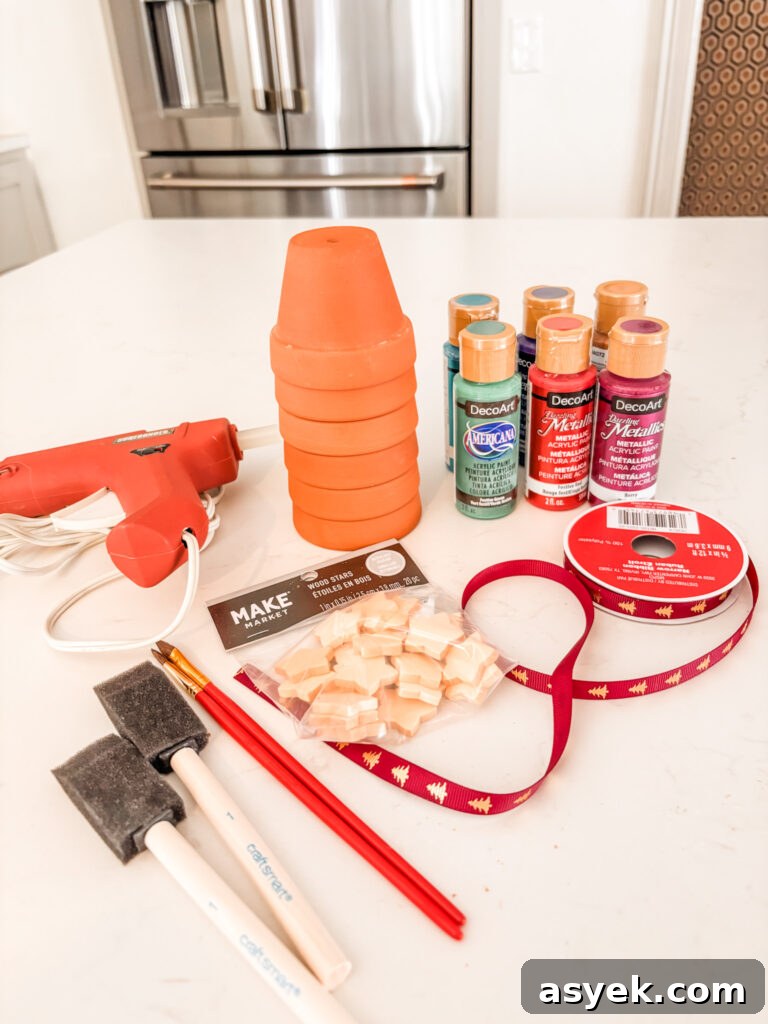
The supplies are basic and easy to collect at most craft stores. If you already craft, you likely have many of these on hand. Quantities depend on how many ornaments you plan to make.
- Two-inch miniature clay pots – These are the perfect size for ornaments. Slightly larger pots work as well, but going smaller can make threading ribbon and decorating difficult.
- Acrylic paints – Green is the primary color for the tree. Choose several additional colors for the small painted “ornaments.” Metallic paints (gold, silver, bronze) make the finished pieces sparkle, but regular acrylics are fine.
- Paint brushes – A wider brush for painting the base green and small brushes for detail work are helpful. Inexpensive brushes work well for this project.
- Foam stipple brushes or Q-tips – These are excellent for painting round dots that resemble ornaments. Small stipplers, tiny round brushes, or Q-tips all work.
- Cloth ribbon – A thin ribbon (about 1/4 inch wide) in your chosen color or pattern. Plan on about 10 inches of ribbon per ornament.
- One-inch wooden stars – Use as the tree topper. Paint them or leave them natural.
- Hot glue gun and glue sticks – For attaching the star to the ribbon; an adult should handle the hot glue gun when children are involved.
- Scissors
- Paint palette or small containers for mixing paint
- Mod Podge (optional) – A thin protective coat of Mod Podge seals the paint and helps prevent chipping, but it is not required.
Step-by-Step Instructions
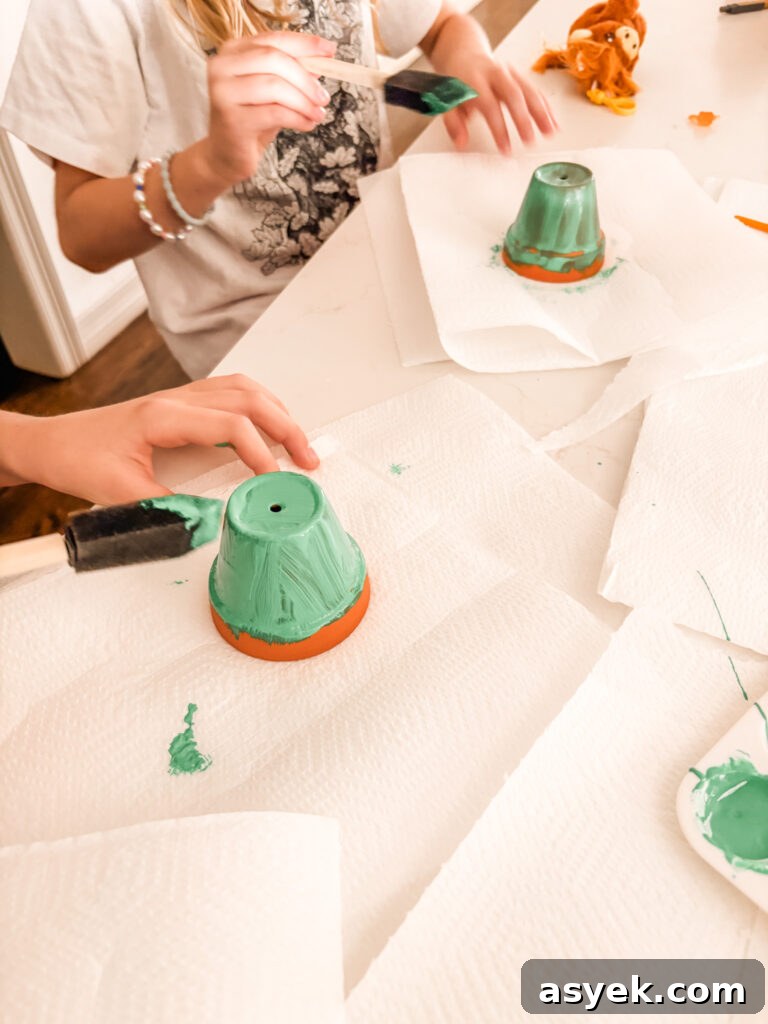
- Prepare your workspace. Cover the table with paper or a drop cloth to protect surfaces from paint and glue. Gather all supplies so everything is within reach.
- Paint the entire outer surface of the clay pot a solid coat of green. Make sure to cover the rim and sides evenly. Allow the paint to dry completely before moving on.
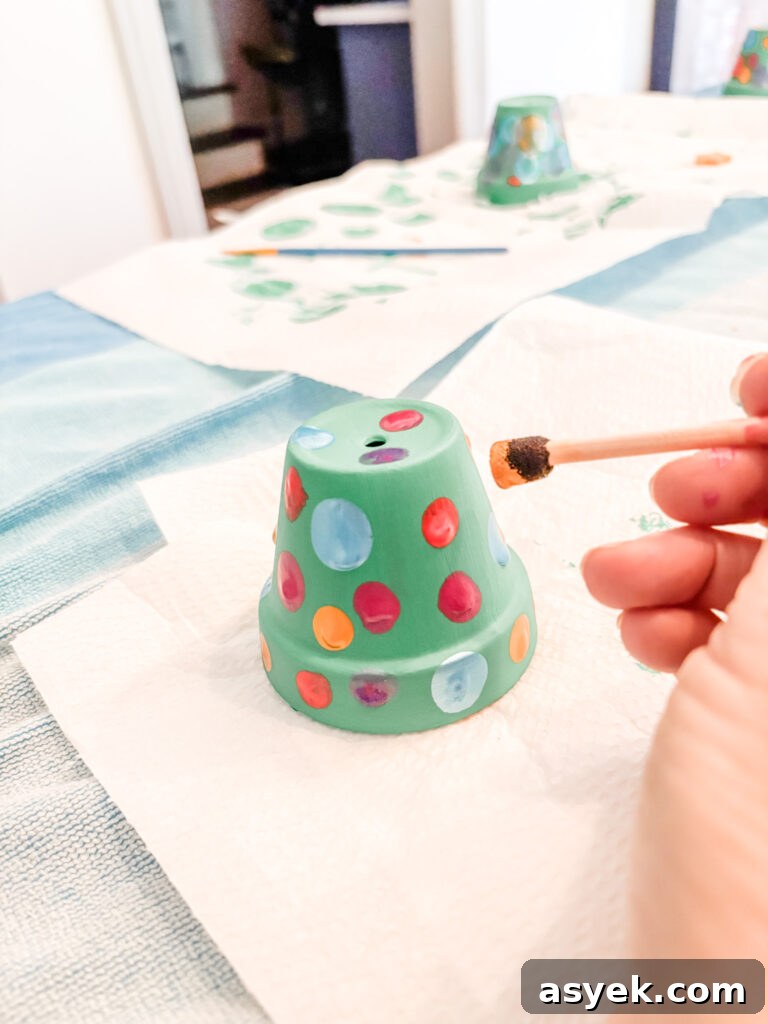
- Use your stipple brushes, Q-tips, or small round brushes to add colorful dots that look like ornaments. Space them evenly around the pot. Let the dots dry thoroughly.
- If desired, apply a thin coat of Mod Podge over the painted surface once all paint is dry. This step will protect the finish and add a slight sheen; allow the Mod Podge to dry according to the product instructions.
- Cut an approximately 10-inch length of ribbon for each ornament. Thread the ribbon ends up through the hole in the bottom of the clay pot and pull them through so the knot will sit inside the pot. Tie a large knot (or two) at the two ends to prevent the ribbon from slipping back through the hole.
- Put a small dot of hot glue on the back of a wooden star and press it onto the ribbon just above the top of the pot to secure it in place. Trim the ribbon ends if needed and form a loop for hanging.
Tips and Variations
- Try different green shades or layered paint techniques to give each tree its own personality.
- Use glitter paint or metallic accents sparingly for extra shine without overwhelming the small surface.
- Customize ribbons and star colors to match your tree theme or gift-wrapping palette.
- For a rustic look, leave the wooden star natural and use twine instead of ribbon.
Why These Make Great Gifts
Handmade clay pot ornaments are affordable, lightweight, and personal. They make thoughtful stocking stuffers, teacher gifts, or additions to a homemade ornaments set. Because they’re quick to make, you can produce a dozen in an afternoon with a group, and each one can be customized for the recipient.
Whether you’re crafting with toddlers, teens, or a group of friends, these Christmas clay pot ornaments combine simplicity and charm. Gather your paints, set out the ribbon, and enjoy a relaxed, creative holiday activity that yields sweet keepsakes for years to come.